Empty Recycle Bin Command Line | 3 Methods
You have deleted the irrelevant files from the computer, and all the data is transferred to the Recycle Bin. Unfortunately, Recycle Bin is now covering a lot of storage, so you're considering emptying the Recycle Bin to free up some storage. You can opt for multiple ways to empty the Recycle Bin, but aiming at the command line is one of the best ways to put things in order.
Command line operations come up with extra flexibility and control provided you're comfortable and fine with the text-based interactions. Dive into this guide to opt for the empty Recycle Bin command line.
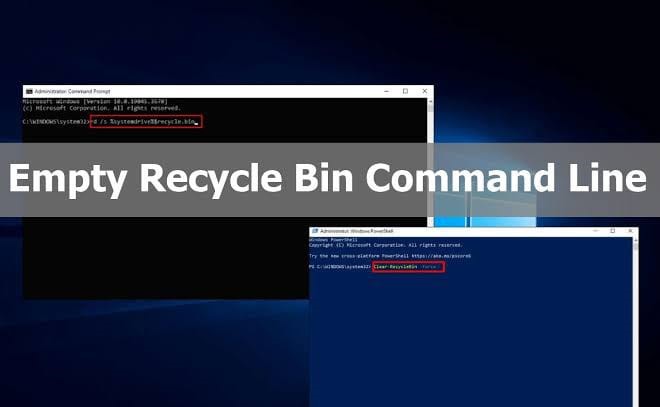
Part 1: 3 Empty Recycle Bin Command Line
If you intend to use the command line to empty Recycle Bin, look at the three reliable ways to learn how to empty Recycle Bin Windows 11/10 command line.
Method 1. Use Command Prompt to Empty Recycle Bin
Going for the command line empty Recycle Bin has turned effortless courtesy of the command prompt. The best thing about the command prompt is that it relies upon a few simple commands to clear up the Recycle Bin.
Here's how to empty Recycle Bin from command line via Command Prompt.
- Press the Start menu and type in the Command Prompt icon in your search box.
-
Start the Command Prompt with your elevated user privileges by choosing the ''Run as administrator'' button. The search results are available there.

-
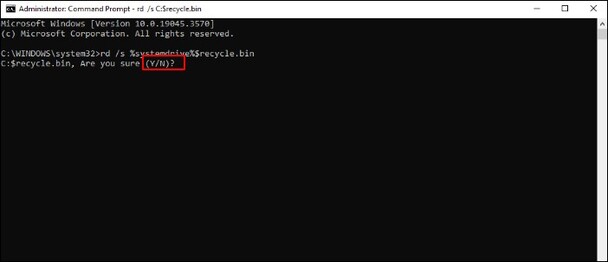
Press Enter icon after inputting the following commands.
rd /s %systemdrive%$recycle.bin.x

- When asked, you'll need to hit the ''Y'' button on the keyboard to begin the proceedings.
Method 2. Run PowerShell to Empty Recycle Bin
PowerShell comes up with the default command line shell in Windows 11, enabling you to execute the multiple system maintenance tasks courtesy of the cmdlets. Thus, you can empty Recycle Bin through PowerShell.
-
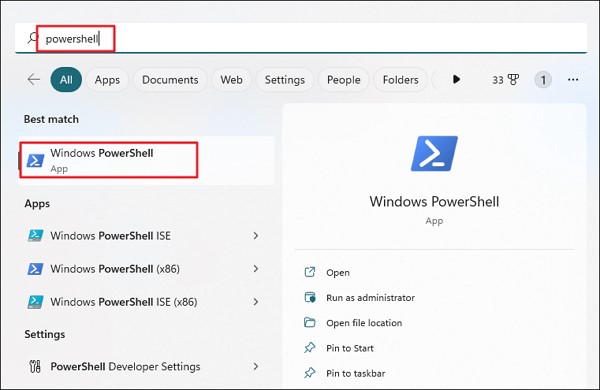
Start the PowerShell as an administrator.

-
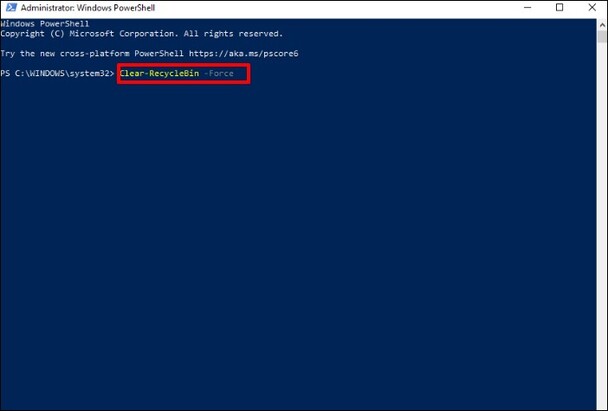
You'll need to enter the following cmdlet in your PowerShell to remove everything from the Recycle Bin.
Clear-RecycleBin -Force.

- Press the Enter icon to execute the command. Hit the Y button to confirm the action.
Method 3: Try Cleanmgr
Although using the cleanmgr to empty Recycle Bin command line is an old method used in Windows XP and 98 initially. However, you can use this tool on Windows OS to empty the Recycle Bin from the command line.
- To start with, you'll need to click the Enter button after pressing the ''Windows+R'' icon.
-
Click on the Enter button after typing the ''Cleanmgr'' icon.

-
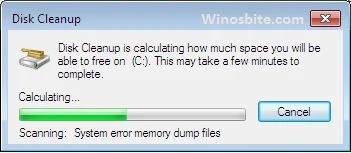
Choose the Drive from your drop-down menu and let it assess the junk files on the system.

-
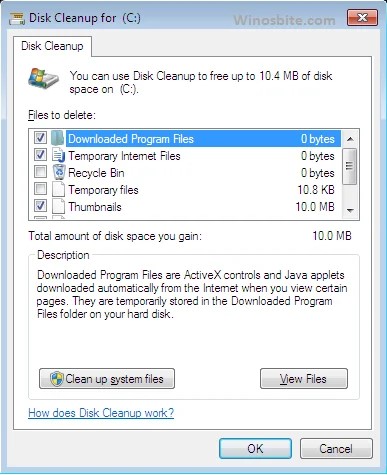
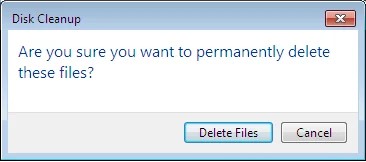
Once the Disk cleanup tab opens, you must choose the directories from the list and hit the ''Clean up System Files'' icon. Press on the ''OK'' button to finish the task.

Part 2: Best Way to Recover Emptied Recycle Bin
It might happen that after emptying the Recycle Bin and deleting the data from the computer, you realize the data you've deleted was never meant to get deleted. In this situation, you use the best way to recover the data from the empty Recycle Bin from the command line with the best Recycle Bin software- 4DDiG Data Recovery.
By a simple user interface and supporting the recovery of 2000+ types of data, 4DDiG Data Recovery has become the best recycle bin recover software of all time.
- Allow you to recover Recycle Bin emptied by the command line
- Doesn't affect the quality of data while recovering data emptied by command line on Recycle.
- Comes up with the highest recycle bin recovery rate.
- Allows you to scan the data before retrieving it.
Secure Download
Secure Download
Here's the step by step guide to recover emptied recycle bin with best Recycle Bin software.
-
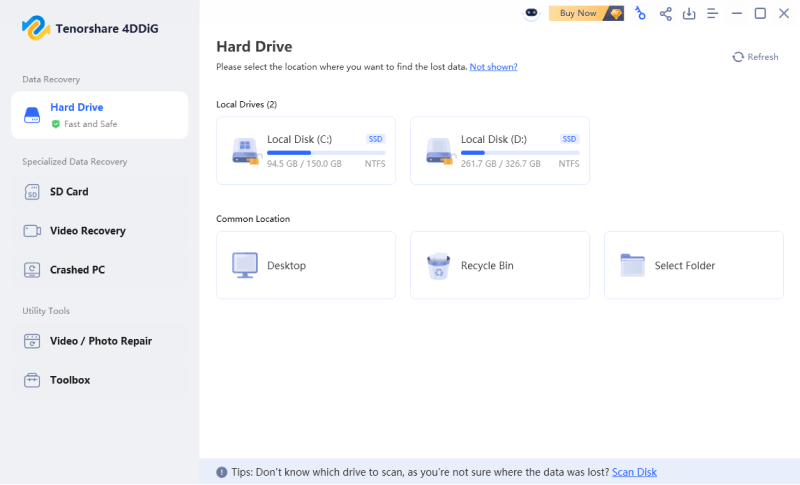
Download and install the 4DDiG Data Recovery software on the PC and start the program afterwards. Then choose the Recycle Bin where you've lost all the data. Press on the Start button to begin the scanning process.

-
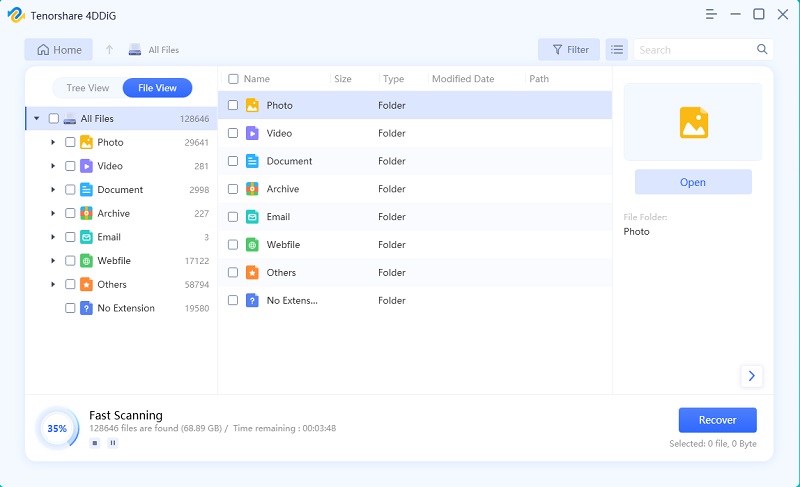
Scanning will only take a few moments before getting all the data scanned on the computer. After scanning the data, you can explore all the file types and choose the data you'd like to retrieve.

-
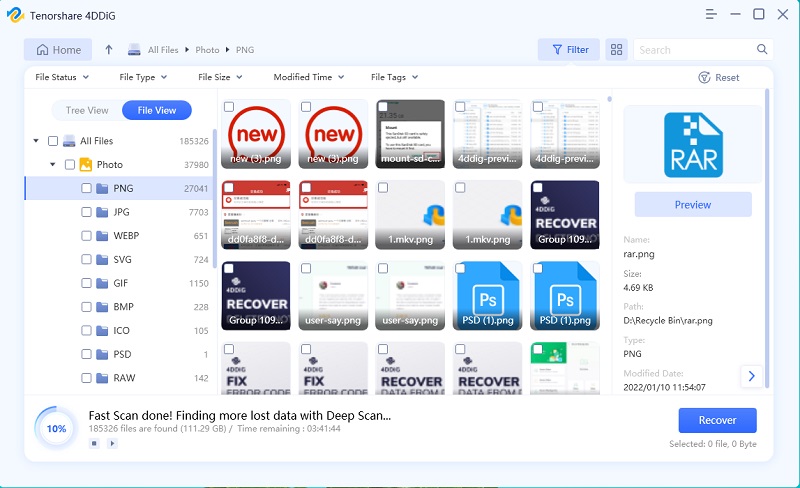
Once you're done scanning the data, click the Preview button to review the data. After choosing the type of data you will restore, tap the Recover button to retrieve the lost data on the computer.

Secure Download
Secure Download
Bonus Tips: Knowledge of Recycle Bin Empty
1. Are Files Deleted After You Empty Out Your Recycle Bin?
When you empty the Recycle Bin, the stored files don't get deleted permanently. All the deleted files will be stored on the computer's hard Drive. You can retrieve the lost data whenever you'd like to get back.
2. Why Should the Recycle Bin Be Emptied?
If you've deleted the data from your computer and aren't thinking of getting the data back from the Recycle Bin, emptying the Recycle Bin is an appropriate idea. Doing so will free up much storage space on your computer by deleting the junk files from the Recycle Bin.
Conclusion
You can opt for the empty Recycle Bin command line courtesy of this insightful post. We have listed the top-notch ways to help you use the command line to empty Recycle Bin without extra effort.
After emptying the data from the Recycle Bin, if you intend to retrieve lost data, 4DDiG Data Recovery will rescue you to help you recover the 2000+ data types. Despite offering the simple user interface, 4DDiG Data Recovery doesn't affect the data quality offering the highest recovery rate.

 ChatGPT
 Perplexity
 Google AI Mode
 Grok
Grok

