Full Guide to Create Windows 10 Bootable USB without Media Creation Tool
Are you looking to learn how to create Windows 10 bootable USB without media creation tool? If yes, you have landed on the right page because here we are going to give you a step-by-step guide.
All you have to do is follow the steps given in this article and you will end up creating a working bootable USB drive for Windows 10 without using the media creation tool.
So, let's get started.
Part 1: Create Windows 10 Bootable USB with Command Prompt
The most trusted and reliable method to create Windows 10 bootable USB without media creation tool is command prompt.
Here are the steps that will help you:
Step 1. Format the USB drive using Diskpart
Diskpart is a powerful command-line disk management tool that allows you to format and prepare your USB drive for the Windows 10 installation files.
Here's how to do it:
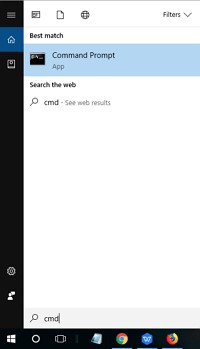
- Connect your USB drive to your computer and press Win + X and select "Command Prompt (Admin)" to open the command prompt with administrative privileges.
-
In the command prompt window, type "diskpart" and press Enter to launch the Diskpart utility.

- Type "list disk" and press Enter to display all the disks connected to your computer. Identify your USB drive based on its size. After that, type "select disk X" (replace X with the disk number of your USB drive) and press Enter to select the USB drive.
- Now type "clean" and press Enter to erase all data on the USB drive. Once the formatting process is completed, type "create partition primary" and press Enter to create a primary partition on the USB drive.
- Type "select partition 1" and press Enter to select the partition you just created.
- Type "active" and press Enter to mark the partition as active.
- Type "format fs=ntfs quick" and press Enter to format the partition with the NTFS file system quickly.
Once the formatting is complete, type "exit" and press Enter to exit the Diskpart utility.
Step 2. Manually copying files from an ISO image on your PC or DVD to a bootable USB drive
After formatting the USB drive, you need to manually copy the Windows 10 installation files from an ISO image on your PC or DVD to make the USB drive bootable.
Here's how:
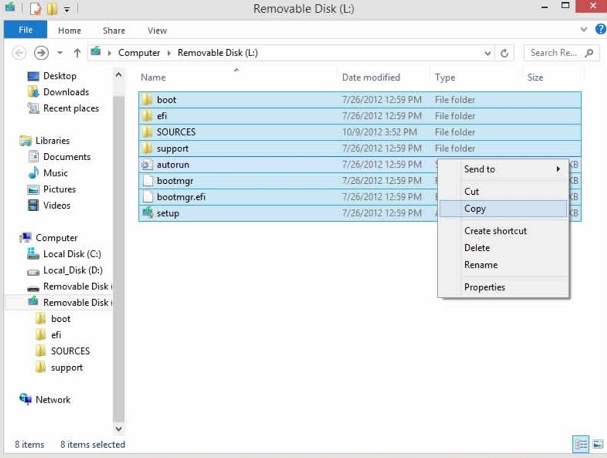
- Open File Explorer and navigate to the location of the ISO image file or DVD drive.
-
Select and copy all the files and folders inside the ISO image or DVD drive.

- Now go to your formatted USB drive in File Explorer.
- Right-click anywhere inside the USB drive window and choose "Paste" to copy the files from the ISO image or DVD to the USB drive.
Wait for the copying process to complete. This may take some time depending on the speed of your USB drive and computer.
Step 3. Use the Command Prompt to copy files from a DVD to a bootable USB drive
Alternatively, if you have a Windows 10 installation DVD, you can use the command prompt to copy the installation files to the USB drive directly.
Here's how:
-
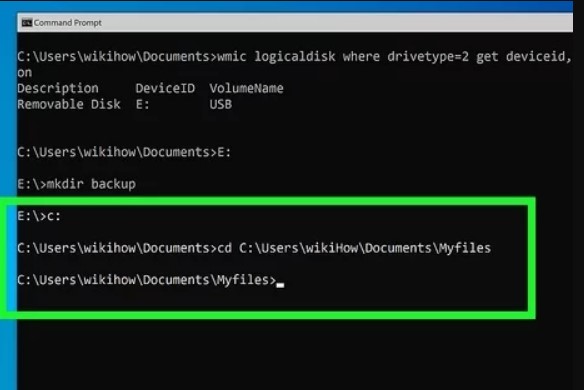
Press Win + X and select "Command Prompt (Admin)" to open the command prompt with administrative privileges.

- In the command prompt window, type the following command and press Enter: xcopy D:\*.* /s/e/f H:\ Replace "D" with the drive letter of your DVD drive and "H" with the drive letter of your USB drive.
Wait for the copying process to complete. Once done, you will have a bootable USB drive with the Windows 10 installation files.
Part 2: Create Windows 10 Bootable USB with 4DDiG Partition Manager
If the above given process seems daunting to you, there's a simple and easy to follow method you can also use which is creating Windows 10 bootable USB with 4DDiG Partition Manager.
The 4DDiG Partition Manager is a versatile and user-friendly software designed to simplify the management and optimization of disk partitions on Windows systems.
It offers a comprehensive suite of tools that cater to various needs, from system migration to partition recovery.
One of its standout features is the ability to create a Bootable WinPE Media, which is essential for users who need to perform system maintenance without booting into the main operating system.
This feature is particularly useful for troubleshooting and repairing disk issues when the system is unresponsive or compromised.
How to Use 4DDiG Partition Manager to Create Bootable USB?
-
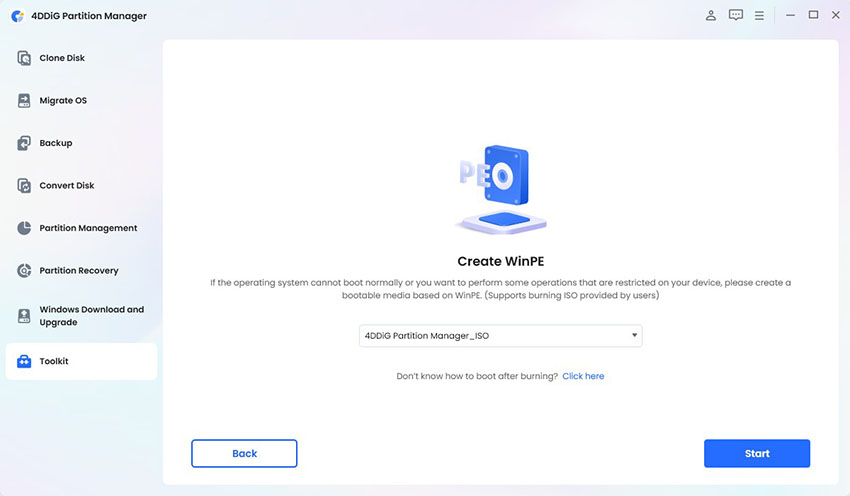
First of all, install and launch 4DDiG Partition Manager on your computer. After that, connect a USB flash drive or CD/DVD to your computer. Go to "Toolkit" in the left navigation bar, then choose "Create WinPE" to proceed.
FREE DOWNLOADSecure Download

-
Now choose the method to create the WinPE bootable media according to your requirements. After that, hit the "Start" button to initiate the process.

-
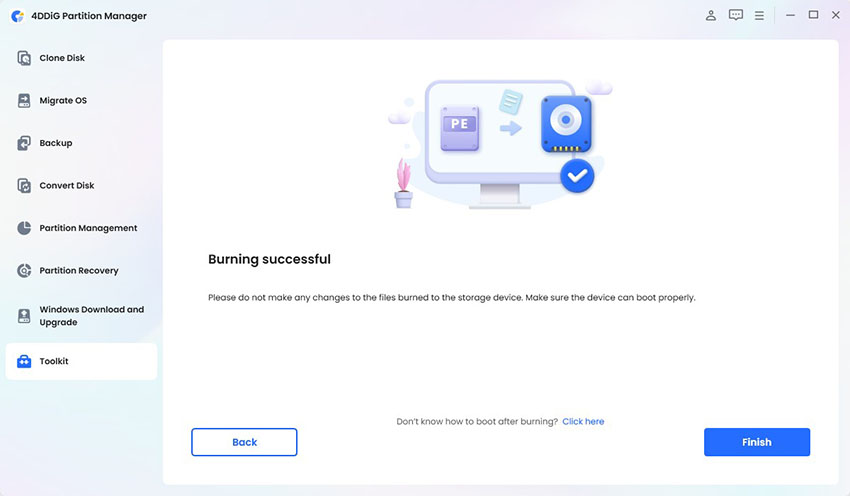
The creation process will be started and it might take a few minutes to generate the WinPE bootable USB drive. Once finished, click "Finish" to complete the process.

Get 1 Month License Instantly!
Final Words
In conclusion, create Windows 10 bootable USB without media creation tool might seem daunting at first, but with the step-by-step guides provided above, you can accomplish this task effortlessly.
Whether you choose the command prompt method for a hands-on approach or opt for the user-friendly 4DDiG Partition Manager, you have the flexibility to select the method that best suits your needs.
While the command prompt method offers a traditional and reliable way to create a bootable USB, the 4DDiG Partition Manager provides a simpler alternative with its intuitive interface and streamlined process. Moreover, the ability to create WinPE bootable media makes it an invaluable tool for system maintenance and troubleshooting.
So, if you prefer a more user-friendly experience, we highly recommend utilizing the 4DDiG Partition Manager for its convenience and versatility.
Secure Download
💡 Summarize with AI:
You May Also Like
- Home >>
- Windows Fix >>
- Full Guide to Create Windows 10 Bootable USB without Media Creation Tool



 ChatGPT
 Perplexity
 Google AI Mode
 Grok
Grok

