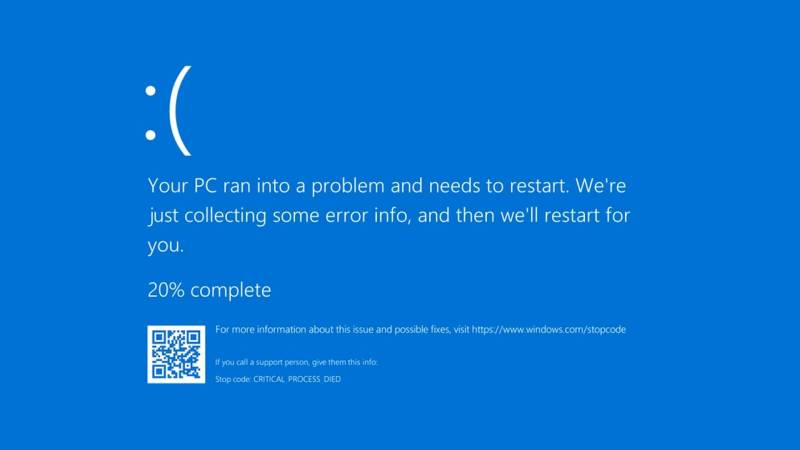
Blue Screen When Playing Games? 6 Fixes in 2024!

Experiencing the dreaded 'Blue Screen when playing games' issue? Follow our detailed guide to fix this issue and recover your valuable game data by using 4DDiG Data Recovery.

5 mins read

Updated on 2024-04-29 15:17:30 to Windows Fix

The Blue Screen of Death (BSoD) is an extremely common problem that can occur at any time. Especially when engaging in high-graphic games, this disruptive problem is a real concern. There is no doubt that this issue is prevalent within the Windows operating system family, spanning Windows 7 to 11. The problem is quiet common in Windows 10. If you are looking for effective solutions how to fix blue screen when playing games, you are at the right place.

We will provide you step by step guide to solve the blue screen when playing games. Here are 6 different ways to solve the issue.

blue screen when playing games

Part 1: Why Do I Get Blue Screen When Playing Games?

It is a very common question, “Why do I get blue screen when playing games?” The Blue Screen of Death issue, a system crash or stop error, occurs when the Windows operating system encounters a critical error that it cannot recover from. There can be various reasons behind this problem, many of which revolve around hardware, software, drivers, and system configuration conflicts. Here are some common reasons for the BSoD issue:

  • Problems with setting
  • Dust issues
  • Memory and graphics card problems
  • Driver problems

Part 2: How to Fix Blue Screen When Playing Games?

There are two most common and quick fixes you can try to solve the blue screen of death when playing games. It will help you to get an instant solution to the error. Check out!

Quick Fixes:

Restart Your PC:

Sometimes, a simple restart can resolve temporary glitches or conflicts causing the blue screen issue, allowing your system to resume normal operations.

Unplug and Re-plug the Memory Card, Graphics Card:

Disconnecting and reconnecting these components can help address loose connections or potential contact issues. If problems persist, consider replacing them to ensure stable hardware performance.

Advanced Fixes:

1. Change Power Settings

The more advanced approach to solving blue screens when playing games involves modifying certain Power settings within the Control Panel. While not guaranteed to solve the issue, the method is straightforward and warrants experimentation.

Follow these steps:

  • Open the Control Panel on your computer.
  • Access Power Options and select the Change plan settings choice.
  • Proceed to the next step by clicking on Change Advanced power settings.
  • Within the subsequent window, locate and disable the Link State Power Management option in both the On battery and Plugged-in sections under PCI Express.

    Fix Blue Screen through power setting

2. Run a Clean Boot in Windows

The Clean Boot technique involves initiating your computer with only essential Windows services. This strategy proves invaluable for diagnosing and resolving blue screen issues during gaming sessions on Windows 7/8/10/11. Follow this step-by-step guide to perform a clean boot:

  • Ensure you are logged in as an administrator on your computer. Establish an administrator account on your Windows PC and log in using its credentials if you don't have one.
  • Launch System Configuration. This can be accomplished by entering "msconfig" in the search box located on the taskbar.

    write msconfig on the taskbar
  • As the “System Configuration window” appear, navigate to the Services tab. Opt for the "Hide all Microsoft services" choice and select "Disable all."

    Go to services from msconfig
  • Proceed to the System Configuration Startup tab and click "Open Task Manager."

    opening task manager from startup menu
  • Once Task Manager is active, access its Startup tab. Sequentially choose each startup item and click "Disable."

    disable startup apps form task manager
  • Return to the System Configuration window and select OK. After restarting, the computer will operate in Clean Boot mode. Employ troubleshooting procedures that may linked to the blue screen problem.

3. Uninstall and Reinstall the Graphics/Display Drivers

Encountering Windows 10 blue screen when playing games often points to potential issues with your display or graphics drivers. To resolve this, it's crucial to uninstall the problematic drivers and then reinstall their latest iterations via the Device Manager.

Follow these steps to execute the process seamlessly:

  • Initiate the Device Manager tool on your Windows PC.
  • Navigate through the list of devices and locate the graphics/display driver. Right-click on it and select the Uninstall option. If prompted, opt for "Delete the driver software for this device."

    uninstall and install graphics and display drivers
  • With the drivers uninstalled, restart your computer. 
  • After the restart, open the Device Manager once more and click the "Scan for hardware changes" button. Windows will autonomously detect and install the necessary drivers. Note that an internet connection will be essential for this phase.

4. Enable UEFI Boot

Enabling UEFI Boot on your PC can be the key to resolving such errors, ensuring a seamless gameplay session. While activating UEFI Boot is a straightforward BIOS adjustment, a few additional steps are essential to prevent potential hiccups.

Follow this concise guide to set things right: 

  • Launch This PC on your Windows 7/8/10/11 device. Navigate to C: > Windows > Software Distribution > Download. Within this directory, clear out all contents. For extra precaution, consider removing the $Windows.~BT folder located at the root of 'C:'
  • After wiping these files, initiate a computer restart. During the reboot, opt to access the BIOS. Use F2 or F12 keys based on your PC model. Inside the BIOS interface, unearth and activate UEFI Boot.
  • For added stability, resetting any processor overclocking settings is advisable. Once done, save your BIOS adjustments and exit.

    enable UEFI mode to solve blue screen when playing

Part 3: How to Recover Lost Data After Fixing Blue Screen of Death on Windows?

You may need to format your hard drive if you are looking for a long-term solution to solve the blue screen when playing games. Besides, the problem may only be solved by installing new Windows. There is a high chance that you will lose data from your hard drive. In that case, we recommend you get back your valuable data by using 4DDiG Windows Data Recovery which is your ultimate data recovery tool.

Here how to use this tool to recover your lost data within 3 steps:

FREE DOWNLOAD

Secure Download

FREE DOWNLOAD

Secure Download

  • Select a local disk

    Download and install 4DDiG Windows Data Recovery on your computer. Choose your local disk where your data was stored. Click "Start" to proceed.

    Download and launch 4DDiG Windows Data Recovery
  • Scan the Local Disk

    Start the scan to recover missing data. You can pause or stop the process whenever you find the files you need. You can navigate through your lost data.

    scan local disk or external disk to recover desired data
  • View and recover files

    After identifying your target files, preview and recover them to a secure location. To prevent overwriting or permanent data loss, do not save files to the same partition where the loss occurred.

    Get a preview of your lost data and recover

Final Thoughts

Hope you got a complete idea of how to fix the blue screen when playing games. You can follow one by one method to solve the issue. In any case, you may lose valuable data during the process. To solve the issue, we recommend you use 4DDiG Windows Data Recovery Tool. You can use this effective tool to retrieve your lost data after fixing the blue screen when playing games.

William Bollson (senior editor)

William Bollson, the editor-in-chief of 4DDiG, devotes to providing the best solutions for Windows and Mac related issues, including data recovery, repair, error fixes.

(Click to rate this post)

You rated 4.5 ( participated)