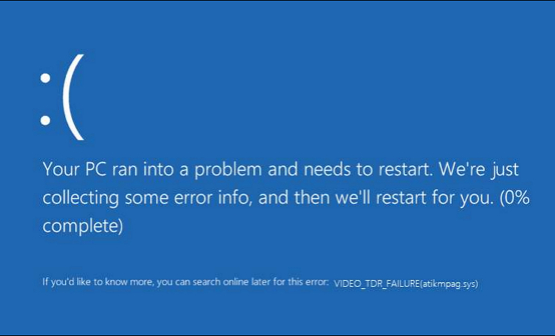
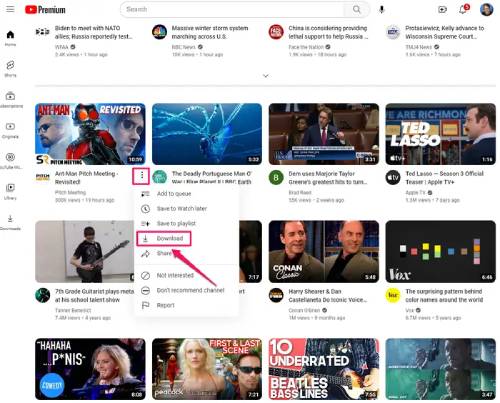
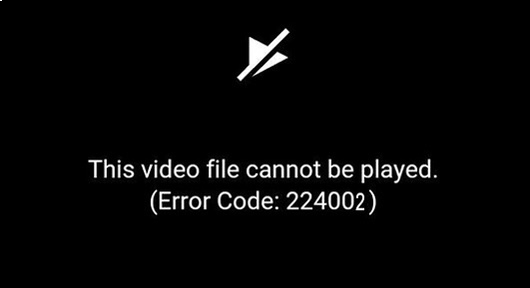
How to Fix the Video Scheduler Internal Error on Windows 11/10? William Bollson 5 mins read Updated on 2026-07-22 15:54:18 to Windows Fix You May Also Like How to Fix the VIDEO_TDR_FAILURE Error on Windows 11/10? Topaz Video Enhance AI Reviews: Is It Worth Trying? How to Download Video from YouTube? Try these 6 Methods! [Solved!] This Video File Cannot be Played Error Code 224002 Home >> Windows Fix >> How to Fix the Video Scheduler Internal Error on Windows 11/10?