How to Upgrade Windows 10 to 11 for Free [3 Ways]
Learning to upgrade Windows 10 to 11 is an exciting step that brings your computer a fresh, modern look and a host of new features. Windows 11 offers an intuitive interface, enhanced performance, and improved security, making it a compelling upgrade for personal and professional use. This article will explain how to upgrade from Windows 10 to 11 to ensure a smooth transition, from checking your system's compatibility to completing the installation process. Let’s upgrade from Windows 10 to 11!
Part 1: Should I Upgrade to Windows 11 from Windows 10?
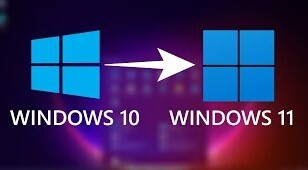
Upgrade from Windows 10 to Windows 11 depends on various factors, including the computer's hardware compatibility, familiarity with the new features, and specific needs. Windows 11 introduces a sleeker design, improved multitasking capabilities, and enhanced gaming features. However, if your current system meets your requirements and you're content with Windows 10's performance, you may not feel the immediate need to upgrade. Moreover, before switching, it's essential to consider any potential compatibility issues with existing software or hardware.
Part 2: Preparation Before You Upgrade Windows 10 to 11
1. Check for Compatibility
Before upgrading from Windows 10 to Windows 11, it's crucial to check if your system meets the minimum requirements for the new operating system. Microsoft has outlined hardware prerequisites, including processor, RAM, and storage specifications. You can use Microsoft's PC Health Check tool or manually review the system requirements to ensure compatibility.
2. Backup Your OS (Really Important!)
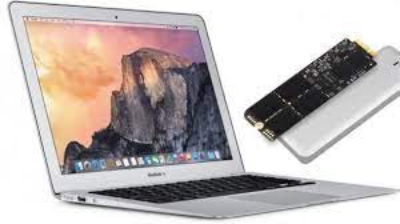
You need to back up your data and OS before learning how to upgrade from Windows 10 to 11 to prevent data loss and ensure a smooth transition. For this task, 4DDiG Partition Manager is a reliable solution.
Follow the below key features of 4DDiG Partition Manager:
- Migrate OS: This feature seamlessly transfers your operating system to a new disk or SSD. This is particularly crucial when upgrading to a new operating system like Windows 11, ensuring all your system files and settings are preserved during the upgrade process.
- Partition Management: 4DDiG can create, delete, resize, and format partitions without data loss.
- Disk Clone: This tool can clone your entire disk or specific partitions to another disk for data migration or backup purposes.
- Partition Recovery: The software can recover lost or deleted partition and restore them to their original state.
Follow the below steps that can help how to use 4DDiG Partition Manager to migrate OS:
-
Firstly, you must connect your new drive after downloading and installing 4DDiG Partition Manager. After that, open the application and click "Clone OS Disk"; choose the new drive as the target disk, and press "Next" to proceed.
FREE DOWNLOADSecure Download

-
Secondly, you will receive a pop-up window warning that files and partitions on the target disk will be overwritten during system migration. Click "Sure" and "Start" to initiate the system migration.

-
Finally, depending on the size of the drives, system migration will start under 4DDiG Partition Manager and take some time to finish. You can also view the migration data, including elapsed time and migration speed.

Part 3: How to Upgrade from Windows 10 to Windows 11?
Method 1: Use the Windows Update Feature
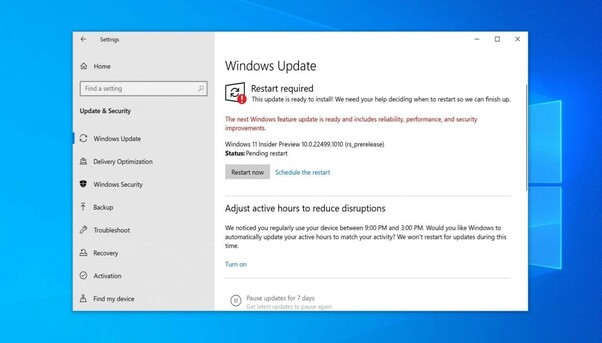
Now you can upgrade from Windows 10 to Windows 11 using various methods and we recommend to utilizing the built-in Windows Update feature. Follow the below steps:
- You need to go to Settings > Update & Security > Windows Update.
- After that, click Check for Updates.
- Now, it's time to look for a Feature update to Windows 11.
- Click Download and Install.
Method 2: Use the Windows 11 Installation Assistant
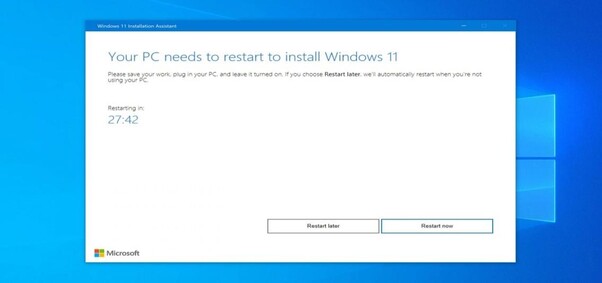
Another efficient method to upgrade from Windows 10 to Windows 11 is the Windows 11 Installation Assistant. Follow the below steps:
- You must download the Windows 11 Installation Assistant.
- Use an ID with administrator privileges to run the tool.
- The program will show you the license terms and confirm your device is compatibility. Click Accept and Install.
- To finish the installation, press the Restart Now button when prompted.
Method 3: Install Windows 11 via Bootable Media
Follow the below steps to install Windows 11 via bootable media:
- Launch the Media Creation Tool as an administrator after downloading it.
- Click Next after selecting "Create installation media for another PC."
- Choose the 64-bit architecture, edition, and language.
- Select the media to be used for installing the files.
- Establish a connection between the installation media and the desired Windows 11 computer.
- Use the installation media to force a reboot of the computer.
- On the Install Windows page, choose your preferred keyboard, language, and time zone.
- Press the Next button.
Conclusion
In conclusion, we have explained how to upgrade from Windows 10 to Windows 11 to ensure enhanced performance and innovative features. Moreover, we have also explored the necessary preparatory steps. Checking your system's compatibility, backing up your data with 4DDiG Partition Manager, and choosing the proper upgrade method are essential to make the process seamless.
Secure Download


 ChatGPT
 Perplexity
 Google AI Mode
 Grok
Grok

