Unable to Eject External Hard Drive? 8 Ways to Fix It

5 mins read

Updated on 2026-09-21 16:05:26 to Hard Drive

If you are unable to eject external hard drive in Windows, a file, app, or background process may still be using it. Windows may block the ejection while the drive is still being accessed, so disconnecting it directly could risk data loss. The methods below can help you fix the problem and safely disconnect the drive.

unable to eject external hard drive

Why Can't I Eject My External Hard Drive?

Windows may prevent you from ejecting an external hard drive when something is still accessing it. Common causes include:

  • Files or apps are still using the drive: An open file or application may still be accessing the external hard drive.
  • Background processes are accessing the drive: Backup tools, cloud-sync apps, antivirus software, or other services may still be using the drive.
  • Windows Explorer is still accessing the drive: File Explorer may keep the drive active while a window is open to it.
  • Windows is still reading or writing data: File transfers, caching, or other system operations may still be in progress.
  • The USB connection has a problem: A faulty USB port, cable, or enclosure can interfere with normal ejection.
  • The drive or file system has an issue: Drive or file system errors may prevent normal ejection.

How to Fix Cannot Eject External Hard Drive

Try these methods in order, starting with the simplest ways to release the drive.

Method 1. Close All Files and Programs Using the Drive

Start by closing anything that may be using the external hard drive.

  • Save your work and close any files and apps using the external hard drive.

  • Wait for any file transfers or copy operations to finish.

  • Close File Explorer windows that are displaying the external drive.

  • Try to eject the drive again.

If your external hard drive won't eject after you close visible apps, a background process may still be accessing it.

Method 2. Stop Background Processes Accessing the Drive

Some applications continue working in the background even after you close their main windows. These background processes may still access the external drive.

Open "Task Manager" with Ctrl + Shift + Esc and stop the running apps that you know are using the external hard drive, then try to eject it again.

stop background processes

Pay particular attention to:

  • Cloud-sync apps such as OneDrive or Dropbox
  • Backup software
  • Antivirus or security software
  • Photo, media, file transfer, or compression tools

Do not randomly end unfamiliar Windows processes. If you cannot identify a process, leave it running and continue with the next method instead.

Method 3. Restart Windows Explorer

Windows Explorer may sometimes continue accessing the external drive after you close the related files or folders. Restarting it can release the connection without restarting the entire computer.

  • Press Ctrl + Shift + Esc to open Task Manager.

  • Find "Windows Explorer" under the Processes tab.

  • Right-click "Windows Explorer" and select "Restart".

    restart windows explorer in task manager
  • Wait for the desktop and taskbar to reload, then try to remove the external hard drive again.

If you are unable to safely eject external hard drive after closing your apps, this quick reset is worth trying before moving on to more advanced troubleshooting.

Method 4. Find Which Process Is Using the External Hard Drive

If you still cannot identify what is preventing the ejection, use Resource Monitor to look for processes accessing the drive. Resource Monitor is a built-in Windows tool for investigating resource and process activity.

If you still cannot identify what is preventing the ejection, use Resource Monitor, a built-in Windows tool for monitoring resource and process activity, to look for processes accessing the drive.

  • Press Win + R, type resmon, and press Enter.

  • Open the Disk tab in Resource Monitor.

  • Find activity associated with the drive letter and identify the process accessing it.

  • If you recognize the related app, right-click on it to end its process.

    end process in resource monitor
  • Then, try to eject the drive again.

This method is useful when the external hard drive is shown as "in use", but you cannot tell which program is keeping it active. The same issue may appear as the problem ejecting USB mass storage device error when Windows cannot safely release a connected USB device.

Method 5. Try a Different USB Port or Computer

A USB connection issue can sometimes interfere with how Windows communicates with an external hard drive.

First, disconnect and reconnect the drive to a different USB port on the same computer. Wait for Windows to recognize it, then try to eject it again.

If possible, you can also test the drive on another Windows computer. You may see two different situations.

  • The drive ejects normally on another computer: The problem may be related to your current Windows environment, background processes, or system settings.
  • The same problem occurs on another computer: The external drive, USB cable, enclosure, or file system may need further attention.

This test helps determine whether the issue is specific to your PC instead of assuming that the external hard drive itself is faulty.

Method 6. Change the External Hard Drive's Removal Policy

Windows uses removal policies to control how it handles external storage devices. The two main options are "Quick removal" and "Better performance".

Microsoft notes that Quick removal is the default policy in current Windows versions, while Better performance can use write caching and requires safe removal before disconnecting the drive.

To check the setting:

  • Right-click "Start" and select "Device Manager".

  • Expand "Disk drives" and right-click your external hard drive.

  • Select "Properties" and open the "Policies" tab.

    click properties in device manager
  • Select "Quick removal" if available.

    select quick removal device manager
  • Click "OK".

If the drive is still being actively accessed, you should still close those processes before disconnecting it.

Method 7. Take the External Hard Drive Offline

If normal ejection still fails, you can use Disk Management to take the external hard drive offline.

  • Press Win + X.

  • Select "Disk Management".

  • Locate your external hard drive and right-click the disk name on the left.

  • If the "Offline" option is available, select it.

    take the external hard drive offline

Taking a drive offline stops normal access to its volumes, which can interrupt active read/write operations. Avoid using this option while files are being transferred or accessed from the drive.

If the "Offline" option is not available, your external hard drive may not support this option in Disk Management. In that case, try another method below.

Method 8. Restart or Shut Down Windows Before Disconnecting It

If Windows still won't allow you to eject the drive, restart or shut down the computer instead of pulling out the USB cable.

Before doing so:

  • Save your work and make sure important file transfers have finished.

  • Close open applications, then restart or shut down Windows.

  • Once Windows has restarted or the computer has fully shut down, disconnect the external hard drive.

This is a safer fallback than forcibly unplugging a drive that Windows may still be using. If you can't disconnect external hard drive safely, this method can help release the active connection before you unplug it.

How to Recover Lost Files After Ejecting an External Hard Drive

If you already disconnected the external hard drive without safely removing it, do not assume that your files are gone. Reconnect the drive and check whether your files are still accessible.

When Windows still detects the drive but some files are missing, avoid making changes that could overwrite the missing data. Check your backups first, then consider data recovery if the files cannot be found elsewhere.

For files that remain missing, 4DDiG Data Recovery can scan the external device including USB drive for deleted or lost photos, videos, documents, audio files, and other data.

It can also recover files lost due to accidental deletion, formatting, system errors, or other common data loss scenarios, while letting you preview recoverable files before recovery.

FREE DOWNLOAD

Secure Download

FREE DOWNLOAD

Secure Download

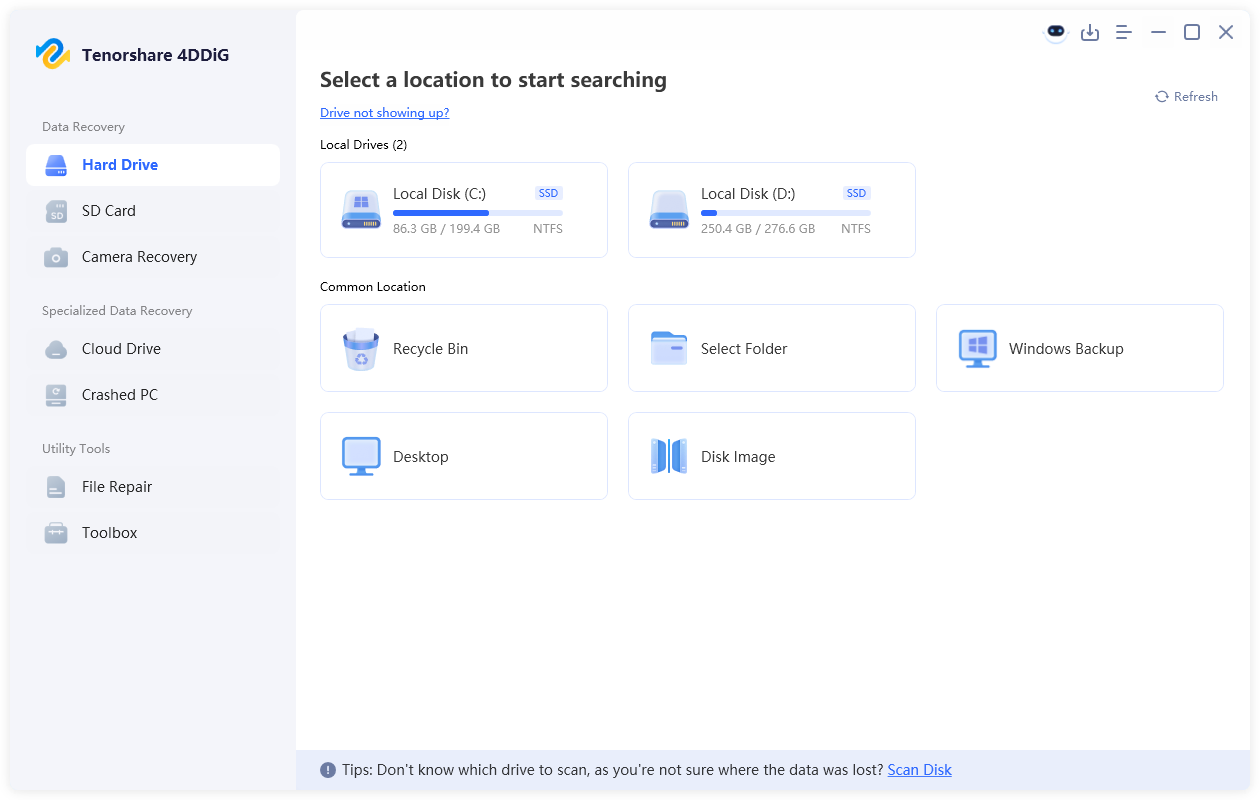
  • Download and install 4DDiG on your computer, then launch it. Connect the external hard drive and select it from the drive list to start scanning for lost files.

    launch 4ddig and select the external hard drive
  • Once the scan starts, use the Filter or Search feature to find the missing photos, videos, documents, audio files, or other data. You can also pause or stop the scan at any time.

    filter or search for lost files in 4ddig
  • Double-click the scan results to preview the recoverable files and check whether the missing data is available. Select the files you need and click "Recover" to restore them.

    preview and recover lost files
  • Choose a different drive or location to save the recovered files, then click "Save Now".

    save recovered files to a different location
📝 Note:

Save the recovered files to a different drive or location instead of the original external hard drive. This helps reduce the risk of overwriting the data you are trying to recover.

How to Safely Eject an External Hard Drive in Windows 10/11

Once the drive is no longer in use, use the built-in removal option to safely remove USB from Windows:

  • Save your work and close any files stored on the external hard drive.

  • Find the "Safely Remove Hardware and Eject Media" icon in the system tray and right-click it.

  • Select your external hard drive and choose "Eject".

  • Wait for Windows to confirm that the hardware can be safely removed, then disconnect the drive.

If you can't safely remove external hard drive hardware because Windows reports that it is still in use, return to the troubleshooting methods above rather than disconnecting it immediately.

Conclusion

When you are unable to eject external hard drive, Windows may still be accessing it through an open file, background process, or system operation. Make sure the drive is no longer in use before disconnecting it to reduce the risk of data loss.

If you already disconnected the drive and lost important files, check your backups first, or use 4DDiG to scan for recoverable files if the missing data cannot be found elsewhere.

FREE DOWNLOAD

Secure Download

FREE DOWNLOAD

Secure Download

William Bollson (senior editor)

William Bollson, the editor-in-chief of 4DDiG, devotes to providing the best solutions for Windows and Mac related issues, including data recovery, repair, error fixes.

(Click to rate this post)

You rated 4.5 ( participated)