4DDiG Partition Manager
Upgrade to Windows 11
Without Security Risks
Windows 11 requires TPM 2.0, supported CPUs, and Secure Boot, making upgrades difficult for many older PCs. 4DDiG Partition Manager offers a safer and easier way to upgrade to Windows 11 with an all-in-one solution.
Have You Encountered These Issues
While Upgrading to Windows 11?
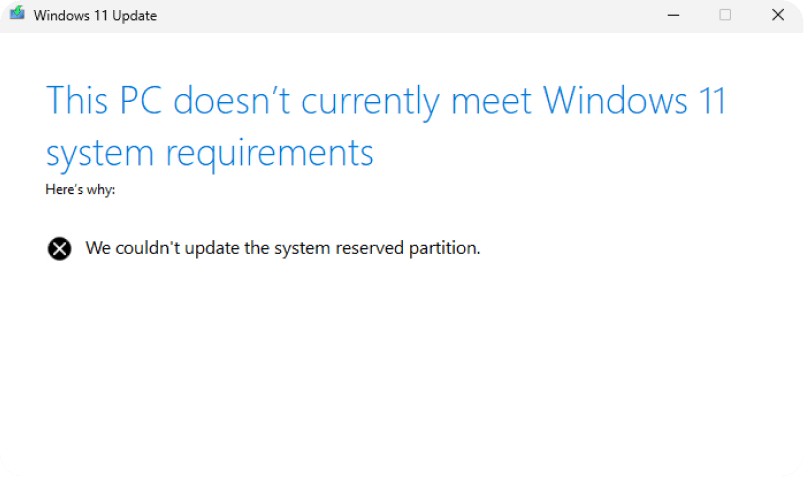
Unsupported PC
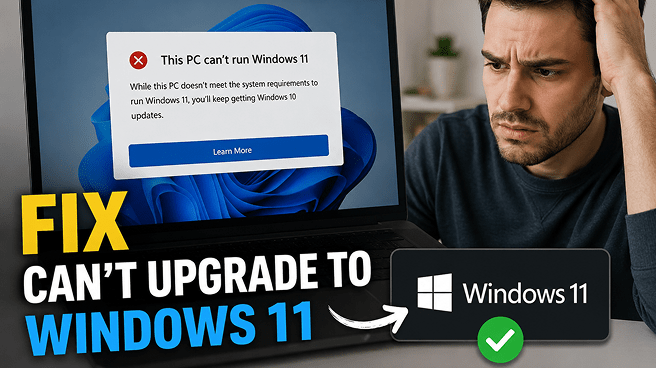
Your PC fails Microsoft's compatibility check and displays the error "This PC doesn't meet the minimum requirements for Windows 11" because some hardware requirements are missing, preventing the Windows 11 upgrade or installation.
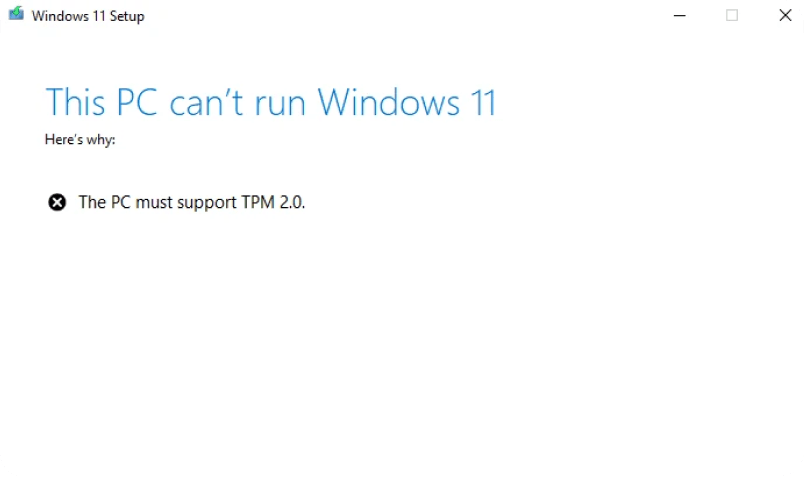
TPM 2.0 not supported
The motherboard does not support TPM 2.0 or the feature is disabled in the BIOS, preventing Windows 11 from meeting its security requirements.
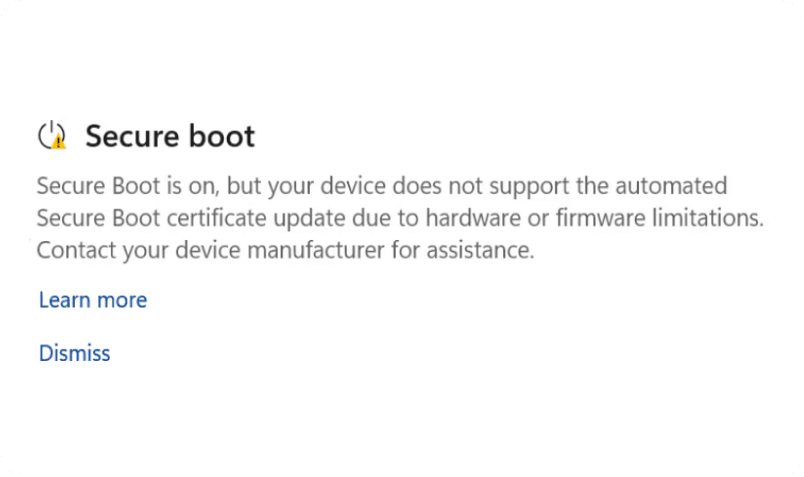
Secure Boot not supported
Older systems may not support Secure Boot, or the feature may be disabled, causing Windows 11 setup to stop or fail.
Unsupported CPU
If your PC has an unsupported CPU that is not on Microsoft’s supported processor list, you may encounter upgrade warnings, miss future updates, or experience compatibility issues.
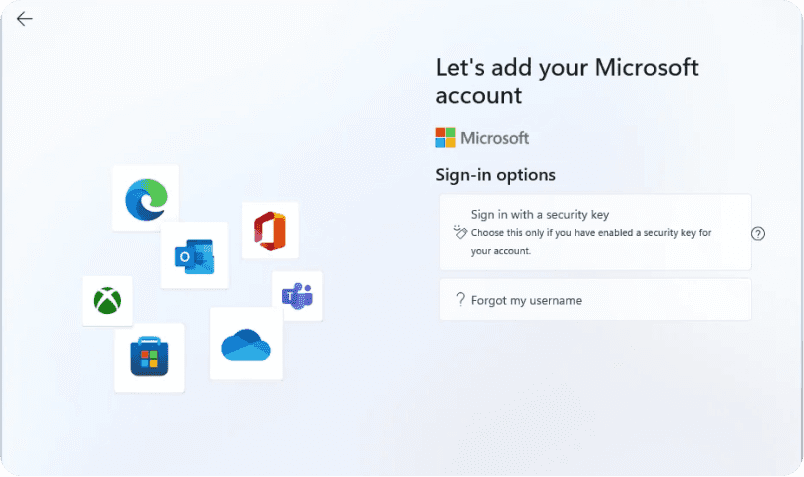
Forced Microsoft account sign-in
Windows 11 setup may require an internet connection and Microsoft account login, preventing you from directly creating a local offline account.
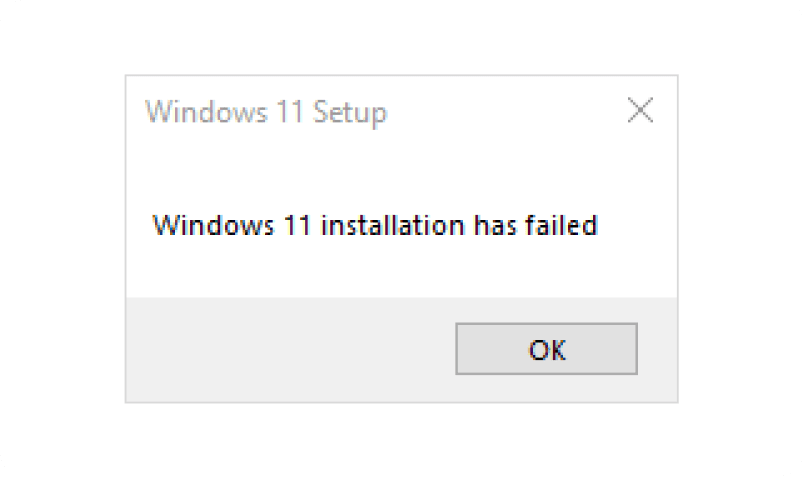
Windows 11 USB installation failed
Errors during bootable USB creation or installation can prevent Windows 11 from installing successfully from the USB drive.
How to Upgrade to Windows 11 on Unsupported PCs?
Windows 11 Bypass Methods Comparison
- Methods
- Best For
- Technical Difficulty
- Rating
- 4DDiG Partition Manager
- Beginner-friendly upgrade for all unsupported upgrade scenarios


- Rufus
- Installing Windows 11 Without TPM 2.0, Secure Boot, RAM, and CPU Requirements


- Registry
- In-place upgrade on unsupported Windows 10 PCs


- CMD
- Skipping Windows 11 setup restrictions during installation
-
- OOBE
- Setting Up Windows 11 Without a Microsoft Account or Internet Connection
-
Technical Methods Guide
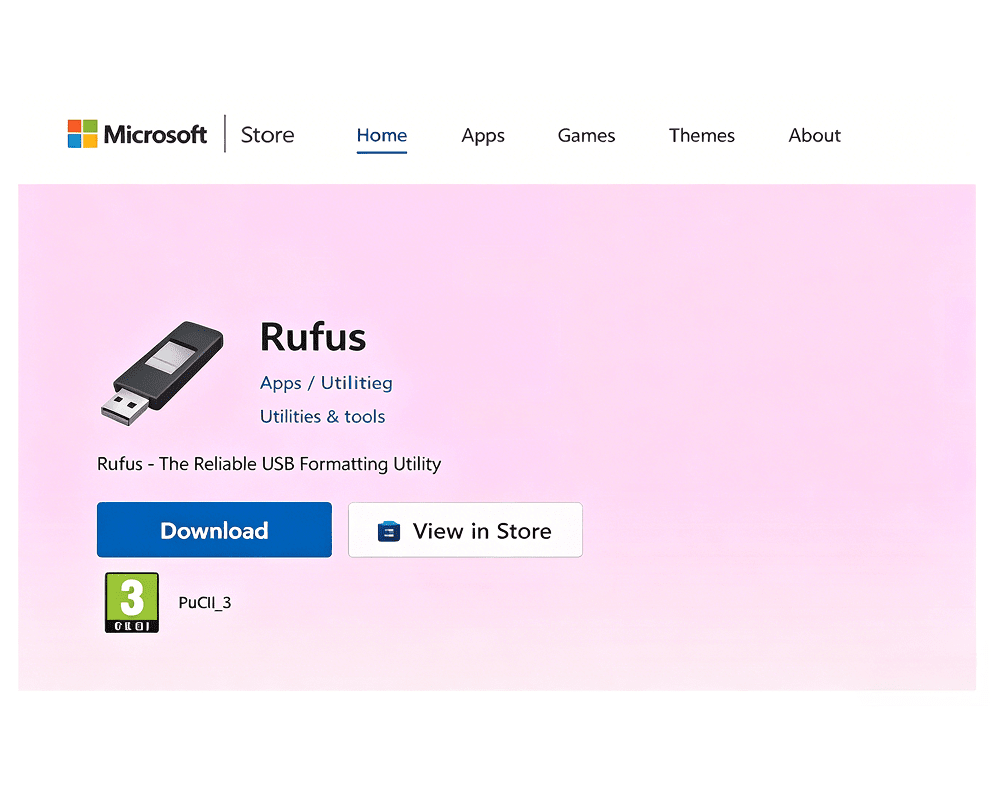
Method 1: Upgrade Windows 11 with Rufus
- Step 1: Download the Windows 11 ISO file from Microsoft.
- Step 2: Download and open Rufus.
- Step 3: Insert a USB drive and select the Windows 11 ISO.
- Step 4: Enable options like “Remove TPM 2.0”, “Secure Boot”, and “RAM requirements”.
- Step 5: Create the bootable USB and install Windows 11.
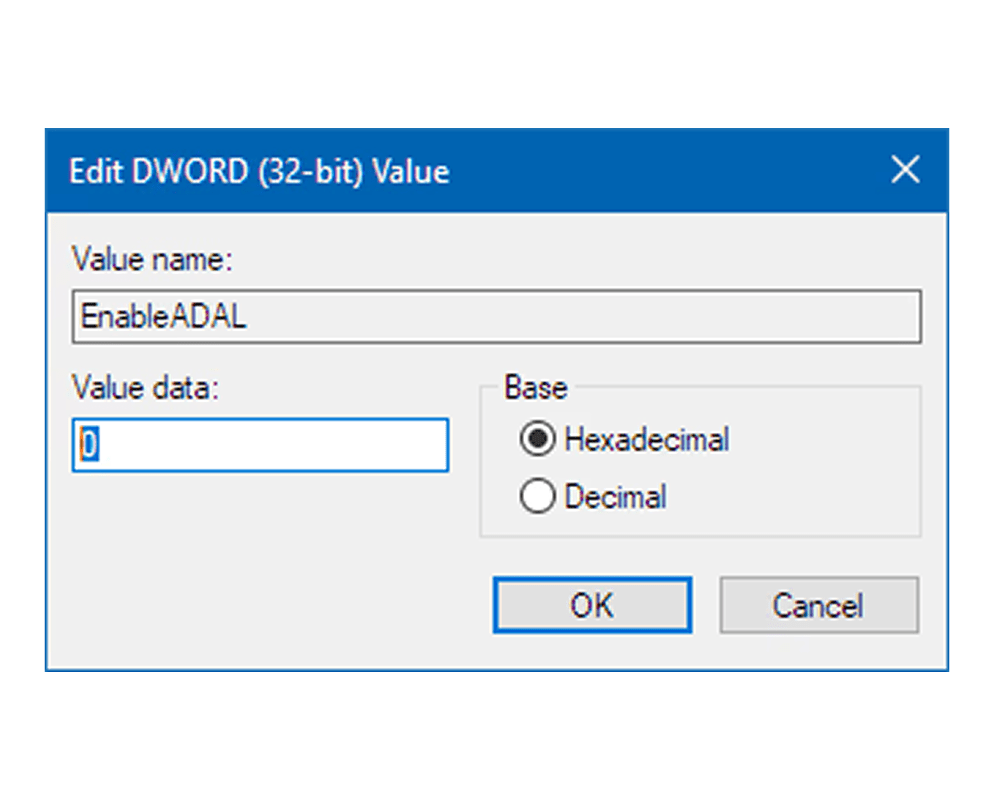
Method 2: Registry Edit Method
- Step 1: Open Registry Editor by typing 'regedit'.
- Step 2: Go to: HKEY_LOCAL_MACHINE\ SYSTEM\ Setup\ MoSetup
- Step 3: Create a DWORD value named: Allow Upgrades With Unsupported TPM Or CPU
- Step 4: Set the value to 1.
- Step 5: Run the Windows 11 setup again.
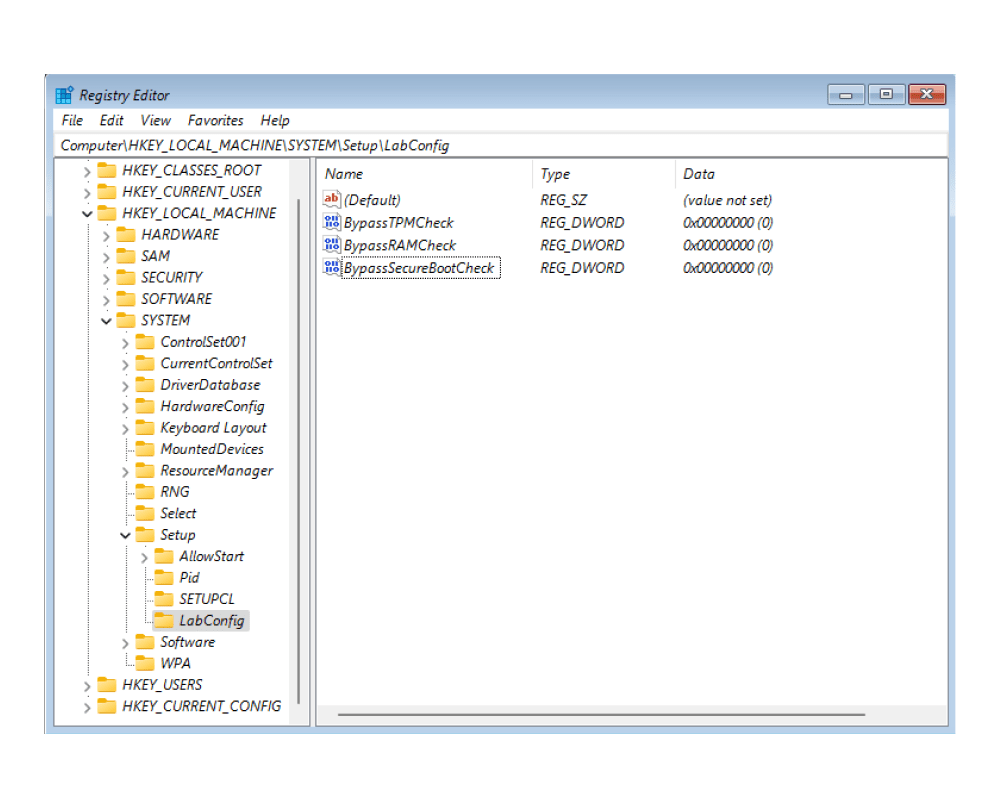
Method 3: Upgrade Windows 11 with CMD
- Step 1: Start Windows 11 installation.
- Step 2: When the compatibility warning appears, press: Shift + F10
- Step 3: Type: regedit
- Step 4: Modify bypass registry keys under: HKEY_LOCAL_MACHINE\ SYSTEM\ Setup\ LabConfig
- Step 5: Add values like: Bypass TPM Check, Bypass Secure Boot Check, Bypass CPU Check, Set all values to 1.
- Step 5: Continue Windows 11 installation.
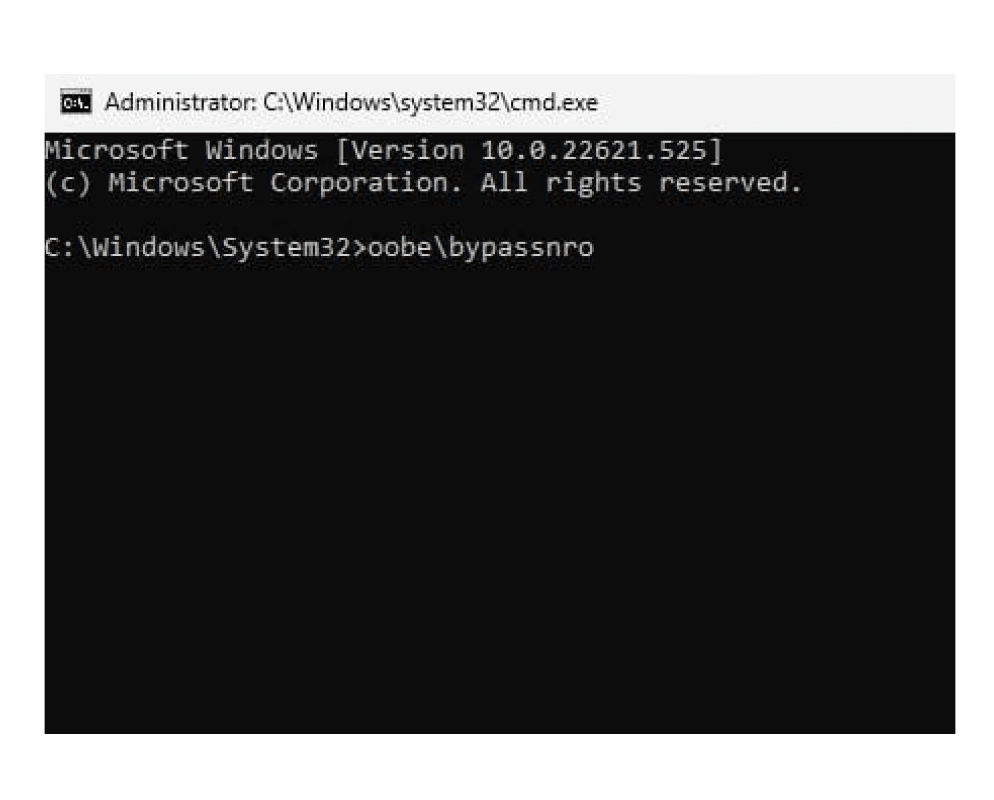
Method 4: Upgrade Windows 11 with OOBE
- Step 1: Start Windows 11 setup normally.
- Step 2: When asked to connect to the internet, press: Shift + F10
- Step 3: Type the command: OOBE\ BYPASSNRO
- Step 4: The PC will restart automatically.
- Step 5: Select “I don't have internet” and create a local account.
Remove Windows 11 Upgrade Restrictions
One-stop Solution

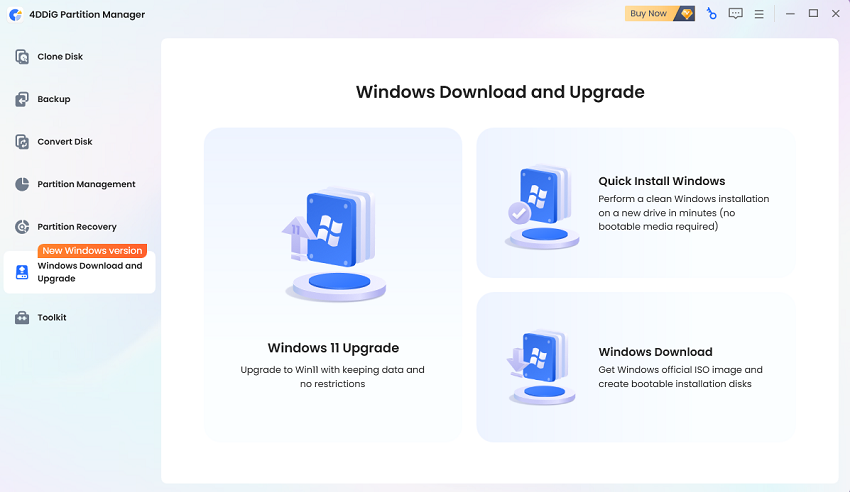
4DDiG Partition Manager
One-click bypass multiple restrictions.
How to Upgrade Unsupported PCs to Windows 11 in 3 Steps
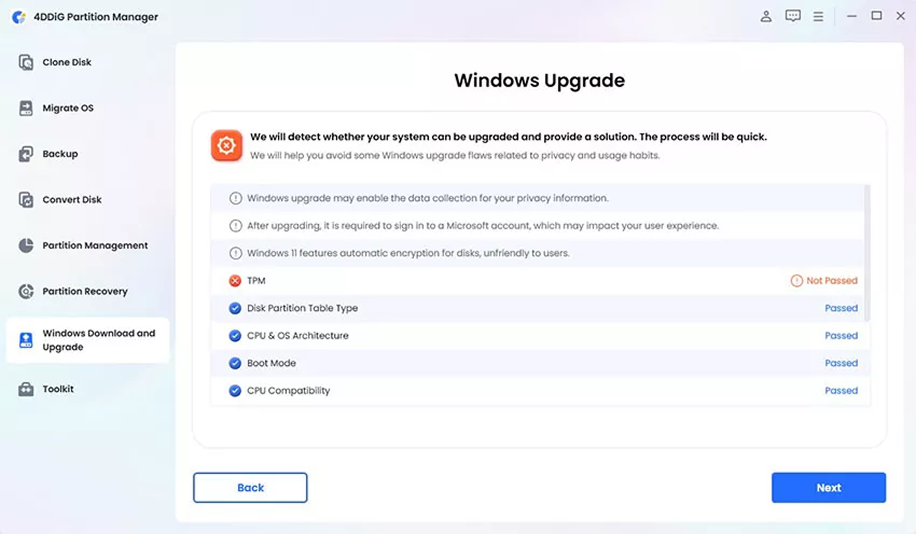
Install and launch 4DDiG Partition Manager
nstall and launch 4DDiG Partition Manager. Go to 'Windows Download and Upgrade' and select 'Windows 11 Upgrade'. The software will automatically check your PC compatibility and show whether your device supports Windows 11.
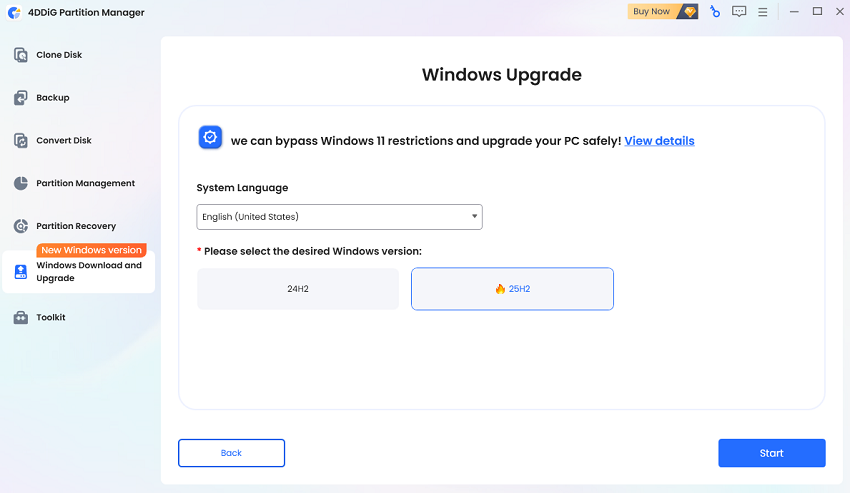
Select language and version, click Start to upgrade
Choose your preferred Windows language and version, then click 'Start'. Confirm the operation by clicking Sure to continue the upgrade process
Note: If your PC doesn't meet the requirements, follow the guide to create a bootable installer or convert the disk type.
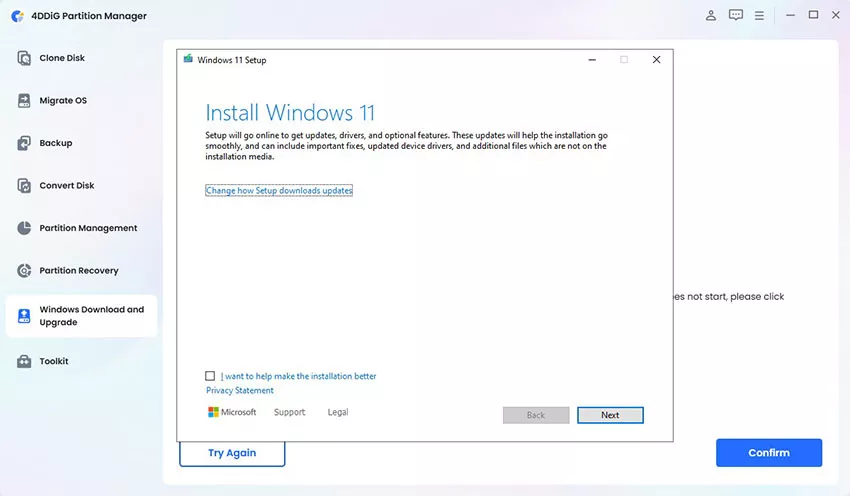
Complete the Windows 11 installation steps
Wait while the software bypasses Windows 11 system requirements automatically. Once completed, you can successfully upgrade to Windows 11.
Problems You May Meet After
Bypassing Windows 11 Requirements
![]() Why it happens
Why it happens
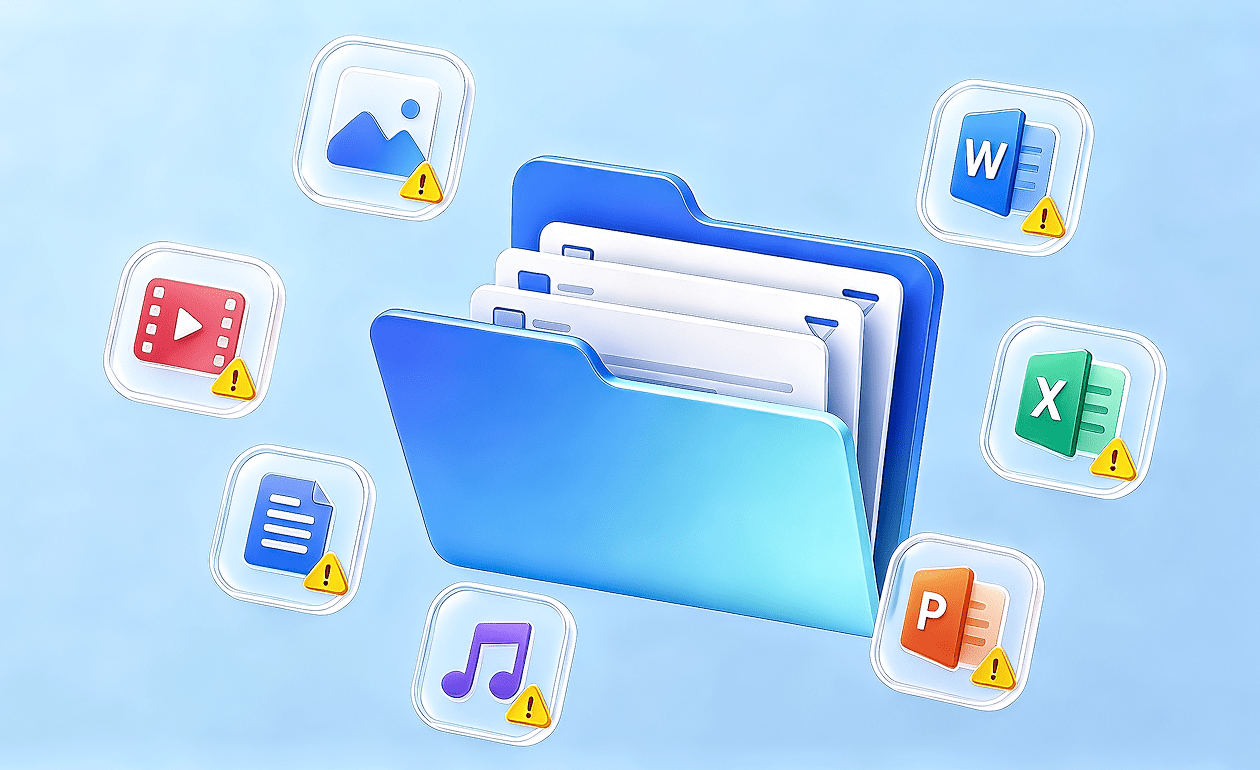
- Installing Windows without backing up important files
- Selecting the wrong partition during installation
- Formatting or overwriting an existing drive by mistake
![]() How to prevent it
How to prevent it
- 01.Back up all important files before starting the bypass process
- 02.Carefully verify partition names and disk sizes before installation
- 03.Disconnect unnecessary external drives to avoid accidental formatting
![]() Why it happens
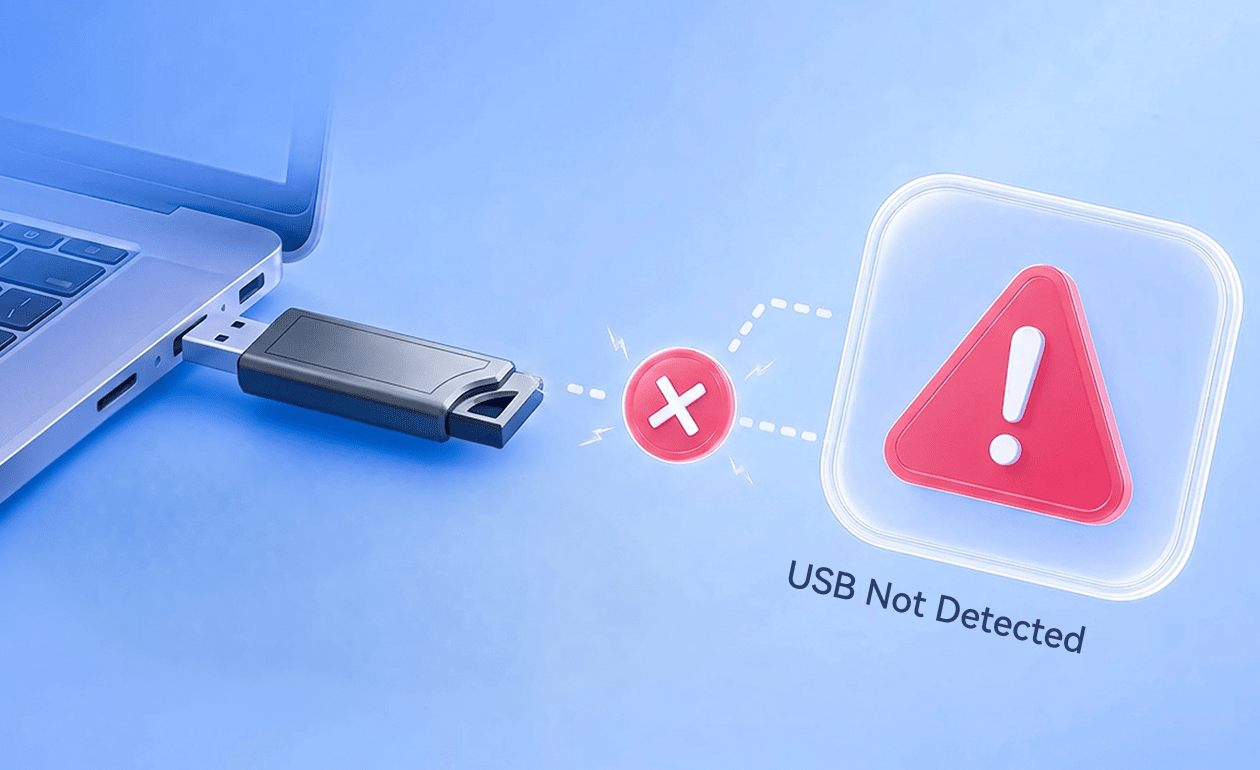
Why it happens
- Incorrect USB creation settings
- Unsupported boot mode (UEFI/ Legacy mismatch)
- Corrupted installation media
![]() How to prevent it
How to prevent it
- 01.Format the USB drive before creating installation media
- 02.Ensure BIOS boot mode matches the USB format (UEFI or Legacy)
- 03.Use official Windows 11 ISO files and reliable USB creation tools
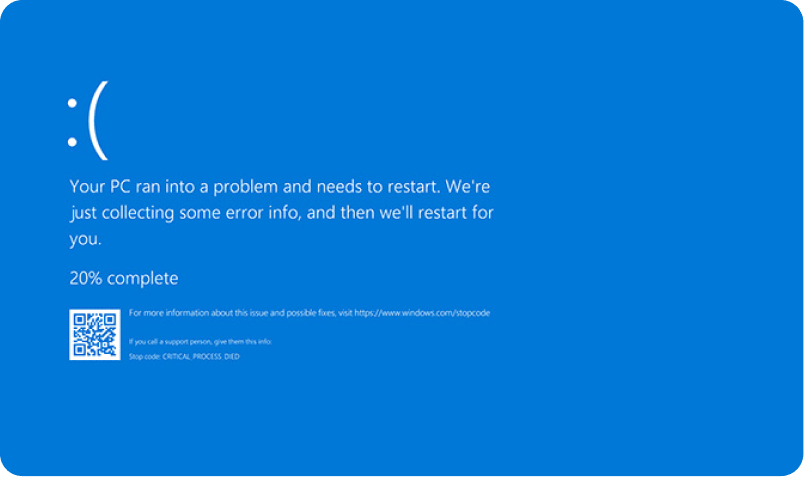
![]() Why it happens
Why it happens
- Unsupported hardware compatibility
- Missing or outdated drivers
- Incompatible bypass modifications
![]() How to prevent it
How to prevent it
- 01.Update chipset, graphics, and network drivers immediately after installation
- 02.Avoid using outdated bypass scripts or unknown modification tools
- 03.Keep Windows updated and monitor system stability regularly
FAQs about Bypassing Windows 11 Requirements
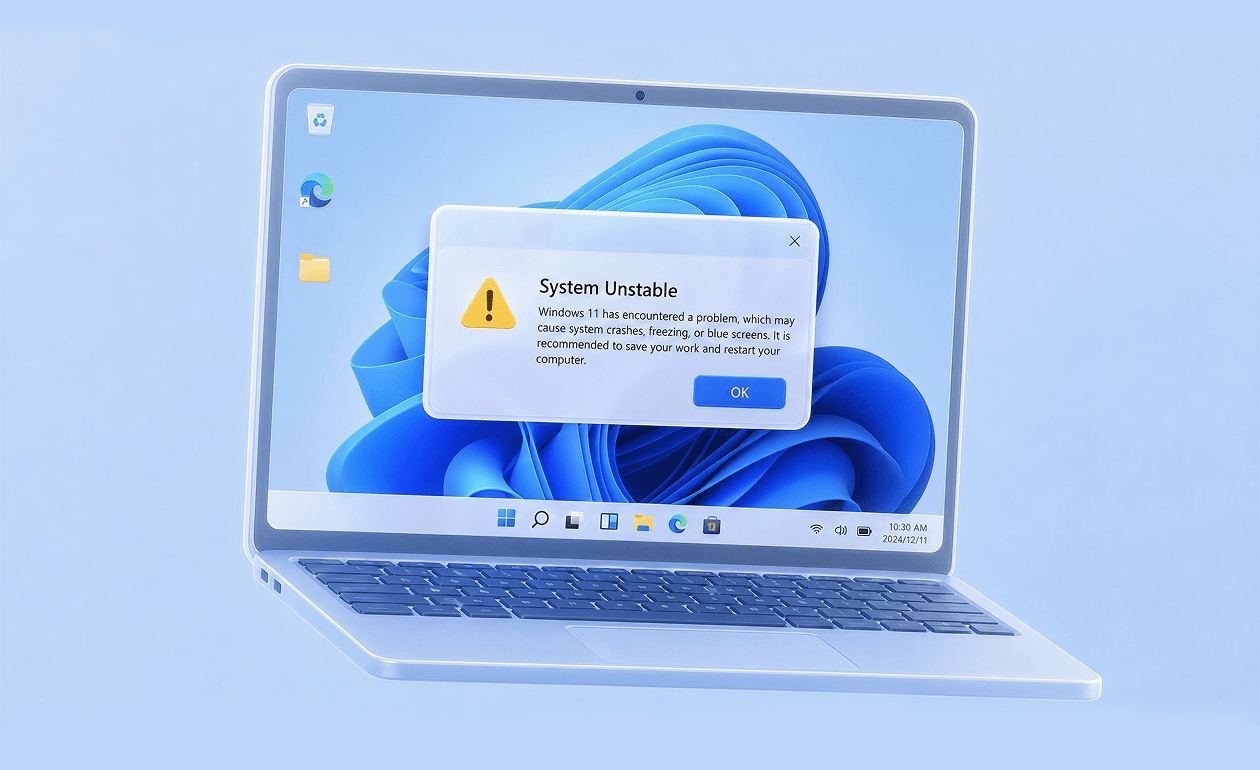
In most cases, the installation can work normally, but bypassing official requirements always carries some risks, such as driver incompatibility, system instability, or missing future updates. Backing up your data before installation is strongly recommended.
Officially, Windows 11 requires TPM 2.0. However, it is possible to install it on unsupported devices using workarounds such as registry edits or modified installation media. Tools like 4DDiG Partition Manager can also help in some installation scenarios.
You may still receive updates, but Microsoft does not guarantee full update support for devices that bypass system requirements. Some feature updates or security patches could be restricted in the future, and unsupported configurations may eventually lose update eligibility.
Yes, it is possible using unofficial methods such as bypassing TPM, Secure Boot, or CPU checks or the one stop solution 4DDiG Partition Manager.
Yes. Unsupported hardware may lead to reduced performance, driver issues, instability, or incompatibility with certain features. Even if installation is successful, Windows 11 is optimized for newer supported systems, so older hardware may not deliver a smooth experience.
Tips and Video Tutorials about Windows 11 Bypass


 4DDiG Partition Manager
The Most Complete and Safe
Windows 11 Upgrade Tool
One-click bypass of TPM 2.0, CPU compatibility, and Secure Boot requirements, enabling unsupported devices to upgrade to Windows 11 with ease.