How to Make an SSD a Boot Drive [Step-By-Step]
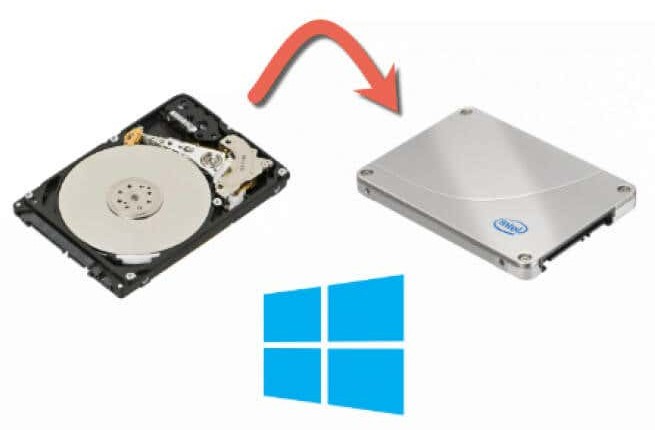
Upgrading your computer's storage can significantly boost its performance, and one of the most effective upgrades is switching from a traditional hard drive to a solid-state drive (SSD). An SSD can speed up your system, making boot times faster and applications more responsive. If you're considering this upgrade but unsure where to start, you're in the right place. This guide will explain how to make an SSD a boot drive to ensure your system performance. Let's learn how to set an SSD as a boot drive!
Part 1: Preparations Before You Set an SSD As a Boot Drive
1. Install SSD to Your Computer
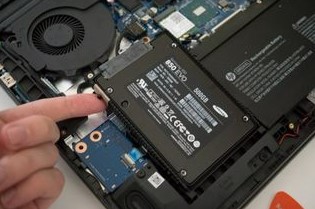
Before you learn how to set SSD as boot drive in BIOS, you must physically install it on your computer. Follow the below steps:
- Turn off your computer and unplug all power cables.
-
Use the screwdriver to remove your computer case.

- After that, connect the SSD to the PC via connection cables.
2. Enable SSD in BIOS
After installing your SSD, the next crucial step is to enable it in the BIOS (Basic Input/Output System). The BIOS is the firmware interface between your computer's hardware and operating system. Follow the below steps:
- Firstly, you need to restart your computer. Then, you must immediately press the keys (F2, Del, Esc, or F10) to enter the BIOS setup.
- After that, you need to Enter Setup and Turn on SSD or enable it.
- Finally, save the changes and exit.
3. OS Migration Software
When upgrading to an SSD, you can transfer your existing operating system (OS) and data from your current hard drive to the new SSD. This process is known as OS migration, which can be handled using specialized software like 4DDiG Partition Manager.
Part 2: How to Migrate Windows OS to SSD? Just 3 Steps!
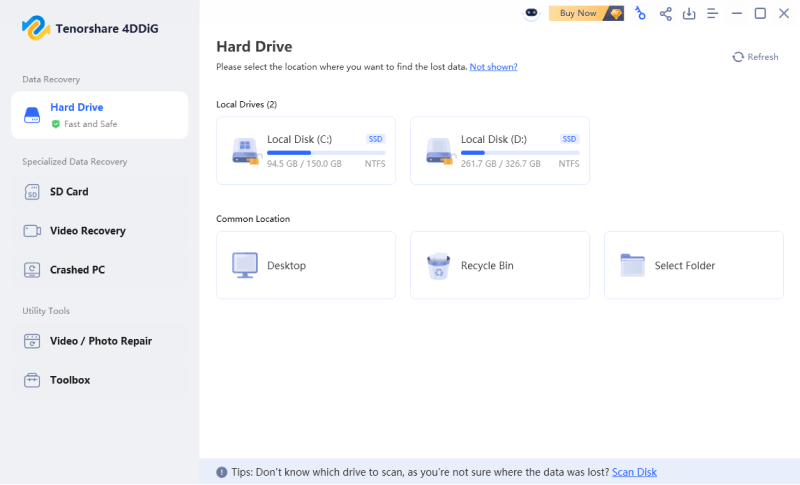
Migrating your Windows OS to a new SSD can be challenging, but we have the perfect solution. We recommend utilizing 4DDiG Partition Manager, which simplifies the migration with its user-friendly interface and powerful features.
Follow the below key features of 4DDiG Partition Manager:
- Migrate OS to SSD: 4DDiG Partition Manager can transfer your operating system from your current drive to an SSD to ensure a smooth and fast boot experience.
- Partition Management: This tool makes it easy to create, delete, resize, and format partitions to optimize disk space usage
- Disk Cloning: Now you can clone entire disks, including system files and installed applications to another drive with 4DDiG Partition Manager
- Data Backup and Recovery: This tool can safeguard your data with robust backup options and recover lost or deleted files when needed.
Follow the below steps about how to migrate your Windows OS to an SSD in just three simple steps using 4DDiG Partition Manager:
-
Connect your new drive once 4DDiG Partition Manager has been downloaded and installed on your computer. Then, open the application and click "Clone OS Disk", choose the new drive as the target disk, and press "Next" to proceed.
FREE DOWNLOADSecure Download

-
Preview disk layout and click Start, a pop-up window will warn you that files and partitions on the target disk will be overwritten during system migration. Click "Sure" to initiate the system migration.

-
Depending on the size of the drives, system migration will now start under 4DDiG Partition Manager and take some time to finish. You can view migration data, including elapsed time and migration speed.

Part 3: How to Set an SSD As a Boot Drive in Windows 11/10?
After migrating your Windows OS to an SSD, the final step is to set the SSD as the primary boot drive. This ensures your computer uses the SSD to start up, taking advantage of its faster speeds. Follow the below steps that can help how to set SSD as primary boot drive:
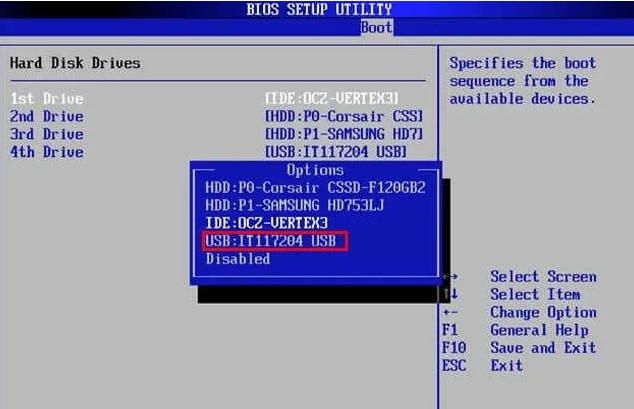
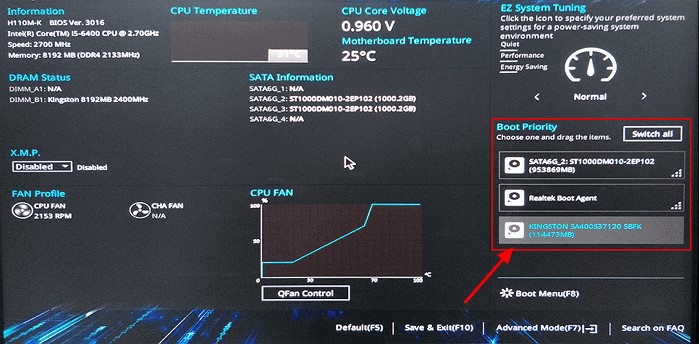
- Restart the computer and press the F2/F12/Del keys to access BIOS.
-
Go to the boot option and change the boot order to ensure the OS is booting from the new SSD.

- After that, you must save the changes, exit the BIOS, and restart your computer.
FAQs about How to Set an SSD As a Boot Drive
What is the benefit of setting an SSD as a boot drive?
Compared to using a traditional hard drive, you will experience faster boot times, quicker application loading, and overall better responsiveness.
Do I need to reinstall Windows to use my SSD as a boot drive?
No, you don’t need to reinstall Windows. You can use OS migration software, like 4DDiG Partition Manager, to clone your existing OS from your current hard drive to the SSD.
How do I check if my SSD is set as the boot drive?
After setting your SSD as the boot drive in the BIOS/UEFI, restart your computer. If it boots up faster than before, it's likely using the SSD. You can also check in the BIOS/UEFI settings or the Disk Management tool in Windows.
Conclusion
In short, setting up an SSD as a boot drive is a simple yet impactful upgrade. We have explained a guide on how to make an SSD a boot drive. If you’re a beginner or expert, tools like 4DDiG Partition Manager make the process straightforward and accessible. Each step is designed to ensure a seamless transition from installing the SSD to configuring the BIOS/UEFI settings. We hope you have learned how to set SSD as default boot drive to improve your system performance efficiently.
Secure Download


 ChatGPT
 Perplexity
 Google AI Mode
 Grok
Grok


