Lenovo Legion Go SSD Upgrade: Step-By-Step Guide
Learn how to complete the Lenovo Legion Go SSD upgrade with this easy-to-follow tutorial. Follow step-by-step instructions and use the 4DDiG Partition Manager to help you!
If you’re thinking about buying a Lenovo Legion Go (or already got one recently), then the real question ends up being about the storage. After all, managing and having access to a good amount of storage is the only way you can enjoy the best experience with the device, right?
That’s also where this Lenovo Legion Go SSD upgrade becomes important, too, since this article will offer you comprehensive coverage of all you need to know to safely figure out how to do Lenovo Legion Go SSD upgrade.
From the preparations that come before the upgrade to how to leverage the power of the 4DDiG Partition Manager tool during it, this article will tell you everything you need.
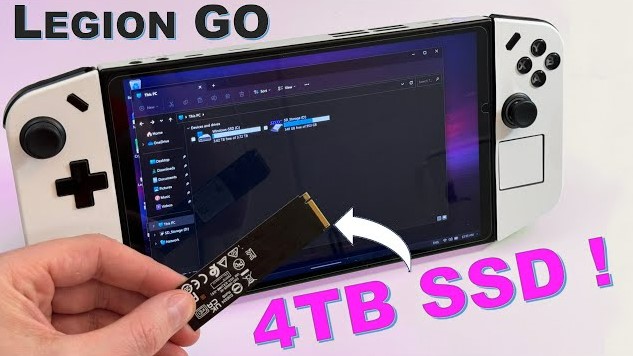
Part 1: Preparations before Lenovo Legion Go SSD Upgrade
First of all, let’s consider what you’ll need to make your process easier and be able to conduct the Lenovo Legion Go SSD upgrade successfully and without hiccups. Here are the items you’ll need at hand:
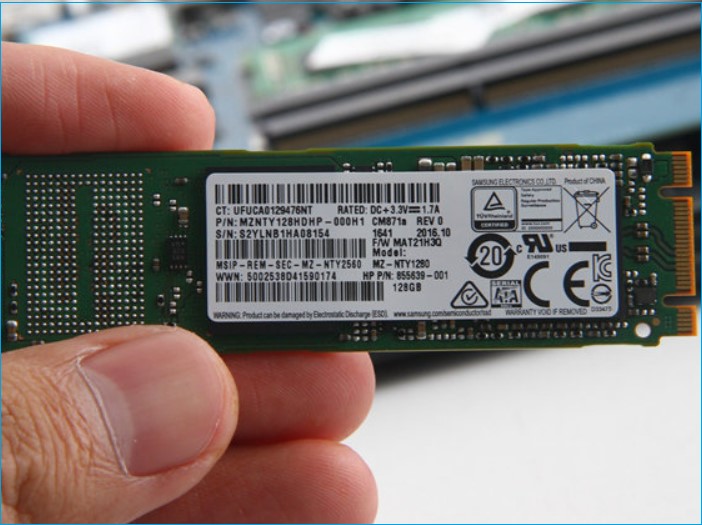
- A replacement SSD that caters to the size you require.
- Screwdrivers - more specifically, PH00 and PH0.
- A plastic spudger. This is needed for the device’s backplate.
- Finally, an SSD cloning software
Part 2: Steps to Upgrade Lenovo Legion Go SSD
Action 1: Use SSD Cloning Software
To completely allow Lenovo Legion Go upgrade SSD, you’ll need cloning software, as we mentioned in the previous section of the article.
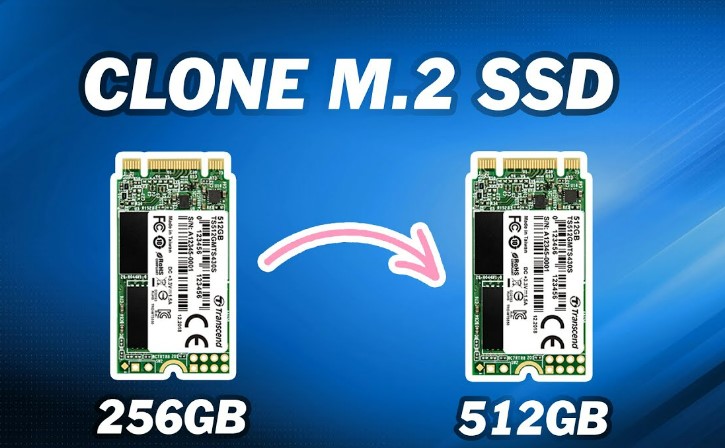
For this, we recommend utilizing the power and capabilities of 4DDiG Partition Manager, which is a free-to-use tool with a variety of options available for you, from creating and repairing partitions or drives to cloning them, the latter of which is relevant for the purposes of this article.
The tool, in fact, helps you clone the disk in moments and without worry about data loss, making it one of the safest options open to you. Here’s how you can do that:
-
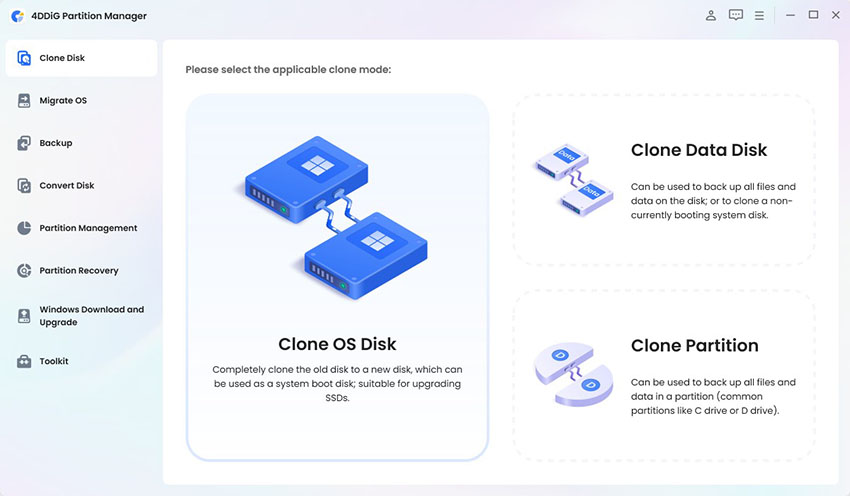
Download and install 4DDiG, then connect the new SSD to your computer. Launch the 4DDiG Partition Manager software and open “Clone Disk”. You can find it on the left sidebar of the screen.
FREE DOWNLOADSecure Download

-
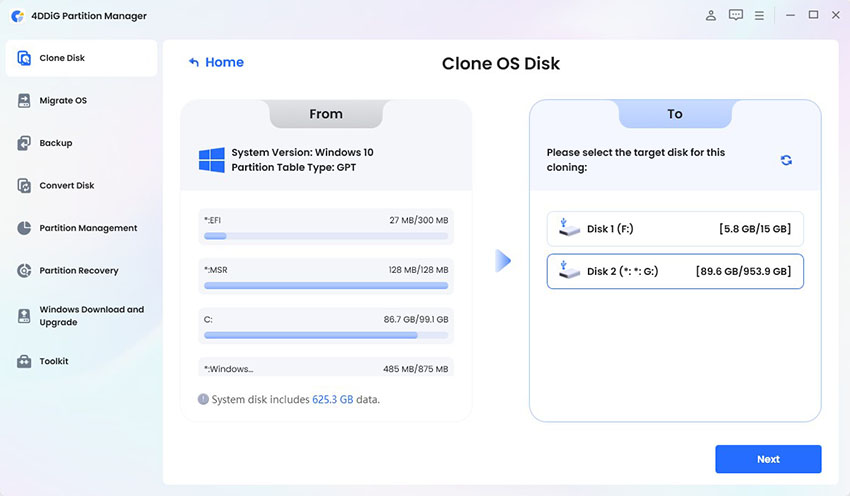
Now, you’ll have to choose the source and target disk - i.e., the disk receiving the data to be cloned from the original (source) disk. Click “Next”.

-
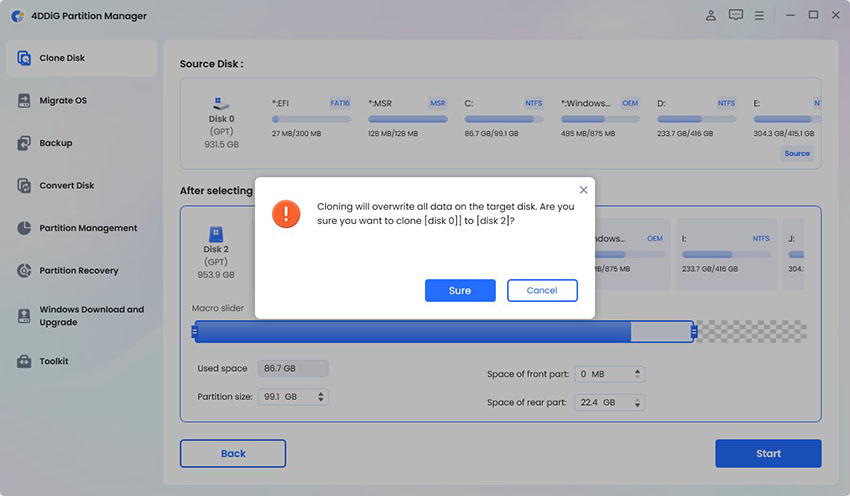
Please note that cloning will overwrite all data on the target disk (the new SSD), so after you confirm that everything is correct, click on the Sure button.

-
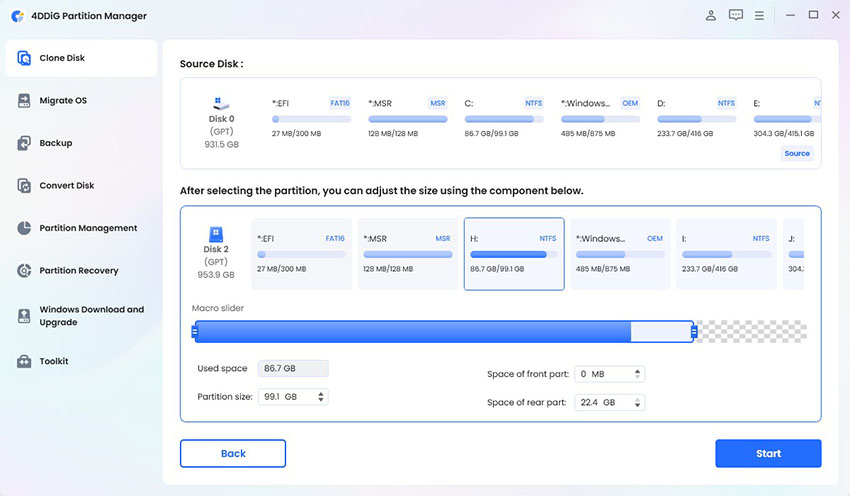
A preview of the effect will appear, and you can confirm whether it’s fine. If it is, just press the “Start” button.

-
The process will jump into action and take time, depending on how much data will be transferred. However, once the process is complete, a screen will pop up, telling you that the cloning process has been successfully executed. You can now close the partition manager.

Get 1 Month License Instantly!
Action 2: Turn off the Legion Go, Disconnect Controllers and Remove Backplate
Now it’s time to move onto the more physical parts of the process of the Lenovo Legion Go SSD upgrade.
-
Power off your device and place the Lenovo Legion Go on its front. Detach the controllers from it.

-
Open the kickstand so you can see what’s inside, and pull out that PHOO screwdriver you set aside in the beginning. Use it to unscrew the backplate.

-
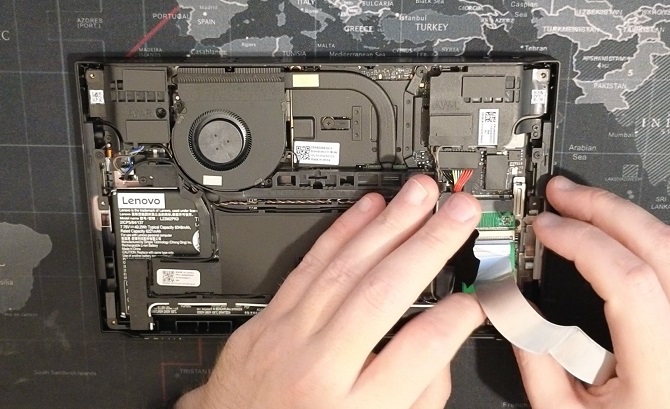
Now, use the separation tool to slowly push apart the backplate from the shell of the Lenovo. We recommend starting from where the kickstand is because there are also a lot of other components of the device that need to be handled with extreme care and not disturbed.

Action 3: Disconnect the Battery
This part of the process is fairly simple but extremely delicate. Just as you needed to be careful previously when lifting the backplate, you need to be extra cautious when conducting this part.
On the right side of the device, there will be a bit of tape covering the battery connector. Pull it down and away, and this will disconnect the battery. Do note that it doesn’t need to be pulled too far away – keeping it at a small distance should work and make it simpler to handle.
Action 4: Removing the SSD
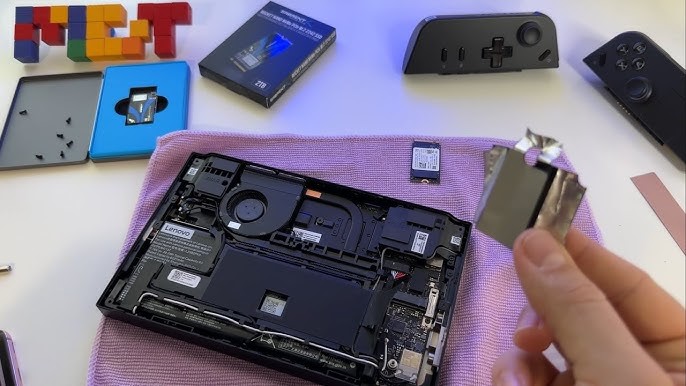
Once the battery has been disconnected and the other steps are completed, you can start removing the SSD to complete the rest of the Lenovo Legion Go SSD upgrade process. To do so, you must follow the given steps:
-
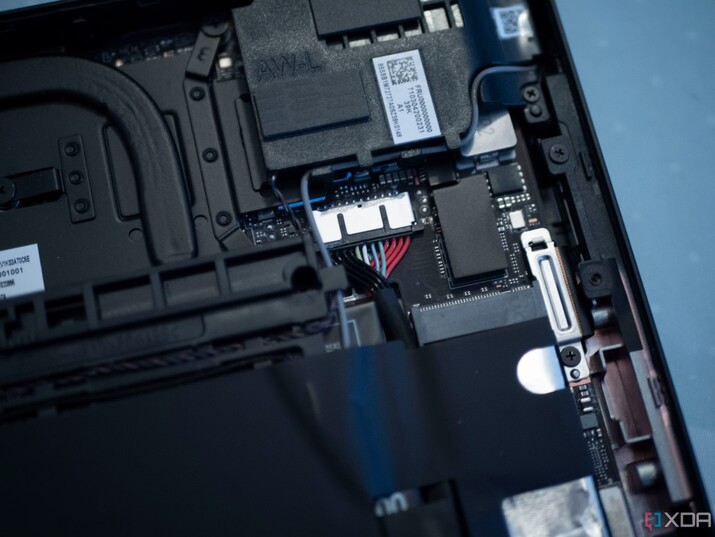
There will be a black tape covering the SSD. Remove it.

-
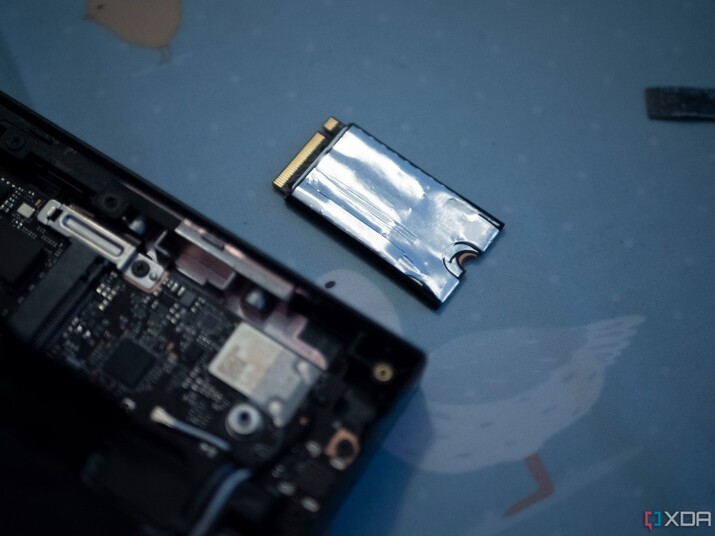
Use the PHO screwdriver this time and unscrew the SSD from where it is placed. Next, keep the metal foil intact, but carefully extract the SSD card from its location for the cloning process, which we’ve shown you in Action 1 at the beginning of this article.

Action 5: Reassemble the Lenovo Legion Go
Once you’re done with actions 1 to 4 and have cloned the data, it’s time to return the SSD and the backplate so that the Lenovo Legion Go upgrade SSD process can be fully complete. Here’s how you do that:
-
Remember the metal foil from Action 4, step 3? Pull it around the new SSD carefully. This is necessary so that there is no electrical interference with the new card.

-
Wiggle the SSD back into place and screw it in place.

-
Now, you can connect the battery and tape in place again.

-
Put the backplate on once every internal part of the reassembly process has been correctly completed, and screw it in place.

-
Close the kickstand and power up your device to confirm whether the Lenovo Legion Go SSD upgrade was a success!

Conclusion
Simple, right? Now that you’ve fully completed your learning of the Lenovo Legion Go SSD upgrade process with our easy-to-folly guide, you’ll have some idea of how much space you need, use, and save up for the next big software.
And since you’ve saved all that money by conducting the Lenovo Legion Go upgrade SSD yourself, you can use the saved budget to buy games or a shiny new case.
All in all, this may have been a little difficult to do it yourself, but with a little dedication, hard work, and the useful features of the 4DDiG Partition Manager at your side, you won’t lose out. You will enjoy a computing experience that is both faster and more efficient, and you’ll be doing it all on your own terms.
Don’t hesitate, don’t worry, and complete your very own Lenovo Legion Go SSD upgrade today!
Secure Download






 ChatGPT
 Perplexity
 Google AI Mode
 Grok
Grok

