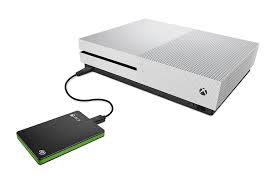
Xbox Series S Internal SSD Upgrade, How to Do It?
Are you wondering how to do the Xbox Series S internal SSD upgrade? Don’t worry! Just download 4DDiG Partition Manager to help you upgrade internal SSD Xbox Series S.
An Xbox is one of the most commonly used gaming systems and, indeed, one of the most sought-after to build your gaming experience.
Unfortunately, though, while games of the new day and age are coming in bigger and bigger packages with more storage space required than before, it remains true that an Xbox Series S Internal SSD Upgrade is required before you can have a truly incredible gaming experience.
This is because, with the Xbox Series S upgrade internal SSD, the card has storage limitations, making it easier to access larger games with better graphics or multiple games.
Still, this article is a way to solve the problem, and if you’re looking for a way to upgrade internal SSD Xbox Series S, you’ve come to the right place.
This article will help you through the step-by-step process of unlocking and upgrading the storage problem, and all of this can be done via the five actions you can act upon.
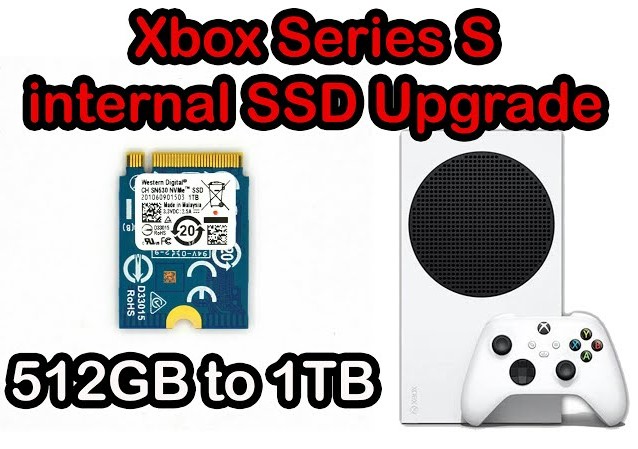
Part 1: Can I Upgrade the SSD in My Xbox Series S?
But first, a little clarification. Can you, in the end, do an Xbox Series S Internal SSD Upgrade in the first place? Quite a few Xbox Series S users can be a little uncertain about the feasibility of this, especially since many might have heard horror stories about upgrading.
The good news is that Microsoft designed the Series S to allow users to upgrade internal SSD Xbox Series S quite easily since it has flexibility and adaptive qualities that previous versions lacked.
The upgrade is generally not required if it uses a custom NVMe M.2 2230 SSD. However, other times, a larger SSD can only help, though do keep in mind that if you’re upgrading to a new SSD (a larger SSD), you’ll also want to transfer your old data so you don’t lose any progress you’ve made.
Part 2: Xbox Series S Internal SSD Upgrade: How to Do It?
The Xbox series S internal SSD upgrade process is divided into five easy steps, and you can follow them individually to ensure you have the right process.
Action 1: Select a New Larger SSD for the Xbox Series S
The first action you’ve got to take in the Xbox Series S upgrade internal SSD journey is selecting the best alternative SSD. It should have larger storage capacities than the old one, but you must also consider other aspects - compatibility, speed, and specs.
The initial step in the Xbox Series S upgrade internal SSD journey is selecting a suitable replacement SSD with a larger storage capacity. Consider compatibility, speed, and storage size to ensure optimal performance and an enhanced gaming experience.
Action 2: Format the New SSD to exFAT Format
Secondly, begin by preparing the new SSD for integration into your Xbox. In this, you’ll want to format or reformat the SSD in accordance with the exFAT format.
While this isn’t too difficult, we recommend using the 4DDiG Partition Manager for the safest and fastest route since it can easily reformat your disk, hard drives, and external drive according to the format you choose, which includes exFAT, NTFS, FAT32 and more.
To use this process to format the SSD before proceeding with the Xbox Series S internal SSD upgrade, you can follow the step-by-step process of the following method:
-
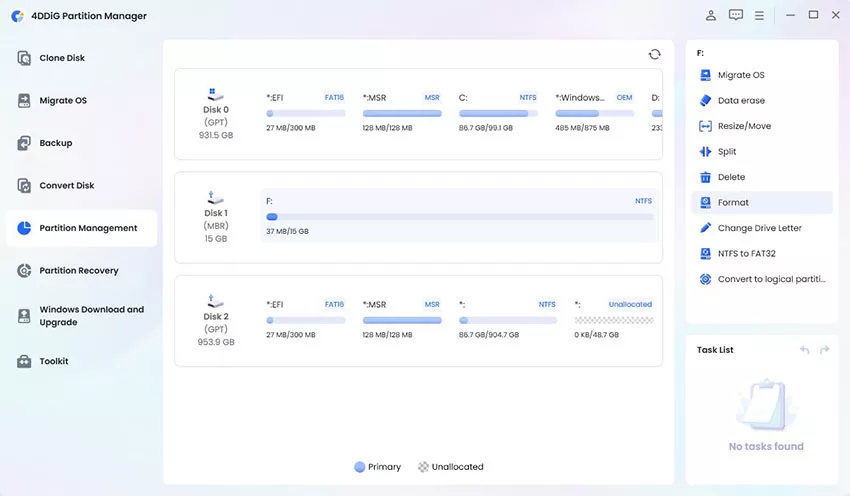
Download and launch the 4DDiG Partition Manager. Then select “Partition Management” from the sidebar, go to the partition you want to format, right-click, and choose the right option from the list.
FREE DOWNLOADSecure Download

-
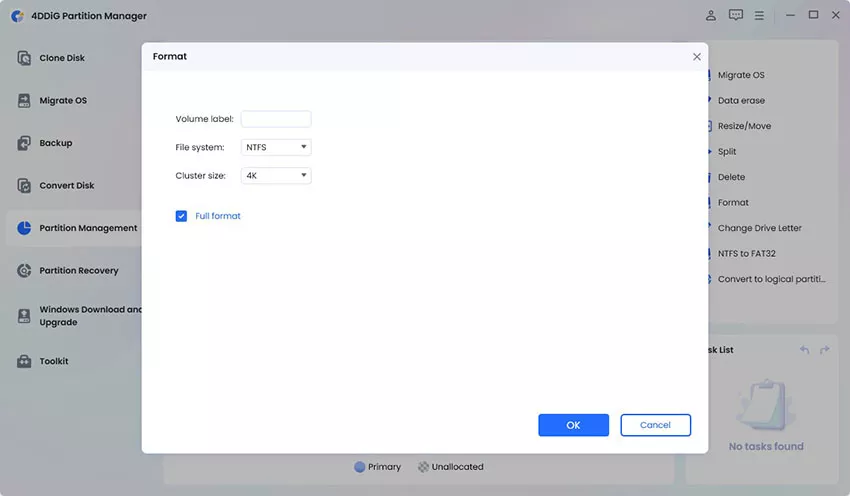
You’ll find three items on the page that pop up - Volume Label, file system, and cluster size. Reset all these, confirm, and click OK to reach the next step. In the file system, choose exFAT.

-
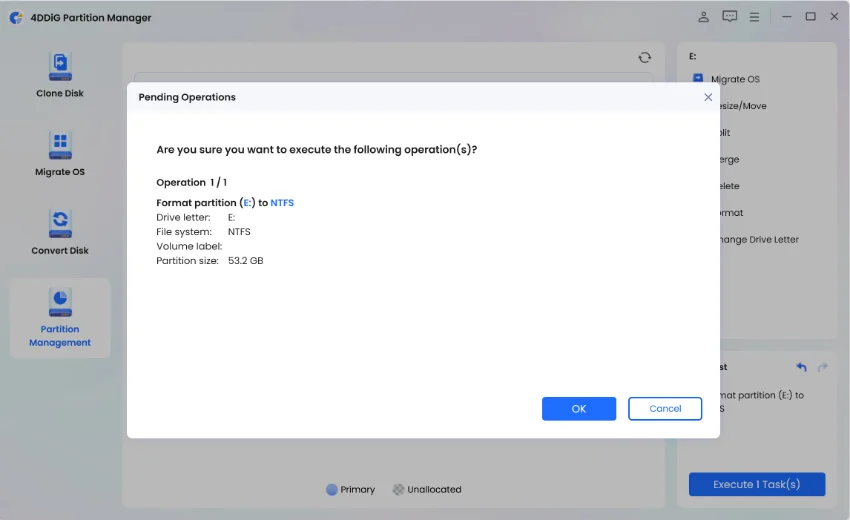
Check the given preview, and if it’s fine, click on the ‘Execute 1 Task(s)’ button and then ‘OK’.

-
Click Done when the new SSD is formatted successfully.

⛳You May Also Like: Xbox One External Hard Drive format on PC/Mac: 5 Ways
Action 3: Remove the Old SSD from Your Xbox
Since the selection and formatting is complete, the next step to complete the Xbox Series S Internal SSD Upgrade process is to remove the old SSD from your Xbox. To do so, follow the given steps carefully:
-
Power off the Xbox and remove any cables attached.

-
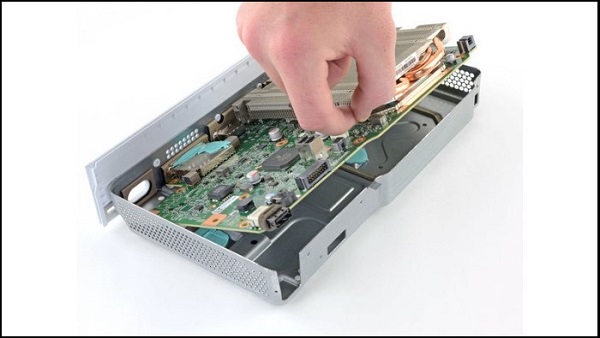
Open and remove the plastic case, after which you must detach the boards for the power button, Wi-Fi, and Bluetooth. Continue removing the following:
- Power supply
- Fan
- Motherboard screws
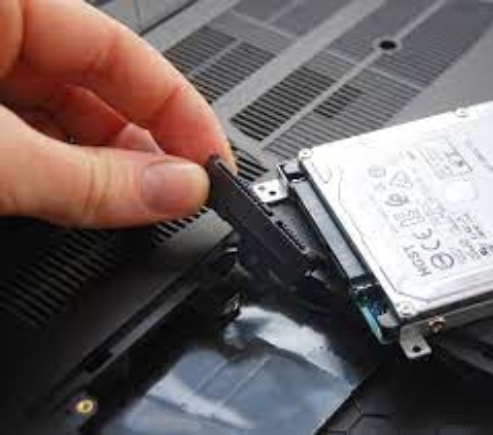
Finally, remove the motherboard with the SSD card, which you can then take out to exchange and replace through an Xbox Series S upgrade internal SSD.
Action 4: Upgrade Xbox Series S Internal SSD without Losing Data
Congratulations! Now, you’ve reached a pivotal stage in the entire Xbox Series S Internal SSD Upgrade process - here, you want to upgrade the SSD without losing any important data. For this purpose, we recommend using the 4DDiG Partition Manager.
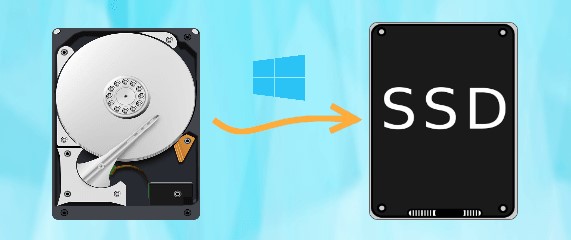
When it comes to cloning entire SSDs, this tool is irreplaceable. It can help you smoothly transition from one SSD to another without worrying about losing any important downloads and saves in the process. To do so, you must follow the given steps:
-
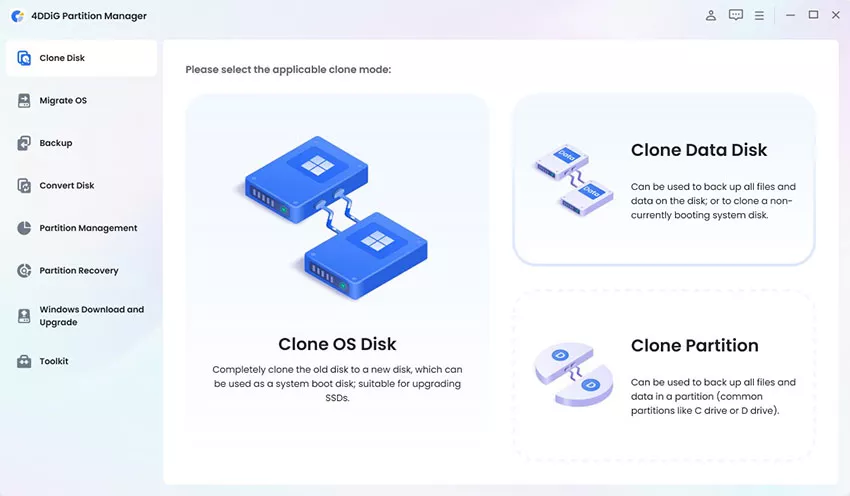
Connect the new SSD to your computer after downloading and installing 4DDiG Partition Manager on your computer. Then launch the application, select “Clone Disk”.
FREE DOWNLOADSecure Download

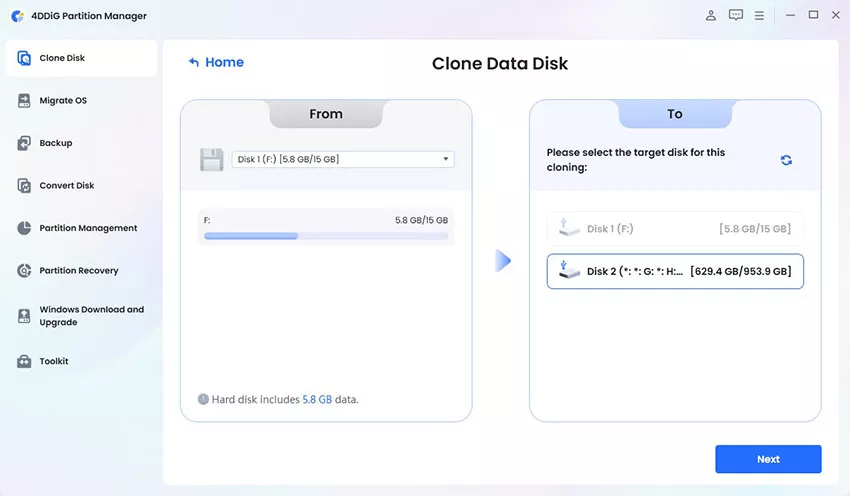
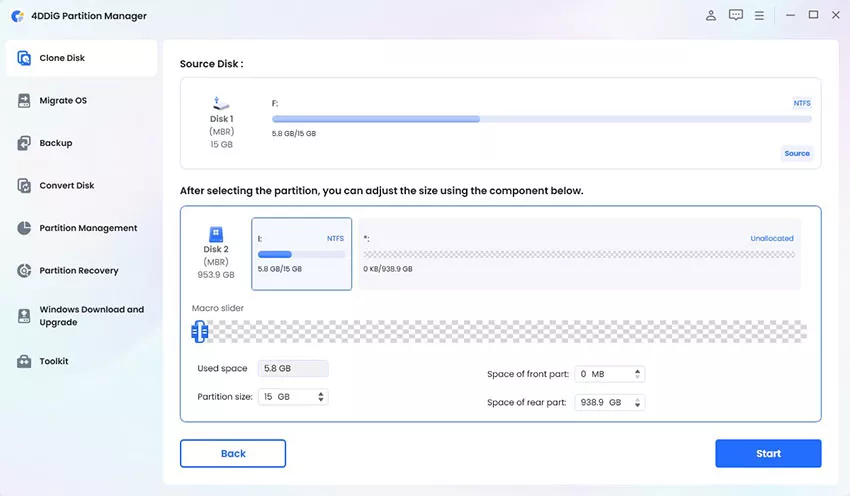
Choose the target disk (the new SSD) to which you’ll send your cloned data and press ‘Continue’.

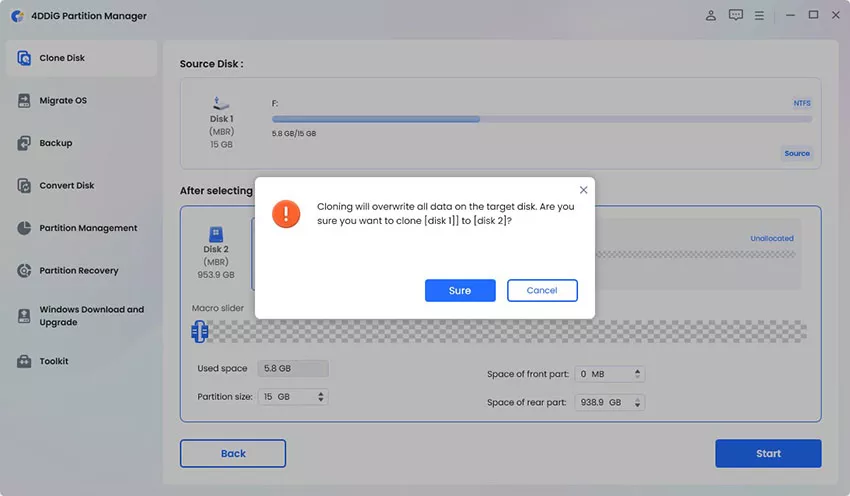
Since the cloning will overwrite the data on the disk, make sure there’s nothing important on hand. If you’ve formatted the disk already, there should be no problem.

Check the preview that pops up. If everything looks to be correct, confirm and initiate the process.

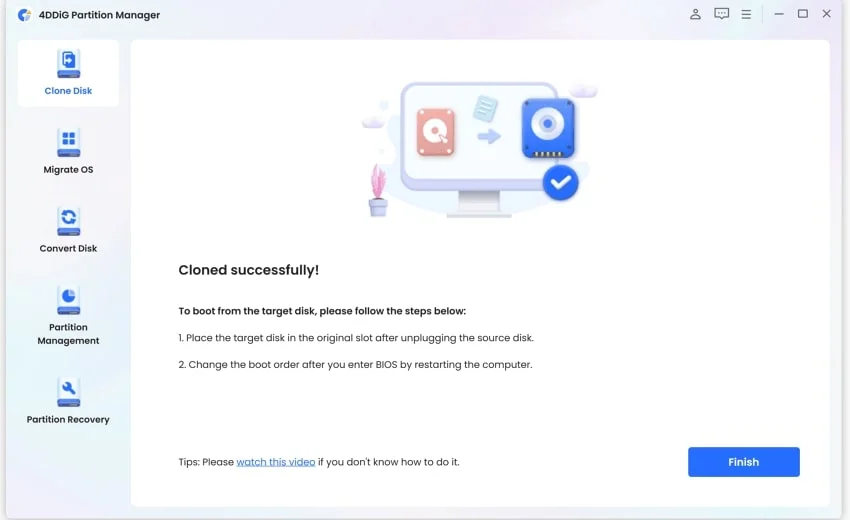
Wait for the cloning to be done. Once completed, it will give you a screen saying you were successful.

Action 5: Install the New SSD
Now that the disk cloning is complete, you’ll need to install the new SSD back into the Xbox after your Xbox Series S upgrade Internal SSD process. For that, we recommend cleanly following the steps provided below:
-
Return the motherboard with the SSD to the Xbox.
-
Place inside their places the following in this order:
- Motherboard screws
- Fan
- Power supply
- Boards for the Bluetooth, Wi-Fi, and Power button
- The Plastic Case
- Finally, attach all the cables and turn on the Xbox.
FAQs about Xbox Series S Internal SSD Upgrade
1. Is Any SSD Compatible With the Xbox Series S?
Xbox Series S does support an incredible range of SSDs for internal upgrades, but it’s still important to have a list of compatible options on hand. More importantly, remember to utilize a high-performance SSD to fully leverage the benefits of the Xbox Series S upgrade internal SSD.
2. Is 512 GB Enough for Gaming on the Xbox Series S?
512 GB is a pretty decent amount, but the final decision depends on your gaming habits and the extent of your game library. If you have a truly extensive library, consider a larger capacity SSD or upgrade internal SSD Xbox Series S.
People Also Read
Conclusion
In the end, if you’ve figured out the process of how to upgrade internal SSD Xbox Series S, then this article has been a success, for the aim has always been to empower you to go beyond the limitations of the default storage capacity and ensure your gaming experience is not compromised.
You can easily complete the process by selecting a new SSD, formatting it with 4DDiG Partition Manager, removing the old SSD, and upgrading it with 4DDiG Partition Manager again before installation.
And, of course, let us highlight again the role of 4DDiG as the irreplaceable option for partition management in this upgrade process.
Good luck gaming!
💡 Summarize with AI:


 ChatGPT
 Perplexity
 Google AI Mode
 Grok
Grok

