HDD Not Recognized: Fix and Recover Lost Data
Are you worried about your hard drive not showing up on your Windows computer? Don’t worry at all. There could be some issues related to the BIOS, connection or other internal/external issues. If it is broken, it needs to be checked by the repair centre and get repaired. If it is not, you might have some other issues that could be solved through this guide. In this guide, we are going to show some good solutions to solve HDD not recognized issues in your Windows computer. Give it a thorough read to get the issue resolved.
Part 1: Why Is HDD Not Detected?
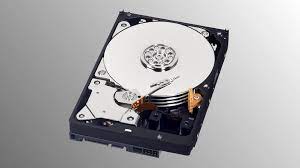
A hard disk drive (HDD) is a computer component, either internal or external, used to store data, including the operating system, applications, and user files. There could be multiple reasons like connectivity issues, BIOS settings, formatting or update issues. If you have a new HDD, you might face these issues as you do have not the right settings for the drive to work on your system.
But these issues are resolvable at home. You can just try different fixes to get things working in your favour. Let's check out the solutions.
Part 2: How to Fix HDD Not Recognized
If your hard drive is not showing up, you need to try the below-given fixes. These solutions work if there are no internal HDD damages to your drive. Let’s check them out now!
Fix 1. Check the connections
First and foremost, the thing to check is the connections of your hard drive. Here is what you need to do.
- Check the cable that connects the hard drive to the system. Sometimes, a data cable is damaged while changing the hard drive. If it is damaged, replace it with a new one.
- Unplug the cable and plug it back into the drive. Once done, restart your PC and see if your hard drive shows up.
Fix 2. Check the BIOS settings
BIOS settings can help you show the HDD drive that is not showing up in your system. Restart the PC to get going.
- As the computer starts, press the key required to enter the BIOS/UEFI setup. This key is typically one of the following
- Ensure that the HDD is listed in the BIOS/UEFI. If it’s not listed, check the physical connections (power and data cables) and ensure they are secure.
Fix 3. Change Drive Letter
Drive letters play a crucial role when it comes to HDD not showing up on your PC. So, changing the drive letter may work in some cases. Here is how you do it.
-
Open Computer management and look for disk management in it.

-
Here is disk management, you need to change the letter of the drive you have just connected. Most of the time issue is resolved through this method.

Fix 4. Update Hard Drive Disk Driver
Drivers are crucial as they need to work properly to help computers run different functions. An old or corrupted drive would not let the system work properly.
- Open Device Manager on your computer.
-
Click drivers one by one to update them manually. Sometimes, these drivers are not updated automatically. So, we need to update them manually to make sure everything is working fine.

Fix 5. Format Hard Drive to NTFS
Sometimes, your hard drive might have corrupted data saved in it causing a barrier to not letting the system recognize your hard drive. So, formatting the hard could easily solve your issue.
- Open Disk Management and format the drive to the NTFS file system.
- Once the hard drive is formatted, you will have a hard drive with unknown memory. Click initialize the disk and then Select GPT. Click OK to complete the format and your hard drive will show up with the memory.
Part 3: Recover Data from A Hard Drive Not Showing Up
4DDiG is a data recovery tool that can help you restore or repair your hard drive data with ease. There is no need to have a backup you restore your data with the help of 4DDiG. It can recover different data types in your computer without harming data. Here are a few of the promising features of the 4DDiG Data Recovery Tool.
- Fast and Secure Recovery tool: 4DDiG is a secure platform to recover your lost data while setting up your hard drives. When you format your HDD, there are chances that you might lose your drive data. 4DDiG helps you recover that data.
- Recovers All Data Types: Supports all data types including images, videos, audio, recordings, docs, windows files and much more.
- Selective Recovery Options: Comes up with selective recovery options which make it more reliable and faster. You can select the type of file you want to recover and it will only show results that are relevant.
- Preview File before recovery: Previews files before recovery so that you make sure, you are recovering the right file.
Secure
Download
Secure
Download
Now, let's try to recover the data you lose while setting up your hard drive.
-
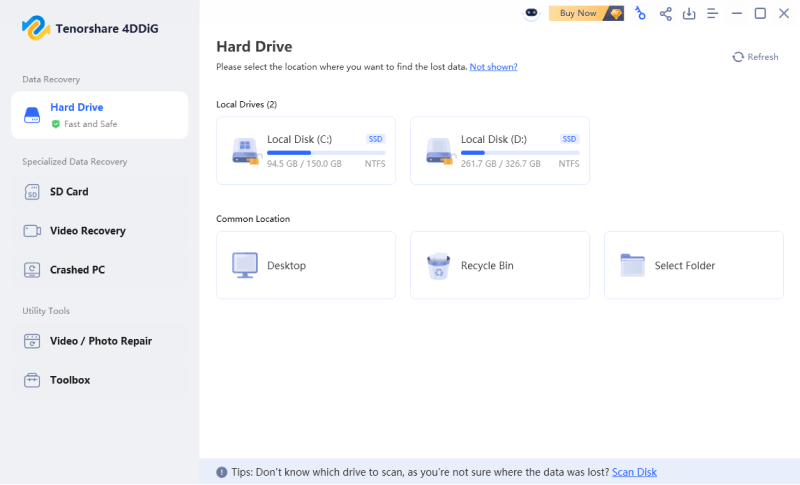
Download and Install the 4DDiG data recovery tool on your PC. Select the hard drive from where your data is lost.

-
Select the file types you want to recover from the hard drive. You have multiple options there to select. Once selected, click scan and let the tool find your data. You can stop as soon as you find the missing data you want back to save time.

-
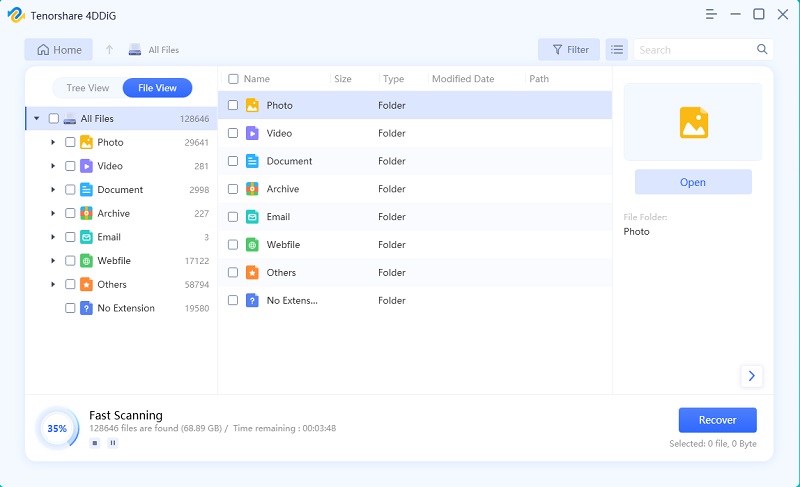
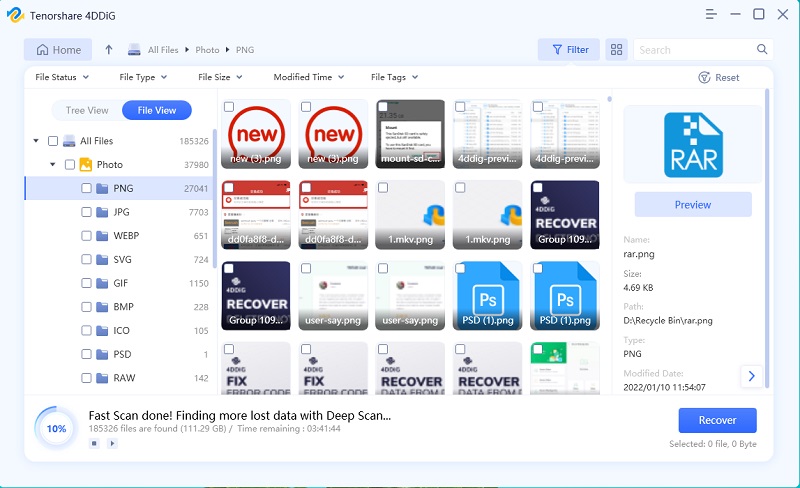
The 4DDiG data recovery tool will start showing the data you requested. You can select the files you want to recover and click recover on the bottom right side of the screen.

Secure
Download
Secure
Download
Bottom Line
If you have an "HDD not recognized" issue in your system, you might want to try the fixes we have discussed in this guide. However, there could be chances of losing data while repairing the hard drive. 4DDiG Data Recovery Tool comes in handy in such a situation. It helps you with comprehensive recovery and makes the process so easy that anyone could try it. Its user-friendly interface makes it easier for you to get quick recovery of your lost files. So, what are you waiting for? Give it a try and get your files back quickly before it's too late.


 ChatGPT
 Perplexity
 Google AI Mode
 Grok
Grok

