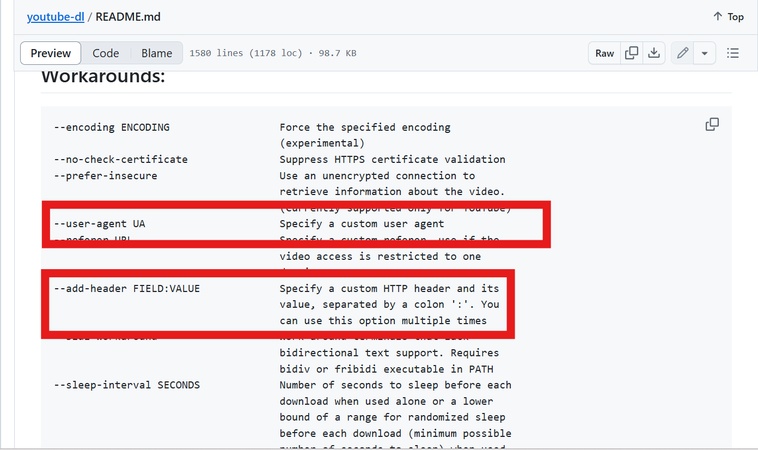
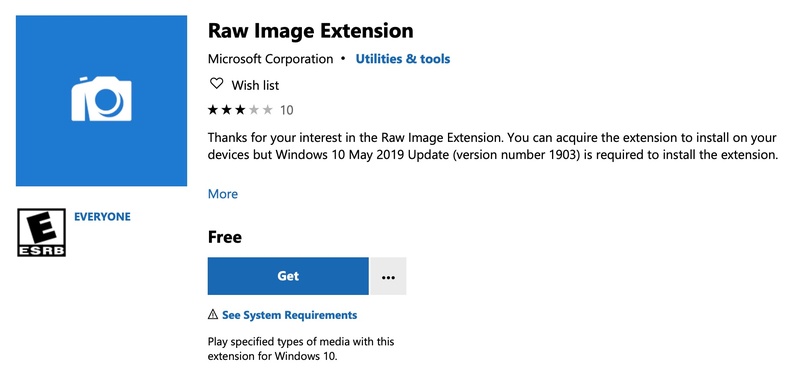
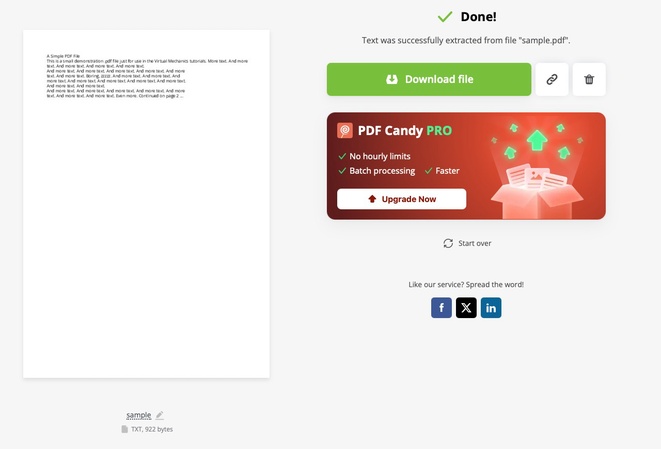
Why Is Website Image Blurry on Safari & How to Enhance Quality FREE DOWNLOAD FREE DOWNLOAD BUY NOW Ehtsham Ahmed 5 mins read Updated on 2026-07-22 15:55:32 to Photo Tips You May Also Like How to Fix 403 Forbidden Error on yt-dlp & Other Websites How to Fix Images Are Not Loading on Website? Everything About RAW Image Extension: What Is It, How to Download It & More Top 5 AI Image Enhancer Free Extensions for Stunning Visuals in 2026 (Free, No Watermark) Quick 5 Ways to Extract Text from PDF Image/Document [Step by Step] AI Expand Image to Unlock Hidden Detailes - Free/Online Tools, Photoshop, More Home >> Photo Tips >> Why Is Website Image Blurry on Safari & How to Enhance Quality