How to Unpixelate an Image? AI Tool Introduced!
Unpixelating an image can be challenging, but with the right tools like 4DDiG Photo Repair, restoring clarity to your images becomes easy and effective.
Pixelated images can be a real buzzkill. Even if you're a pro at capturing moments, there are instances where you end up with a photo that's just a mess of pixels. It could be because of low resolution, compression issues, or other technical glitches. But fear not! There are ways you can fix the pixelation. In this guide, we'll show you how to unpixelated an image and make it look sharp and clear again using simple tools and techniques that anyone can master. Whether you're a professional photographer or just someone who loves taking pictures, you'll be able to rescue your pixelated images. Let's get started!
Part 1. What is a Pixelated Image?
A pixelated image is an image where individual pixels, the smallest unit of display in a digital image, become avisible when you zoom in or view the image at a lower resolution than intended. Instead of appearing smooth and clear, the image looks blurry, distorted and jagged due to the visible square blocks of color.
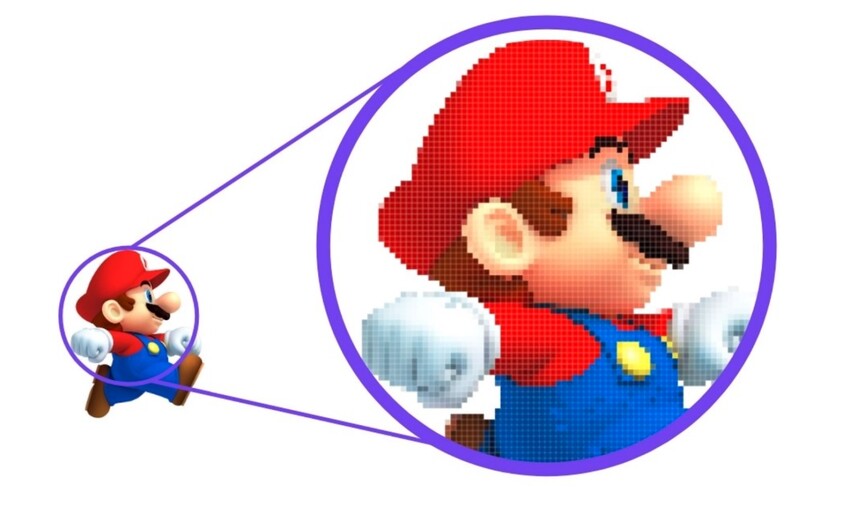
Pixelation often occurs when an image is enlarged beyond its original size or when it's saved in a low-resolution format. It can also result from compression techniques used to reduce file size, which can degrade image quality by merging nearby pixels or discarding some altogether.
Part 2. How to Unpixelate an Image?
Unpixelating an image is a challenging task. Since the original high-resolution data has been permanently lost, it's impossible to fully recover it. However, there are techniques that can help improve the quality of a pixelated image.
Method 1. Unpixelate an Image Using 4DDiG AI Photo Enhancer
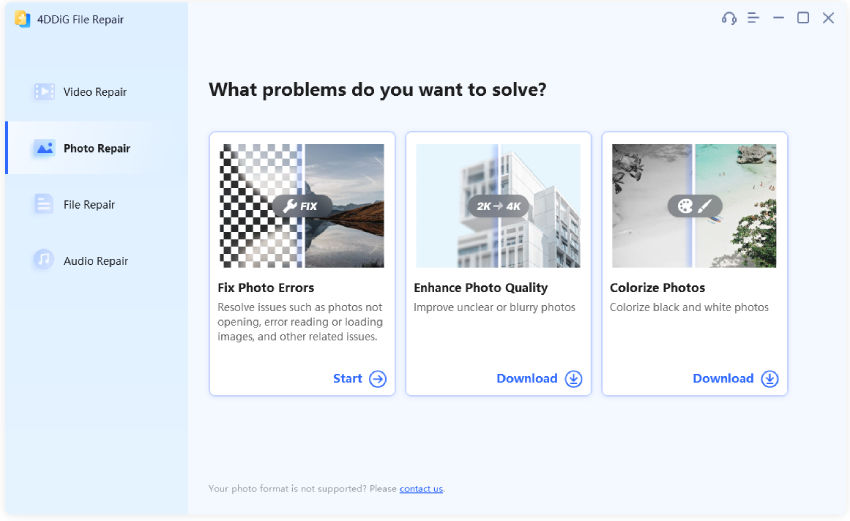
4DDiG AI Photo Enhancer is an AI-powered image restoration tool that handles pixelated, blurry, or grainy images. It uses machine learning algorithms to fill in missing details and textures based on training data. Here are some key features that 4DDiG Photo Enhancer has:
- Depixelating function: Reconstructs details in pixelated areas
- Noise reduction: Reduces graininess and image noise.
- Image upscaling: Enhances image resolution up to 8K.
- Batch processing: Processes multiple images simultanoulsy.
- User-friendly interface: Intuitive design for easy use.
- Wide file Format Support: Compatible with JPG, JPEG, PNG, RAW, SVG, HEIC, etc.
Here are the instructions on how to unpixelate and increase pixels ofan image with 4DDiG
-
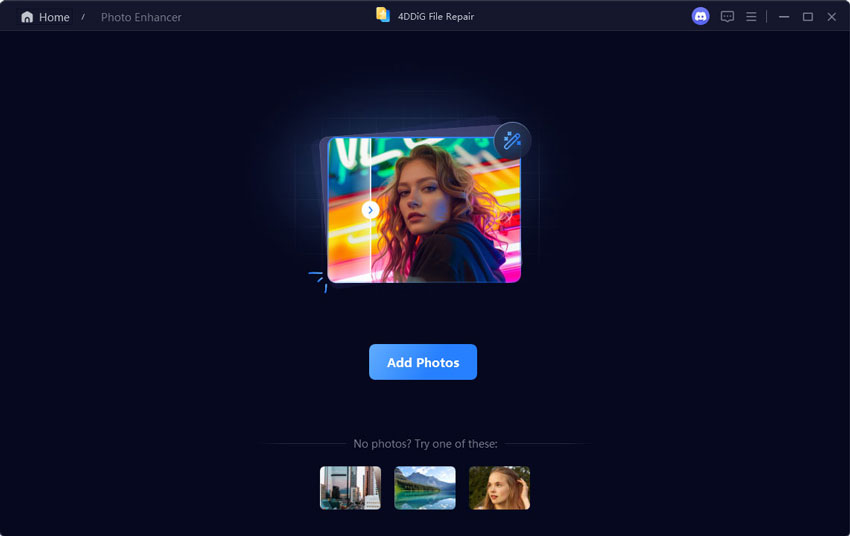
Start by downloading and installing 4DDiG AI Photo Enhancer. Launch the tool, go to "AI Enhancer" and then "Photo Enhancer".
FREE DOWNLOADSecure Download
FREE DOWNLOADSecure Download

-
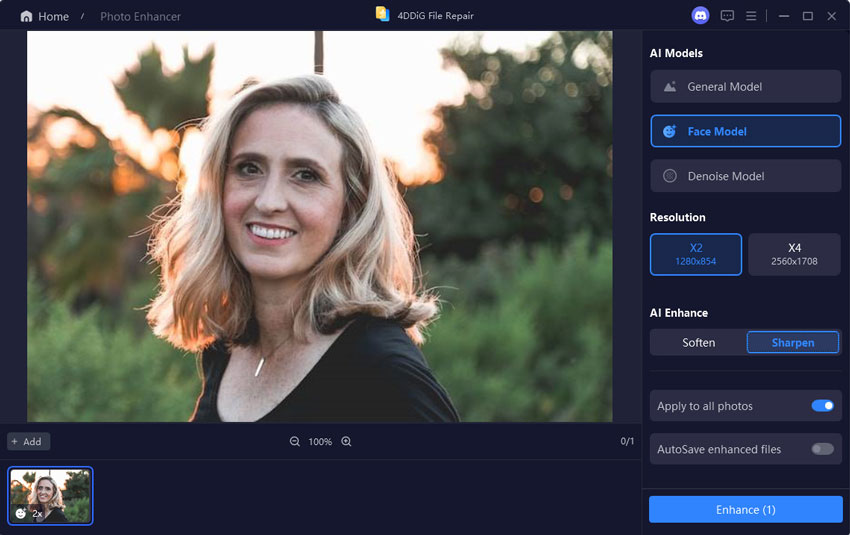
To import the pixelated image into the tool, click the "Add Videos" tab or drag it to the software directly.

-
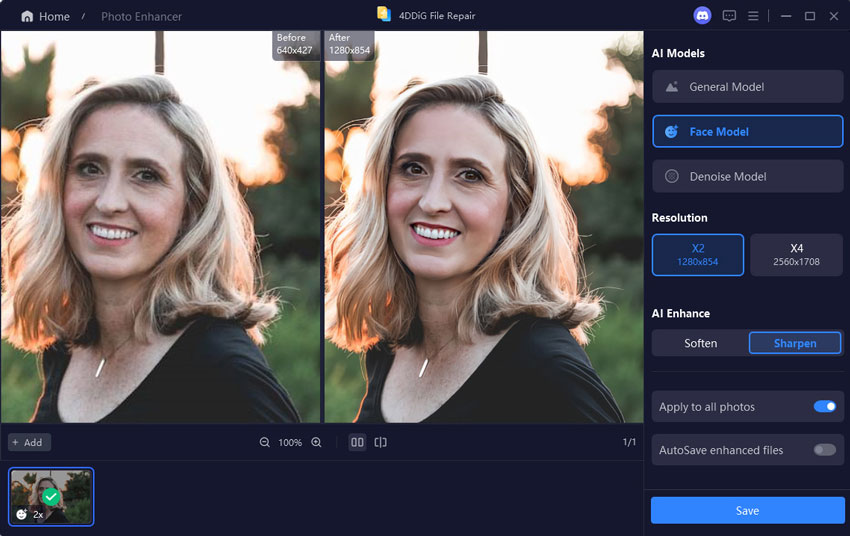
Select an AI model to be applied to your image and choose your desired output resolution (X4 is encouraged). The higher the resoultion you choose, the more detailed the result will be. Later, tap "Enhance" to depixelate your image.

-
Wait till the unpixelation process ends, then click on the "Save" button to save it to your device.

The quality of the output depends on the extent of pixelation in the original image. While the tool can effectively enhance the resolution, it's important to note that starting with a high-quality original image will produce superior outcomes.
Method 2. Unpixelate an Image in Photoshop
Adobe Photoshop is a powerful image editing software that provides various tools and techniques to reduce image pixelation to some extent. While it doesn't utilize AI like some other tools, you can manually apply filters and adjustments for improvement.
Here's how to unpixelate an image in photoshop:
-
Open the pixelated Image in Photoshop and go to Images > Image Size.

-
Change the image size as well as the resolution.

-
After resizing the image, you need to create a duplicate layer by navigating to Layer > Duplicate Layer or pressing “Ctrl+J” together.

-
Now go to Filter > Blur > Surface Blur and adjust the value of Radius and Threshold. This will help remove the blur of your image.

-
Next, you need to go to Filter> Sharpen > Smart Sharpen and adjust the slider to an acceptable level.

-
At the bottom of the Layers panel, locate and click on the Layer Mask icon to add a layer mask.

- Go to Layer > New Adjustment Layer > Invert to invert the layer mask. Also, Select the Brush tool from the Toolbar and use it to reduce the blurriness of your image.
-
At last, go to the File > Save as and select a location for storing your unpixelated image.

This workflow enhances edges while suppressing Noise and artefacts characteristic of pixelated images. Resizing up also helps disguise pixelation. The results may be flawed but can improve a low-resolution image.
Method 3. Fix Pixelated Image in LightRoom
Adobe Lightroom is another popular image editing software that can help to improve image quality and reduce pixelation. It has practical tools for suppressing the Noise and harsh edges that make photos appear heavily pixelated. Here’s how to unpixelate a picture in LightRoom:
- Open your image in LightRoom.
-
Navigate to the "Detail" panel in the Develop module.

- Increase the Sharpness slider to around 50-100% to accentuate edges.
-
Adjust the "Noise Reduction" sliders to reduce any noise or artifacts that contribute to pixelation.

- Adjust Clarity and Texture sliders to improve mid-tone contrast and detail.
- Use the Adjustment Brush to oversharpen key areas like eyes while leaving smooth regions untouched.
- Preview the changes in real-time and make adjustments as necessary. Once satisfied, export the edited image in your desired format.
Method 4. Unpixelate an Image Online via Pixelied
Pixelied is an image editing tool that lets you unpixelate an image online. Utilizing AI technology, Pixelied intelligently scales up details and textures to enhance and clarify pixelated, blurry, or low-resolution images.
Here is how to unpixelate an image online with Pixelied:
-
Go to the Pixelied website and upload your pixelated Image.

-
Click on the “Edit Image” button in the top menu and choose ‘Image Sharpener’ tool from the left panel.

- Adjust the strength slider to control the degree of depixelation and click Depixelate to process the Image. The AI will enlarge and enhance details.
- Download the unpixelated image or share it directly on social media.
The advantage of Pixelied is convenience - anyone can use it for free without downloading software. It uses a deep learning model trained on millions of photos to fill in pixels intelligently.
Part 3. How to Prevent Pixelated Images?
Preventing pixelated images is essential for maintaining the quality and clarity of your photos. Here are some tips to help you avoid pixelation:
- Start with high-resolution images whenever possible. Higher resolution images have more pixels, allowing for better quality when zooming in or enlarging.
- Avoid excessive compression when exporting images. Formats like JPEG discard detail to optimize file size - use moderately high-quality settings instead.
- Edit non-destructively - adjustments like exposure and saturation won't degrade quality, but transformations like cropping may cause interpolation artefacts.
- Enlarge images in small increments if resizing up for printing or publishing online. Significant size increases lead to more noticeable pixel enlargement.
- Denoise an image before enlarging it to avoid accentuating noise artefacts.
How to Unpixelate an Image FAQs
Q1: Why is my Image pixelated in Photoshop?
Images become pixelated in Photoshop when you enlarge a low-resolution image beyond its native size. This forces pixels to stretch and become visible. Using proper interpolation techniques when resizing can help reduce pixelation.
Q2: How can I make a pixelated picture clear?
To make a pixelated picture clear, you can try using depixelating apps like 4DDiG AI Photo Enhancer, editing software like Photoshop or online tools that offer depixelation features. Additionally, adjusting image settings such as sharpness, contrast, and noise reduction can help improve clarity to some extent.
Q3: How can I fix pixelated photos for free?
Some free options for depixelating photos include online tools like Pixelied, GIMP, and Image Upscaler. Another approach is to use adjustment layers in free editors to enhance photos without degrading quality.
Conclusion
When an image becomes pixelated, its visual quality decreases compared to the original high-resolution version. That's why it’s important to learn how to unpixelate an image. While highly pixelated images may lose critical details permanently, modern AI tools like 4DDiG AI Photo Enhancer provide effective solutions. Additionally, even free editing software, if used properly, can help improve the quality of pixelated images to some extent. However, the best approach is prevention: by capturing and editing photos carefully, you can reduce the risk of excessive pixelation from the outset.
Secure
Download
Secure
Download



 ChatGPT
 Perplexity
 Google AI Mode
 Grok
Grok

