How to Reduce TIFF File Size Without Losing Quality (2026 Guide)

5 mins read

Updated on 2026-07-10 10:28:31 to Photo Tips

TIFF files are prized for their high quality and lossless nature, making them ideal for professional photography, printing, and archiving. However, their large file sizes can quickly consume storage and slow down workflows. Fortunately, you can significantly reduce TIFF file size without losing quality by using built-in lossless techniques, software tools, and smart optimizations. Here are the most effective methods in this full guide.

Why Are TIFF Files So Large?

TIFF files are large because they contain every layer, effect, and color that's usually discarded in compressed JPG or JPEG formats. TIFF, or Tagged Image File Format, is the gold standard for preserving the quality of images and files. Professional photography, document scanning, and medical imaging are all applications of this file format. If you wonder why TIFF files are so large, here are the reasons:

  • High Bit Depth: One of the major reasons TIFF files take up gigabytes on your device is their high bit depth, either 16-bit or 32-bit. It captures every single color in a pixel, displaying around 281 trillion colors.
  • Uncompressed or Lossless Data: TIFF files are uncompressed and lossless, which means every single pixel is independently mapped and stored, making them quite large in size.
  • Embedded Metadata: TIFFs also store large amounts of metadata, such as alpha channels, EXIF data, and camera property tags for accurate image printing.

When to Reduce TIFF File Size and When Not to?

Well, when you are working with TIFF files, you must wonder whether you should compress TIFF files size or not. The following points take you out of this dilemma:

Reduce Size When:

  • You want to bypass email attachment limits and speed up web image loading.
  • Sending clients previews or contact sheets.
  • Sharing on social media or on a portfolio site.

Don't Reduce Size When:

  • They are master archival copies.
  • The file is going to professional print presses.
  • It came from any scientific or medical imaging instrument, such as a CT or MRI scanner.

How to Reduce TIFF File Size Without Losing Quality

To reduce TIFF file size without losing quality, you can apply lossless TIFF compression, use Photoshop, or reduce color mode. Let's discuss these in detail:

Method 1. Apply Lossless TIFF Compression (LZW or ZIP)

To reduce TIFF file size while staying lossless, you can apply either LZW or ZIP compression, which trims the pixel grid. For that, you can use GIMP and follow these steps:

  • Open GIMP on your computer.

  • Go to File > Save As (or Export).

  • In the dialog box, enter the desired file name (e.g. my_image.tiff).

  • Click Export.

  • Choose LZW (good for 8-bit images with solid colors) or ZIP (often better for 16-bit photos and gradients), as both are lossless.

    tiff lzw image compression
  • Save the compressed file.

Limitations: The file size is reduced to some extent, but to achieve dramatic results, you need to convert TIFF to JPG, PNG, or other format.

Method 2. Shrink TIFF File Size in Photoshop

Adobe Photoshop has also gained popularity for reducing TIFF file size and format while preserving maximum quality. Here's how you can use it to shrink your files:

  • Open the TIFF image in Adobe Photoshop.

  • If you don't need editable layers, go to Layer > Flatten Image.

    photoshop flatten image
  • Click File > Save As.

  • Choose TIFF and click Save.

  • Set Image Compression to LZW or ZIP.

  • Click OK to save the reduced file.

Limitations: Requires Adobe Photoshop (or similar paid software). Very large multilayer files may still be hefty even after compression. Saving times increase with ZIP on complex files.

Method 3. Using Online Free TIFF Compressors

XnConvert is an online tool that reduces TIFF file sizes using LZW, Deflate, lossy, and PackBits compression. It offers immense photo editing features including various color profiles, adjustable brightness, and filters. Since its also a batch image converter, you can upload multiple images at once, saving time. The following steps help you in using it:

  • Open XnConvert TIFF Compressor on a browser and click Upload to aa your TIFF files.

    xconvert tiff compressor
  • Select the Mode you want to reduce the TIFF files to.

  • Click Compress > Download to save the compressed file to your device.

    xconvert start compressing tiff

Limitations: File size/upload limits on free tiers. Privacy concerns with sensitive images. Some tools may not support very large files or multilayer TIFFs well. Internet connection required.

Method 4. Resize the TIFF Image Dimensions or Lower Resolution

Depending on the device you are using, you can resize the TIFF image and reduce its resolution using built-in tools. For instance, on Mac, you can do it by the following steps:

  • Open the TIFF image in Preview. Click Tools > Adjust Size.

    preview adjust size
  • From the Image Dimensions window, choose the preferred unit (Pixels, Inches, Centimeters).

  • Add a new Width and Height Value, but ensure Scale proportionally is checked.

    reduce tiff size in mac preview
  • Adjust the resolution based on your use case.

  • Click OK to preserve the settings.

  • Finally, select File > Save.

Limitations: This technically reduces detail/quality if you downsample significantly— not truly lossless. Best for cases where excess resolution isn't needed. Upsampling won't recover lost data.

Method 5. Reduce Color Mode or Bit Depth

When you change the TIFF file's color mode and bit depth to 8-bit, its size decreases significantly. You can easily do that using Adobe Photoshop by following the given steps:

  • Open the TIFF file in Adobe Photoshop.

  • If layers are not needed, go to Layer > Flatten Image.

  • Go to Image > Mode > 8 Bits/Channel.

    photoshop reduce bit depth 8 bits channel
  • Go to File > Save As or Save a Copy, then choose TIFF.

  • In TIFF Options, select LZW or ZIP compression.

  • Disable unnecessary options such as layers, alpha channels, transparency, or image pyramid.

  • Keep the embedded color profile if color accuracy is important, then click OK.

However, this image or file is not suitable for professional editing and may also show color banding.

Method 6. Remove Layers, Metadata, and Extra Pages

To remove image metadata, you can use ExifTool, an open-source, command-line application that reads, writes, and edits metadata across various file formats. Here are the steps for this:

  • To remove layers, open the TIFF in Adobe Photoshop and go to Layer > Flatten Image.

  • To remove metadata, install ExifTool and run: exiftool -overwrite_original -all= image.tif

  • If color accuracy is important, avoid removing the ICC profile or test the output file before replacing the original.

  • To remove extra pages from a multi-page TIFF, use a TIFF editor, ImageMagick, or LibTIFF tools. For example, to keep only the first page: magick "input.tif[0]" output.tif

⚡ How to Repair TIFF Files Corrupted After Size Reduction?

Reducing TIFF file sizes through compression, resizing, or removing data can sometimes lead to corruption, making files unopenable, distorted, greyed-out, or partially damaged. When this happens, a reliable repair tool is essential to recover your high-quality images without further loss.

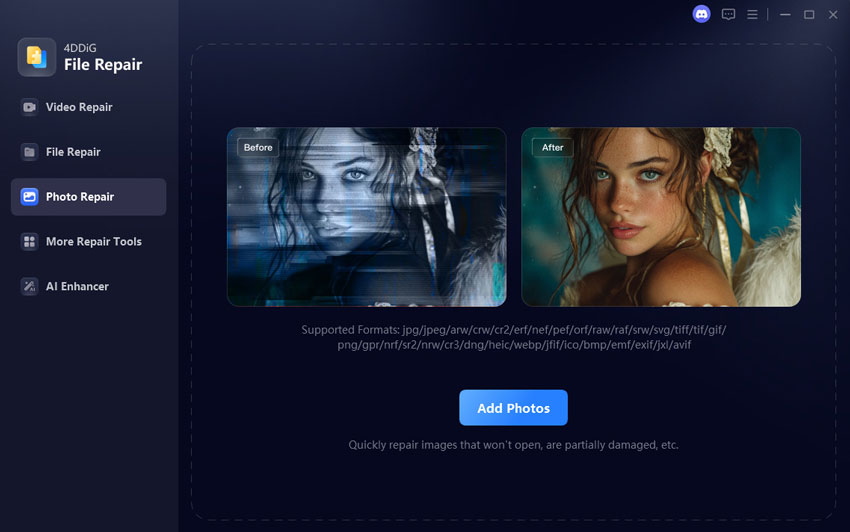
One of the top recommended solutions is 4DDiG Photo Repair, an AI-powered tool designed to fix corrupted photos efficiently. This software stands out with its AI-enhanced repair capabilities, going beyond basic header fixes to intelligently restore image data, reduce noise, sharpen details, and even colorize or enhance repaired files.

Why Choose 4DDiG Photo Repair

  • Broad format support, including TIFF, JPG, PNG, RAW, CR2, HEIC, and more.
  • Deal with various image problems, including corrupted, not opening, distored, and more
  • Batch repair of up to 3,000 photos at once for efficiency.
  • Preview results without overwriting originals before saving.
  • Fast, user-friendly interface available for Windows and Mac, with local processing for privacy.
FREE DOWNLOAD

Secure Download

FREE DOWNLOAD

Secure Download

Steps to Repair Corrupted TIFF Files Using 4DDiG Photo Repair

  • Install and run 4DDiG File Repair. Select “Photo Repair” > “Add Photos” to upload problem TIFF images to 4DDiG.

    upload problem tiff images to 4ddig
  • Press Repair All after uploading to kick off the TIFF repair process.

    4ddig repair all corrupted tiff images
  • Preview the repaired images to ensure the quality is good.

    preview repaired tiff images
  • Tap the triangle icon next to the Save or Save All options and choose the desired format and click the save button to export the repaired photo.

    save repaired images in preferred format

Conclusion

Reduce TIFF file size doesn’t have to mean sacrificing image quality. Whether you use lossless compression, resize dimensions, or strip unnecessary metadata, these methods help you maintain professional standards. If your files become corrupted during compression, tools like 4DDiG Photo Repair can quickly restore them. Start optimizing your TIFFs today for faster workflows and better storage management.

FREE DOWNLOAD

Secure Download

FREE DOWNLOAD

Secure Download

William Bollson (senior editor)

William Bollson, the editor-in-chief of 4DDiG, devotes to providing the best solutions for Windows and Mac related issues, including data recovery, repair, error fixes.

(Click to rate this post)

You rated 4.5 ( participated)