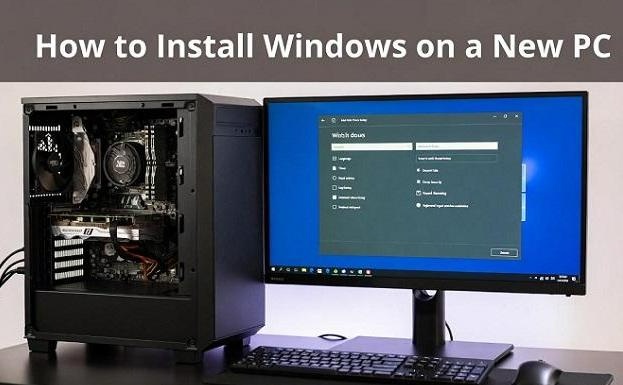
How to Install Windows on a New PC:Windows 10 & 11
Have you just built a new computer and don't know how to install Windows on a new PC? Don't worry as you're not the only one. Setting up a new computer can feel confusing, but he good news is, it's easier than it looks. This guide will show you simple steps to check your PC, create an installer, and install Windows safely. By the end, you'll know exactly how to install Windows 11 on a new PC or how to install Windows 10 on a new PC without any stress.
1. What You Should Check before Installing Windows?
Before you start learning how to install Windows 11 on a new PC, you need to make sure your computer is ready. Doing a few quick checks first can save you from problems later when installing Windows on a new PC. Here's what you should do:
-
Check Your Computer's Specs
Make sure your PC meets the basic system requirements. For Windows 11, you need a 64-bit processor, at least 4GB of RAM, and 64GB or more storage. Also, check that your computer supports Secure Boot and TPM 2.0. -
Prepare a USB Drive
Get a USB flash drive with at least 8GB of free space. You'll use it to create a bootable Windows installer. Back up any files on it first because it will be formatted. -
Open BIOS/UEFI Settings
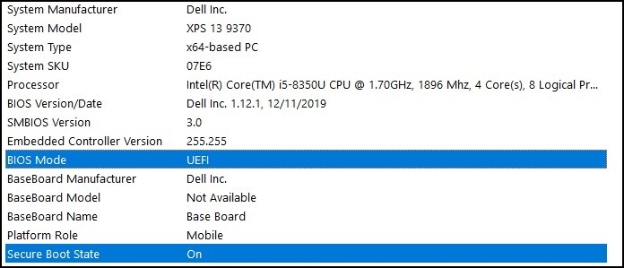
Go to your computer's BIOS or UEFI settings and make sure Secure Boot and UEFI mode are turned on. These help your PC run Windows more safely. -
Keep Your Product Key Ready
If you bought a Windows license, have your product key ready. You might need it during or after installation.
Once everything is ready, you can move on to the next part and start installing Windows on your new PC.
2. How to Install Windows 11/10 on a New PC?
Here's a step-by-step guide to help you start installing Windows on a new PC, even if your computer doesn't have an operating system.
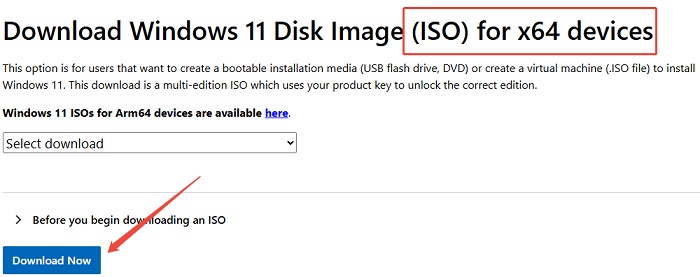
Step 1: Download Windows 11/10 ISO File
-
On another working computer, go to Microsoft's official website.
- For Windows 11: Download Windows 11 ISO
- For Windows 10: Download Windows 10 ISO
-
Select your edition (Windows 11 Home, Pro, etc.), choose your preferred language, and click Download.

-
Save the ISO file to your computer. You'll use this file to create a bootable USB drive.
-
If your download fails or stops midway, recheck your internet connection and try again. Errors like install error 0x800f0991, 0x800f081f, or 0x800f0983 usually happen when files are corrupted or incomplete.
Step 2: Create a Bootable USB Drive
You'll need a USB flash drive (8GB or more). You can create a bootable installer in two ways:
Option 1) Media Creation Tool (Recommended)
-
Download the Media Creation Tool from the same Microsoft page.

-
Run the tool and choose Create installation media for another PC.
-
Select the language, edition, and architecture (64-bit is most common).
-
Choose USB flash drive when asked where to save it.
-
Wait while the tool downloads and sets up the bootable installer.
Option 2) Rufus Tool (Manual Method)
-
Download Rufus from its official website.
Plug in your USB drive and open Rufus.
-
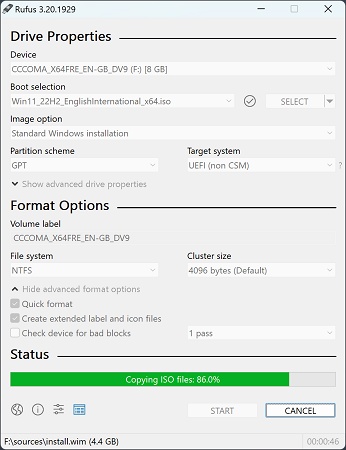
Under Boot selection, choose the ISO file you downloaded earlier.

-
Make sure Partition scheme is set to GPT (if your disk is MBR, learn how to convert MBR to GPT) and Target system is UEFI (for most modern PCs). Then click Start and wait until the process completes. Once done, you'll have a bootable USB ready to install Windows.
Actually, the step 2 is also important to install Windows 11 25H2 on unsupported hardware. If you want to know more, please check that guide.
Step 3: Enter BIOS/UEFI and Boot from USB
Plug the bootable USB drive into your new PC.
-
Turn on the computer and press the key to enter BIOS/UEFI. This is usually Del, F2, F10, or Esc (it depends on your motherboard brand).
-
Inside the BIOS/UEFI, find the Boot Order or Boot Priority section.
-
Move your USB drive to the top of the list so your PC boots from it first.
-
Save and exit. Your PC will restart and load the Windows setup screen from the USB.
Step 4: Install Windows on Your PC
-
When the Windows setup screen appears, choose your language, time, and keyboard layout, then click Next.
-
Click Install now to begin the installation.

-
If you have a product key, enter it. If not, click I don't have a product key to activate Windows later.
-
Choose your Windows edition (Home or Pro) and click Next.
-
Accept the license terms and select Custom: Install Windows only (advanced).
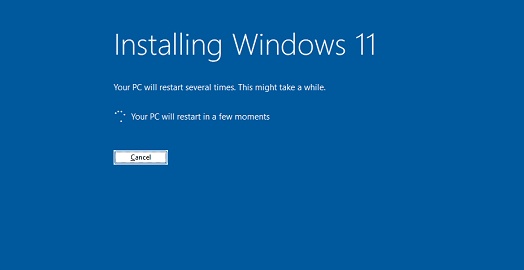
On the partition screen: If your PC is brand new and has no OS, choose the unallocated space and click Next. If you have old partitions, delete them first (only if you don't need the data). Windows will now copy files and install the system. Your PC will restart several times during this process.
After installation, follow the setup wizard to create a user account, connect to Wi-Fi, and adjust settings. If you face issues such as Windows 11 25H2 failed to install, you can check the guide. Once Windows is installed, your PC is ready to use. Next, you can install drivers, run updates, and activate Windows using your product key.
Bonus: Backup Your Important Files before Installing Windows 11/10
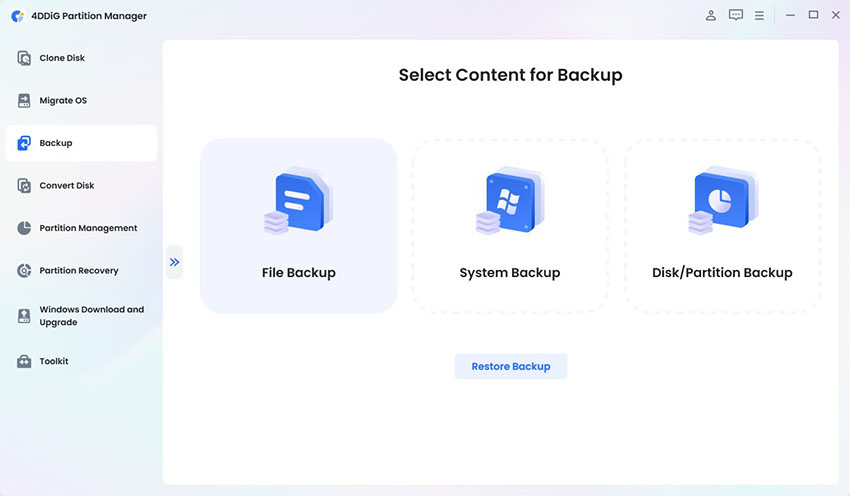
Before installing Windows 11 or 10 on a new PC, it's very important to back up your files. This will protect your photos, documents, and system data in case something goes wrong during installation. You can use 4DDiG Partition Manager, which offers easy file, system, and disk backup options.
-
First, download and launch 4DDiG Partition Manager on your computer, then click "Backup" and "File Backup" button.

-
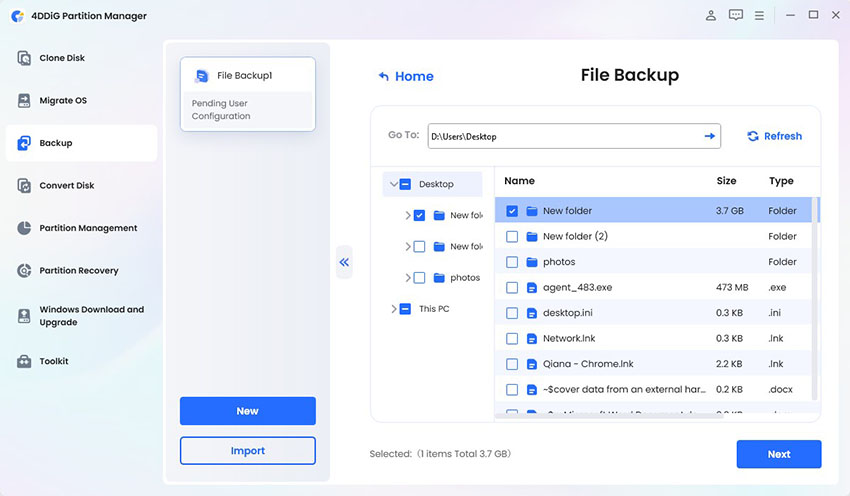
Next, you will choose files that you want to back up. After that, please click “Next”.

-
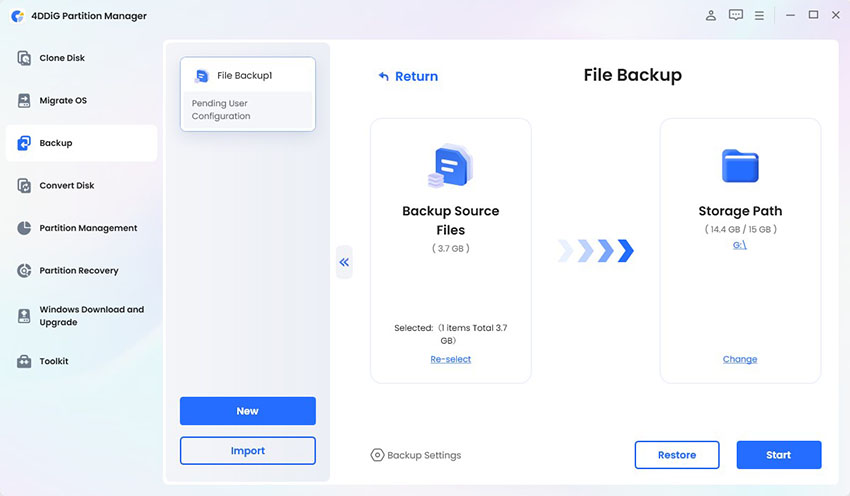
Now, you can select the location to save your backup and then just click “Start”.

-
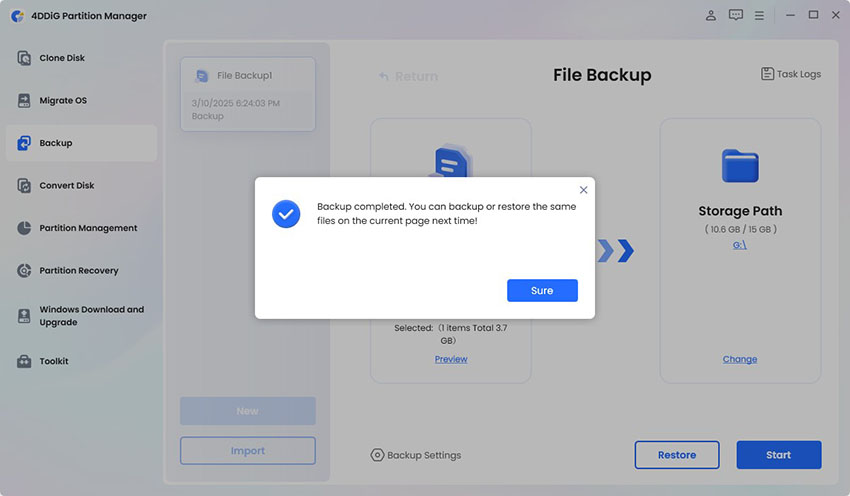
Once the process is complete, click "Sure" to confirm and your backup is successful.

More FAQs about Installing Windows on a New PC
Q1: How do I install Windows 11 on a new PC step by step?
First, download the Windows 11 ISO from Microsoft. Create a bootable USB using Media Creation Tool or Rufus. Then, enter BIOS/UEFI on your PC and boot from the USB. Follow the instructions on the screen to choose language, accept license terms, select the drive, and install Windows. Finally, set up your account and adjust settings.
Q2: Is installing Windows on a new PC free?
You can download and install Windows 10 or 11 for free, but you need a license key to activate it. Without a key, Windows will work with some limits and will show activation reminders.
Q3: How to install an operating system on a new PC safely?
To install safely, first back up your files. Make sure your PC meets the system requirements. Create a bootable USB from the official ISO, use UEFI mode with Secure Boot, and follow the installation instructions carefully. Don't turn off the PC during the process.
Q4: What to do if I don't have a USB or DVD drive?
If you don't have a USB or DVD, you can use network installation (PXE boot) or borrow a USB/DVD to create a bootable installer. Another option is to connect an external USB drive for installation.
Conclusion
Installing Windows on a new PC can be easy if you follow the right steps. Don't forget to backup your important files before starting, especially if your PC has no operating system. 4DDiG Partition Manager is a simple and safe tool to help you back up or clone your system. By following this guide, you can complete installing Windows on a new PC without any problems and keep your data safe.
Secure Download

 ChatGPT
 Perplexity
 Google AI Mode
 Grok
Grok

