How to Fix PC Won't Boot After BIOS Update in 9 Ways?

5 mins read

Updated on 2026-07-22 15:56:11 to Windows Fix

A BIOS update can improve hardware compatibility and system stability, but a failed update or firmware change may cause your PC won't boot after BIOS update. You may encounter a black screen, "Boot Device Not Found" error, BitLocker Recovery, or Windows startup failure.

Before trying advanced fixes like BIOS reflashing or Windows reinstall, check whether your drive is still detected and recover important files first to prevent data loss.

pc wont boot after bios update

Why Is My PC Not Booting After a BIOS Update?

When a computer won't boot after BIOS update, what appears on the screen can reveal whether the failure is occurring at the power, firmware, storage, encryption, or Windows startup stage. Below are the common causes:

The Computer Has No Power

If there are no lights, fans, or screen activity, the PC is not reaching BIOS or Windows. Check the power adapter, battery, power supply, and motherboard first.

The Computer Powers On but Shows No Manufacturer Logo

If the PC turns on but shows no logo, it may fail POST due to a failed BIOS update, corrupted firmware, hardware issues, or incorrect settings. Do not assume Windows is damaged at this stage.

The Computer Boots Directly Into BIOS

If the PC enters BIOS instead of Windows, check whether the SSD is detected, Windows Boot Manager is available, and boot settings such as UEFI or storage mode have changed. If the SSD is not detected in BIOS, check another reason.

A Boot Device Not Found Message Appears

This error means BIOS cannot find a valid boot device. Possible causes include missing SSD detection, incorrect boot order, changed storage settings, or damaged boot files.

The BitLocker Recovery Screen Appears

BIOS, TPM, or Secure Boot changes can trigger BitLocker Recovery. This usually means the drive needs to be unlocked with the BitLocker recovery key, not that files have been deleted.

Windows Starts Loading and Then Fails

If Windows begins loading but fails, the issue may involve boot files, drivers, system files, or storage settings. Windows repair tools may help fix startup problems.

How to Recover Important Data Before Fixing a PC That Won't Boot?

Before trying advanced fixes, recover important files first if your drive is still accessible. Avoid formatting or initializing the system drive, and save recovered files to another storage device to prevent overwriting data.

Recover Data from an Unbootable PC with 4DDiG

Best for: A PC that passes POST and can boot from USB, with an internal drive that remains detectable even though Windows cannot start.
Requirements: Another working computer, 4DDiG installed on it, a blank USB drive larger than 1.5 GB or a writable CD/DVD, and a separate external drive for recovered files.
Data risk: Low when the affected drive is scanned without writing new data to it.

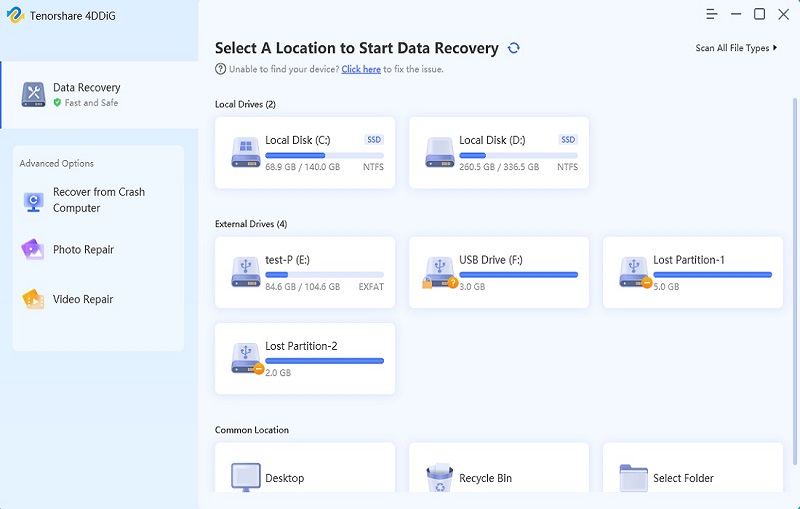
When your Windows 10/11 won't boot after a BIOS update, 4DDiG Data Recovery can help you access and recover important files before attempting risky repairs. Even if Windows cannot start, you can create a bootable recovery USB, scan the internal SSD or HDD, and restore your photos, documents, and other files to another storage device.

FREE DOWNLOAD

Secure Download

FREE DOWNLOAD

Secure Download

  • Prepare for crash recovery. On another working computer, install and launch 4DDiG. Prepare a blank USB drive larger than 1.5 GB or a writable CD/DVD. Also prepare a separate external drive for the files you recover.

  • Select Recover from Crash Computer. Connect the blank USB drive to the working computer. On the 4DDiG home interface, choose "Crashed PC" and click "Get Started".

    select crashed pc recovery
  • Create the bootable drive. Select the connected USB drive or CD/DVD as the destination and click "Create". The selected media will be formatted, so confirm that it contains no files you need. Do not disconnect or use the drive while 4DDiG is creating the bootable media.

    select an external USB drive to create bootable media
  • Connect the completed recovery media. When 4DDiG confirms that the bootable drive has been created successfully, safely remove it from the working computer. Connect it, along with the separate external recovery drive, to the PC that will not boot.

    4ddig bootable recovery drive created successfully
  • Boot the affected PC from the recovery media. Restart the computer and press its BIOS or Boot Menu key when the manufacturer logo appears. The key varies by device. In BIOS, open the Boot tab and select the prepared USB drive or CD/DVD as the boot device, then allow the recovery environment to load.

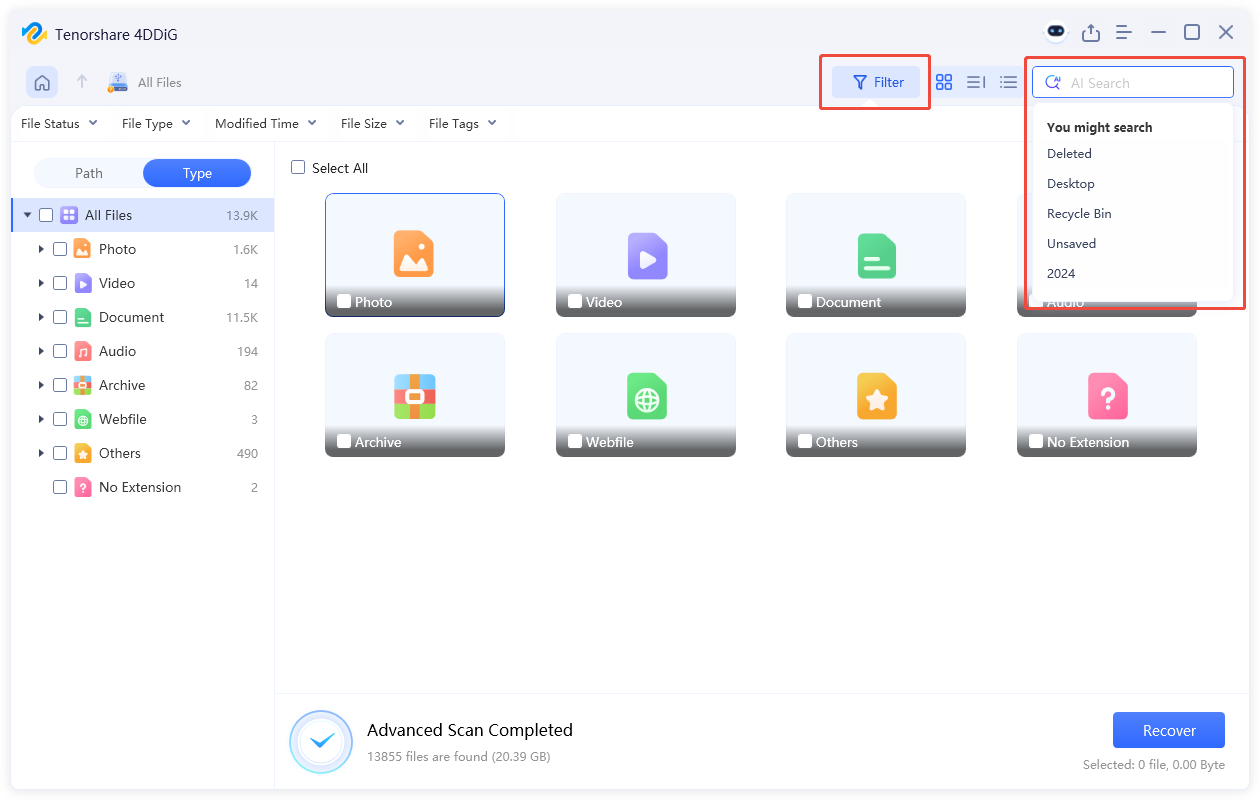
  • Scan and recover the data. 4DDiG should launch automatically after the recovery environment finishes loading. Select the location that contains your files and start scanning. Preview and select the files you need, and save them to the separate external drive rather than the affected computer's local disk.

    save files recovered from a crashed computer to a safe location

How to Fix a PC That Won't Boot After a BIOS Update?

Start with the fix that matches your specific situation. Not every solution applies to every case—Windows boot repair will not fix corrupted BIOS firmware, while a BIOS reflash is unnecessary when only Windows startup files are damaged.

1 Wait for the BIOS Update or Recovery Process to Complete

Best for: A computer that has just installed a BIOS update and is temporarily showing a black screen, restarting, or displaying signs that the recovery process is still running.
Requirements: A stable power source and no clear indication of hardware failure.
Data risk: Low if the update or recovery process is not interrupted.

Some BIOS updates require multiple restarts, and the screen may remain blank while firmware initializes hardware or restores a backup image. Turning off the computer too early may interrupt the process and increase the risk of BIOS corruption.

  • Connect the computer to AC power.

  • Check for update messages, progress indicators, flashing LEDs, fan activity, or a manufacturer recovery screen.

  • Do not press keys, close the lid, unplug the device, or force a shutdown while the process is running.

  • Check the manufacturer's support documentation if the screen remains blank longer than expected.

  • Continue with other fixes only when the BIOS update or recovery process has clearly stopped.

2 Disconnect External Devices and Perform a Power Reset

Best for: A PC that powers on but shows a black screen, restarts repeatedly, or may be attempting to boot from an external device.
Requirements: The ability to safely shut down the computer and disconnect external devices.
Data risk: Low.

USB drives, external storage devices, docks, and other accessories can interfere with boot detection or hardware initialization. A power reset can clear temporary hardware states without affecting stored files.

  • Turn off the computer.

  • Disconnect USB drives, external hard drives, SD cards, printers, docking stations, and other unnecessary accessories.

  • Unplug the AC power cable.

  • If the manufacturer provides a removable battery procedure, follow the official instructions.

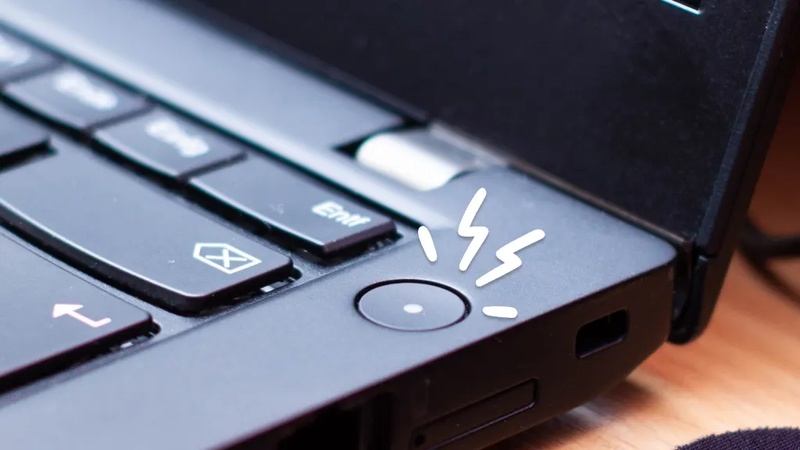
  • Hold the power button for about 15 to 20 seconds to discharge residual power.

  • Reconnect only essential devices and turn on the computer.

  • Check whether the PC reaches the manufacturer logo, BIOS, or Windows startup screen.

3 Check SSD Detection and Restore Correct Boot Settings

Best for: A PC that enters BIOS, boots directly into BIOS, or shows a Boot Device Not Found message.
Requirements: Access to BIOS/UEFI Setup and knowledge of the original boot and storage configuration.
Data risk: Low to medium because incorrect boot or storage settings may prevent Windows from loading.

A BIOS update can reset the boot order or storage controller configuration. Before assuming Windows or the drive is damaged, verify that BIOS detects the SSD and points to the correct Windows boot entry.

  • Restart the PC and press the BIOS key, commonly F2, Delete, Esc, or F10.

  • Open the Storage, System Information, or NVMe/SATA section and verify that the internal SSD is detected.

  • Open the Boot section and check whether Windows Boot Manager is available.

  • Set Windows Boot Manager as the first boot option.

    windows boot manager
  • Confirm that the system is using the correct UEFI or Legacy/CSM mode.

  • Verify that the storage controller mode matches the original AHCI, RAID, or Intel RST configuration.

  • Save the changes and restart the computer.

???? Note:

Do not randomly switch between AHCI and RAID modes. If Windows was installed under one storage mode, changing it may prevent the system from loading.

4 Enter the BitLocker Recovery Key

Best for: A PC that displays the BitLocker Recovery screen after a BIOS update.
Requirements: The 48-digit BitLocker recovery key associated with the encrypted drive.
Data risk: Low when the correct recovery key is entered.

Changes to BIOS, TPM, or Secure Boot can trigger BitLocker Recovery because Windows detects a different startup environment. Entering the recovery key with key ID is safer than disabling security features or modifying the encrypted drive.

  • Note the recovery key ID shown on the BitLocker Recovery screen.

  • Find the saved recovery key through the Microsoft account linked to the PC.

    find recovery key from microsoft account
  • For work or school devices, contact the IT administrator to retrieve the key.

  • Check saved records, USB drives, password managers, or printed copies where the key may have been stored.

  • Match the recovery key ID and enter the 48-digit key.

  • Restart the computer and check whether Windows starts normally.

Here's how to bypass BitLocker blue screen. If BitLocker Recovery appears repeatedly, the boot order, Secure Boot state, or firmware measurements may still be inconsistent. Avoid clearing TPM just to bypass the recovery screen.

5 Load BIOS Default Settings

Best for: A PC that enters BIOS but has incorrect, unstable, or unknown firmware settings after the update.
Requirements: Access to BIOS Setup and the ability to review boot settings afterward.
Data risk: Medium because default settings may not match the original Windows configuration.

Loading BIOS defaults can correct invalid firmware settings after an update. It does not repair corrupted BIOS firmware, and the original boot or storage configuration may need to be restored afterward.

  • Enter BIOS/UEFI Setup.

  • Record the current Boot, Storage, Secure Boot, TPM, and virtualization settings.

  • Select "Load Setup Defaults", "Restore Defaults", or "Load Optimized Defaults".

    select load setup defaults
  • Confirm the change and return to the Boot section.

  • Make sure Windows Boot Manager is listed as the first boot option.

  • Verify the original UEFI and AHCI, RAID, or Intel RST settings.

  • Save the configuration and restart the PC.

6 Clear CMOS to Reset BIOS Settings

Best for: A PC that cannot complete POST, cannot enter BIOS normally, or appears to have invalid firmware settings after the update.
Requirements: The manufacturer's instructions and access to the supported CMOS reset method.
Data risk: Medium because BIOS settings, boot order, storage configuration, Secure Boot, and TPM settings may be reset.

Clearing CMOS resets stored firmware settings so the motherboard can initialize with default values. It can fix incorrect BIOS configurations after an update, but it cannot repair damaged BIOS firmware or restore Windows boot files.

  • Turn off the computer and disconnect AC power.

  • Check the official manual or support documentation for your PC or motherboard model.

  • Use the supported reset method, such as a Clear CMOS button, motherboard jumper, or CMOS battery reset.

  • Reconnect power and start the computer.

  • Enter BIOS/UEFI Setup after startup.

  • Restore the correct boot order, UEFI mode, Secure Boot settings, and AHCI or RAID configuration if needed.

  • Save the settings and restart Windows.

7 Run Windows Startup Repair

Best for: A computer that completes POST, detects the system drive, but cannot load Windows normally after the BIOS update.
Requirements: Access to Windows Recovery Environment or Windows installation media.
Data risk: Low.

If BIOS settings and the internal drive are working correctly, the remaining issue may be related to Windows startup files. Startup Repair can fix some boot problems, but it cannot repair BIOS firmware or motherboard issues.

  • Allow Windows to enter Automatic Repair after repeated failed starts, or boot from Windows installation media.

  • Select "Repair your computer" instead of installing Windows.

  • Go to "Troubleshoot > Advanced options".

  • Select "Startup Repair".

    run startup repair in advanced options
  • Choose the Windows installation and enter the BitLocker recovery key if requested.

  • Wait for Windows to complete the repair process and restart the PC.

8 Repair Windows Startup in Recovery Environment

Best for: A PC that detects the drive but crashes, enters a repair loop, or cannot start Windows after the BIOS update.
Requirements: Access to Windows Recovery Environment.
Data risk: Low for Safe Mode and System Restore; medium for manual boot repair.

When BIOS and hardware are working normally, the issue may be related to Windows drivers, system files, or boot configuration. Try Safe Mode and System Restore before manually rebuilding the boot environment.

Option 1: Start Windows in Safe Mode

  • Open Windows Recovery Environment and select "Troubleshoot > Advanced options".

  • Select "Startup Settings" and click "Restart".

  • Press F4 to enter Safe Mode or F5 for Safe Mode with Networking.

    enter safe mode on windows
  • Remove recently installed drivers, check Device Manager, copy important files, or run System Restore.

Safe Mode does not repair BIOS problems. It only starts Windows with a limited set of drivers and services, so it works only after the PC completes POST successfully.

Option 2: Use System Restore

  • Open Windows Recovery Environment and select "Troubleshoot > Advanced options > System Restore".

  • Select the affected Windows installation.

    restore system to fix missing taskbar
  • Choose a restore point created before the startup problem occurred.

  • Confirm the restore point and wait for the process to finish.

  • Restart the PC and check whether Windows starts normally.

Option 3: Repair BCD or the EFI Boot Environment

Manual boot repair is an advanced step. Most modern Windows 11 systems use UEFI/GPT with an EFI System Partition, so rebuilding the MBR alone may not solve the issue.

  • Recover or back up important files before modifying boot partitions.

  • Unlock BitLocker if the system partition is encrypted.

  • Open Command Prompt from Windows Recovery Environment.

  • Confirm the correct Windows and EFI partition letters before making changes.

  • Use Microsoft's BCDBoot guidance to recreate the required boot files.

  • Restart the computer and test Windows startup.

If Windows still cannot start after these repairs, recover important files with 4DDiG before resetting Windows or performing a clean installation.

9 Perform OEM BIOS Recovery or Reflash the Correct BIOS

Best for: A failed BIOS update, corrupted firmware, no-POST condition, or a manufacturer-specific BIOS recovery prompt.
Requirements: The exact computer or motherboard model, official BIOS files, stable power, and manufacturer instructions.
Data risk: Medium to high because incorrect firmware or interruption during recovery may prevent the PC from starting.

If the BIOS update failed, loading default settings or repairing Windows will not fix incomplete firmware code. Use only the BIOS recovery method provided by the computer or motherboard manufacturer.

  • Identify the exact PC or motherboard model.

  • Download the official BIOS recovery file from the manufacturer's support website.

  • Read the recovery instructions carefully before preparing a USB drive or starting the process.

  • Keep the computer connected to stable AC power during recovery.

  • Do not remove the USB drive, disconnect power, or interrupt the process.

  • After recovery completes, enter BIOS and verify the boot order, UEFI mode, Secure Boot, and storage controller settings.

  • Restart the computer and test Windows startup.

When Should You Stop Troubleshooting a Computer That Won't Boot After BIOS Update?

Stop troubleshooting when the PC cannot complete POST after BIOS Recovery, the recovery process repeatedly fails, or diagnostic LEDs and beep codes suggest a motherboard issue.

Consider professional repair if the device requires an external BIOS programmer, is under warranty, or the drive may be physically damaged. Try a HDD data recovery before reinstalling Windows or making further changes.

How to Prevent Boot Failure During the Next BIOS Update?

  • Download the Correct BIOS File: Download BIOS files only from the official manufacturer website and confirm the exact PC or motherboard model. Installing an incompatible BIOS version can cause startup failures.
  • Ensure Stable Power During the Update: Connect laptops to AC power and avoid updating during unstable power conditions. A sudden interruption can corrupt BIOS firmware and prevent the PC from starting.
  • Back Up Data and Save the BitLocker Recovery Key: A BIOS update usually does not erase files, but failed updates may require repairs or Windows reinstallation. Back up important data and make sure the 48-digit BitLocker recovery key is available before updating.
  • Record Current BIOS Settings: Save your Boot, Storage, Secure Boot, TPM, and UEFI settings before updating. This makes it easier to restore Windows Boot Manager and storage configurations if BIOS defaults are loaded.
  • Follow the Manufacturer's BIOS Update Instructions: Use the update method recommended for your specific device, whether it is a Windows utility, UEFI tool, or USB recovery method. Do not interrupt the update until it is complete.

Conclusion

If your computer won't start after a BIOS update, first identify where the startup process stops before applying any fix. A PC that cannot reach the manufacturer logo may require firmware or hardware troubleshooting, while a PC that enters BIOS or starts loading Windows may only need boot, storage, or Windows recovery repairs.

If the internal drive is still detected, recover important files before advanced but risky fixes. 4DDiG can help retrieve files from an unbootable PC when the drive remains accessible, while BIOS corruption requires the manufacturer's official recovery method.

FREE DOWNLOAD

Secure Download

FREE DOWNLOAD

Secure Download

Frequently Asked Questions

Can a failed BIOS update permanently damage a PC?

Yes. A failed BIOS update can prevent the motherboard from starting properly. However, many modern computers have recovery features such as automatic BIOS recovery, backup BIOS, or USB BIOS Flashback that can help restore the system.

Will clearing CMOS fix a failed BIOS update?

Not always. Clearing CMOS only resets BIOS settings. It can fix problems caused by incorrect boot, storage, memory, or overclocking settings. It cannot repair damaged BIOS firmware.

Why does my computer boot directly into BIOS after the update?

The BIOS may no longer find the correct Windows startup settings. The update may have changed the boot order, UEFI mode, storage mode, or stopped detecting the system drive. Check and restore the settings used before the update.

Why does BitLocker ask for a recovery key after a BIOS update?

A BIOS update can change security settings such as TPM, Secure Boot, or boot configuration. BitLocker asks for the 48-digit recovery key when it detects a change in the startup environment.

Can Safe Mode fix a failed BIOS update?

No. Safe Mode cannot repair BIOS problems. It only helps when the computer can pass the BIOS startup check and Windows cannot load because of drivers, services, or system settings.

Does BIOS Recovery delete personal files?

Usually not. BIOS Recovery repairs the motherboard firmware and does not normally remove files from the system drive. However, Windows reset, formatting, or reinstallation may cause data loss, so back up important files first.

Can files be recovered when the computer will not start?

Yes, if the internal drive is still detected and the PC can start from a USB recovery environment. A data recovery tool can scan the drive and recover accessible files before you repair or reinstall Windows.

William Bollson (senior editor)

William Bollson, the editor-in-chief of 4DDiG, devotes to providing the best solutions for Windows and Mac related issues, including data recovery, repair, error fixes.

(Click to rate this post)

You rated 4.5 ( participated)