How to Fix Windows 11 Stuck on Startup after KB5043145 Update
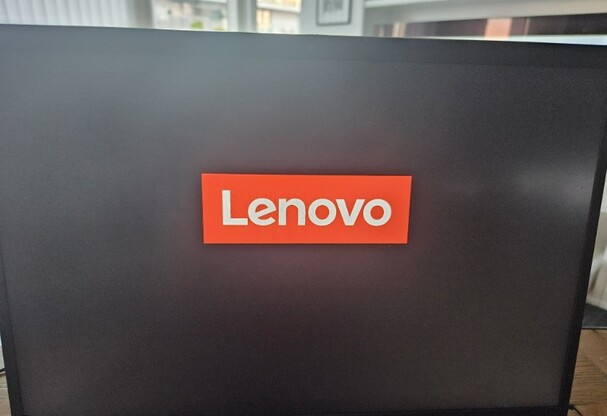
Do you often find your laptop stuck on startup screen after KB5034145 update when you try to turn it on? When you start Windows 11, it hangs at the start logo for minutes or hours for no apparent reason. Some people assume forcing a shutdown might fix the issue temporarily. However, this approach is neither sustainable nor safe for your data or system stability. But don’t worry. This article will fully address the Windows 11 stuck on startup/boot/loading screen issue. In this post, we’ll look at the possible reasons and best treatments for the laptop stuck on startup screen after KB5034145 update issue.
Solution 1: Unplug All Peripherals and Reboot
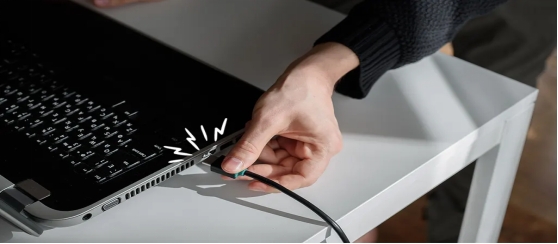
A malfunctioning USB storage device may be the reason behind the Windows stuck on startup after KB5034145 update issue. In this situation, you should unplug all functional USB devices—such as Bluetooth, SD card readers, flash drives, wireless mouse dongles, and more—attached to your computer via USB cables.
Remember to restart the computer after unplugging the USB cords and gadgets. This way, your computer should boot up without any issues.
This approach should be able to solve your problem. However, try the following solutions if this method does not resolve the issue.
Solution 2: Reboot Laptop in Safe Mode
Windows updates or other issues might occasionally be the source of the Windows 11 stuck on loading screen issue. To make your computer start properly again, you may now enter Safe Mode, do nothing, and restart it. A minimal set of drivers, software, and services are installed before Safe Mode is activated. Safe Mode launches without issues when your computer is stuck on the boot screen and Windows cannot start normally. You’ll find it helpful to troubleshoot there.
-
To access Safe Mode when Windows 10 becomes stuck on the loading screen, you need to either start your computer from the bootable CD or restart it more than thrice in a row until the Preparing Automatic Repair screen appears.
-
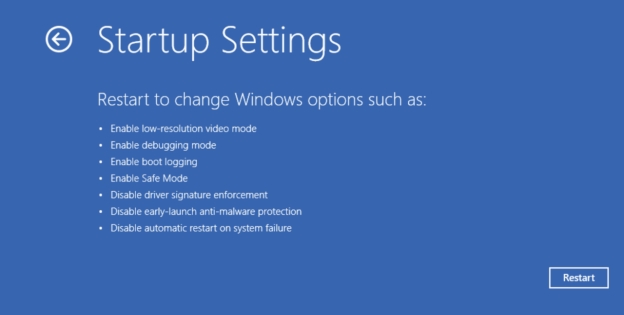
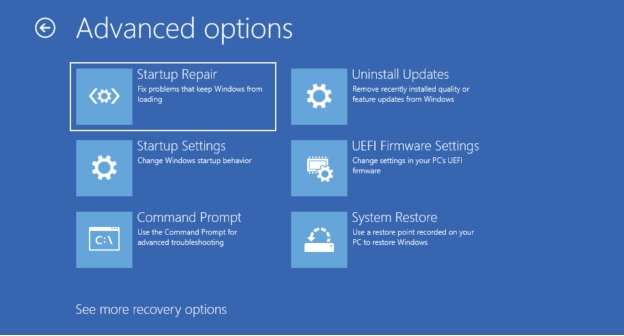
After that, choose “Advance options” > “Troubleshoot” > “Advanced options” > “Startup Settings” > “Restart.”

-
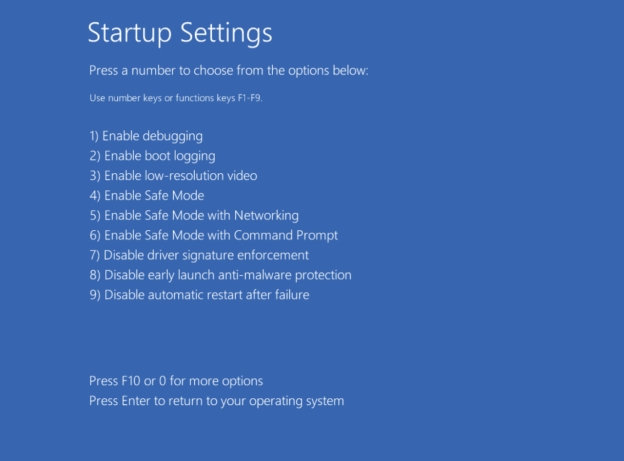
To start your computer in Safe Mode, hit the 4 or F4 key on your keyboard.

Solution 3: Check & Repair System
You also have the option to create WinPE with 4DDiG Partition Manager to quickly fix laptop stuck on startup screen issue. Among the many robust features of this all-inclusive solution is the ability to generate a Bootable WinPE Media, which is necessary to access your system even if it cannot be booted. Furthermore, its capacity to fix damaged Master Boot Record (MBR) or EFI partitions—also referred to as repair boot—guarantees effective booting process restoration.
Secure Download
Follow these steps to create a bootable WinPE media using 4DDiG Partition Manager:
-
Once 4DDiG Partition Manager has been installed and launched, attach a USB flash drive or CD/DVD to your computer.
-
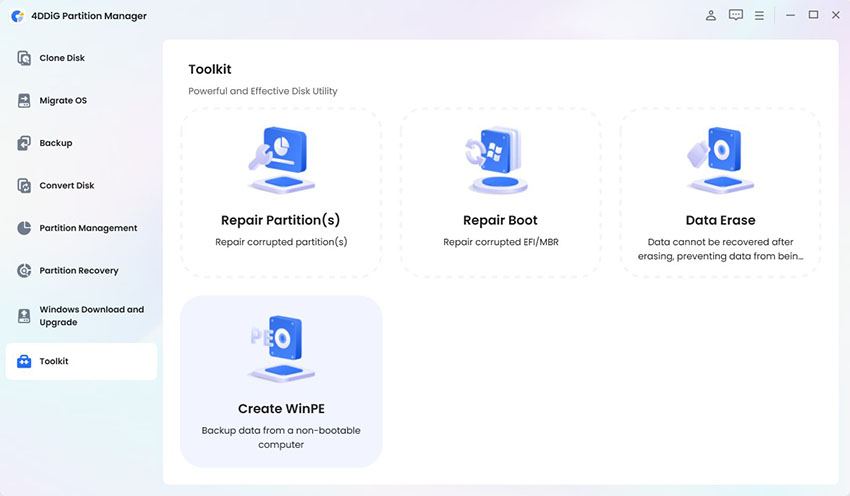
Next, select “Toolkit” from the menu on the left, and then click “Create WinPE” to proceed.

-
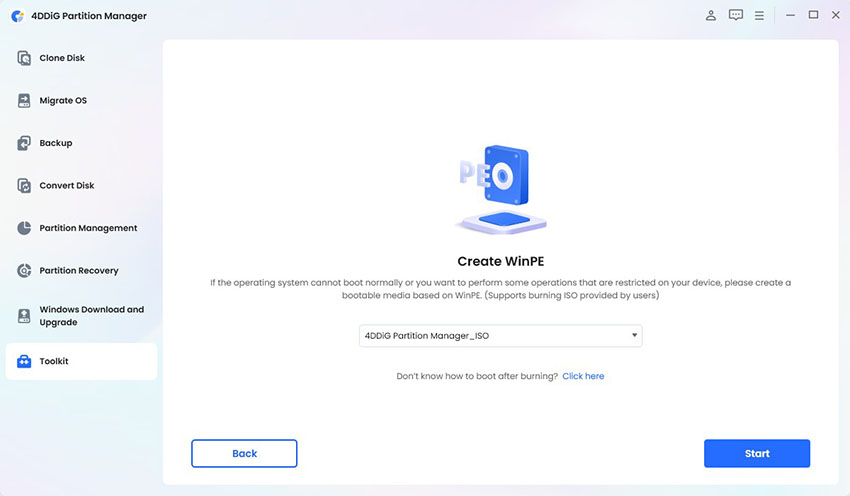
Next, burn the program to the USB.

Booting with the WinPE Media
Once the WinPE media is created, follow these steps to boot your system from it:
-
Insert the bootable USB/CD into the affected laptop.
-
Restart the computer and press the appropriate Boot Menu key (often F2, F12, DEL, or ESC) to open the boot options.
-
Use the arrow keys to select the USB/CD drive as the boot device, then press Enter.
-
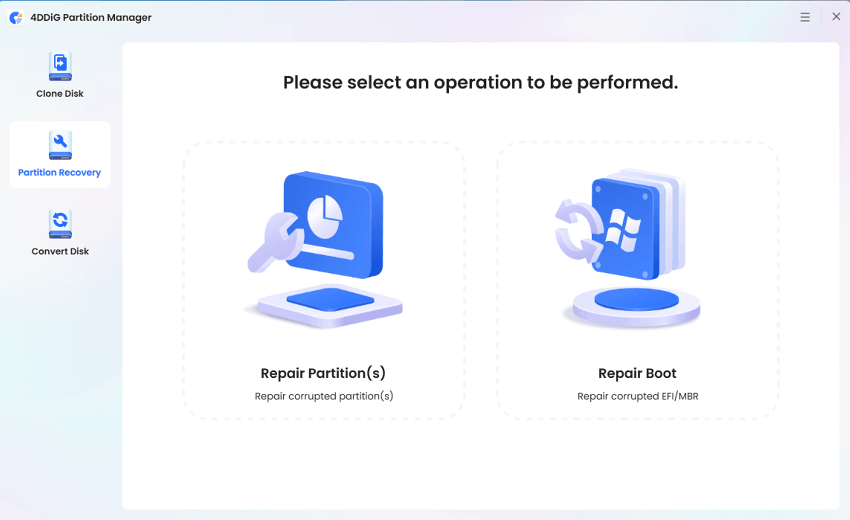
Once inside the WinPE environment, you can perform various operations such as:
- Repair Boot: Fix damaged MBR or EFI partitions.
- Partition Recovery: Recover lost or damaged partitions.
- Disk Cloning: Backup data from non-booting systems.
-
Here we select Repair Boot to fix the problem.

After the repair process is complete, click Finish and restart your computer. If the issue is resolved, the system should boot correctly without interruptions.
Solution 4: Go Back to the Previous Build
If you are still stuck on Windows loading screen, you can do one more thing. However, you must have system backups on your computer to avoid any disasters when using this strategy. If your computer has a complete system backup, follow these steps:
-
Click Repair Your Computer after turning on Windows and pressing F8 or Shift.
-
If prompted to select a keyboard when Windows repair mode is ready, click OK. If prompted to choose an account and enter a password, click OK.
-
Under System Recovery Options , select System Restore to view all Windows restore points.

-
Choose the restore point generated when your machine was safe and sound, and if you don’t see all the restore points, choose Show additional restore points.
-
Press Next . After that, all you have to do is wait patiently for it to restore all of your Windows to the chosen point.
Solution 5: Clean Reinstall Windows 11
If nothing has worked so far and your laptop freezes on startup still, you should attempt a clean reinstallation of Windows 11. Remember to back up your computer before KB5034145 update.
Although this procedure will be simple, some files and data may be lost. Just back up your data, format your computer’s hard disk, and then reinstall Windows 11.
You just need an internet connection and a USB drive with at least 8GB of storage.
Follow these steps to create a bootable USB for Windows 11 installation:
-
Insert the USB drive into your PC.
-
Download the Media Creation Tool from the Microsoft website.
-
Run the downloaded tool as an administrator.
-
Accept the license terms to proceed.
-
Uncheck the “Use recommended options for this PC” box to select the desired language and edition manually.
-
Select the USB flash drive as the installation media and click Next (Reminder: The drive will be formatted, and all data will be lost).
-
Once the media creation process is complete, click Finish.
-
The USB drive is now ready to be used as a bootable installation media.
Before proceeding with the clean installation, back up all important files (e.g., documents, photos, and apps), as everything on the target PC will be erased.
Steps to perform a clean installation of Windows 11
-
Insert the bootable USB drive into the PC where you want to install Windows 11.
-
Restart your PC while holding the Shift key to enter the Windows Recovery Environment (WinRE).
Select the option to boot from the USB drive.
-
On the Windows Setup screen, select your language, time, and keyboard preferences, then click Next.
Click Install Now to begin the installation.
-
If prompted for a product key, select I don’t have a product key (Windows will activate automatically later with your Microsoft account).
-
Choose the same edition of Windows that was previously installed to ensure activation. Click Next.
Accept the Microsoft Software License Terms and click Next.
-
Select Custom: Install Windows only (advanced) as the installation type.
-
Select the hard drive partition where you want to install Windows, usually the Primary partition. Click Next to proceed.
-
You do not need to delete or format partitions; existing partitions (like Recovery) will be reused.
-
If the installer detects files from a previous Windows installation, they will be moved to a Windows.old folder. Click OK to acknowledge this message.
-
Wait for the installation to complete. Your PC will restart automatically.
-
Follow the on-screen prompts to complete the setup after your PC restarts.
Installing Windows 11 cleanly just requires downloading the relevant ISO image files for your current Windows system. After that, any boot or startup issues will be resolved, and Windows will no longer be stuck on the loading screen.
Conclusion
One of the most common startup issues is when you see your laptop stuck on startup screen after KB5034145 update. We understand that it is incredibly frustrating. Nonetheless, there are many approaches you can use to solve the problem, some of which are covered in this article. If your system continues to freeze on startup try 4DDiG Partition Manager which offers a powerful way to fix boot-related issues for a more streamlined solution. Its ability to create bootable WinPE media, repair damaged partitions, and recover lost data makes it an ideal tool for tackling this issue efficiently.
Secure Download
💡 Summarize with AI:
You May Also Like
- Home >>
- Windows Fix >>
- How to Fix Windows 11 Stuck on Startup after KB5043145 Update
 ChatGPT
 Perplexity
 Google AI Mode
 Grok
Grok


