How to Recover Emptied Trash on Mac -Top 5 Ways
Can You Recover Trash on Mac after Emptying? Of course, Yes. Emptying your Recycle Bin doesn't mean the files are deleted permanently. When you delete a file, the operating system marks its space as free. However, the file stays on your device and can still be recovered until they are overwritten.
This post will introduce some effective ways to recover deleted files from an emptied trash on a Mac. You can take a quick look at what these solutions are and when they are suitable.
- Workable Solutions
- Description
- Way 1. Data Recovery Software
-
Faster recovery and user-friendly Learn more
- Way 2. Time Machine or iCloud Backup
-
Requires backup files to be available Learn more
- Way 3. Terminal Command
-
Require technical knowledge Learn more
The Top Solution to Recover Emptied Trash on Mac
To recover emptied trash on Mac, the easiest way is to use Mac Data Recovery software. Here, we recommend 4DDiG Mac Files Recovery. This powerful recovery software is designed to easily recover mac deleted files, even after it's been emptied. Any sorts of files are supported, including photographs, recordings, excel, word and others.
Free download 4DDiG Mac Data Recovery to get trash back on Mac.
Secure Download
Secure Download
-
Launch 4DDiG on your Mac. In the main interface, select "Trash" as the location to scan. This option should be readily available.

-
Click "Scan" to start searching for files in your Trash. The software will look for recently deleted items that are still recoverable.

-
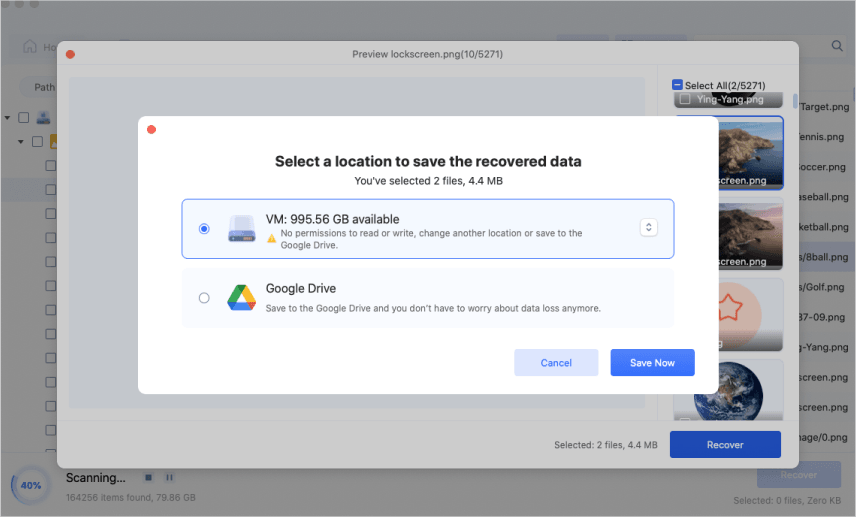
Once the scan is complete, preview the found files. Select the ones you want to recover, then click "Recover." Choose a new location to save these files, not the Trash or their original location.

Here is a detailed video guide to help you better learn how to recover items from emptied trash mac.
Secure Download
Secure Download
Other 5 Ways to Recover Emptied Trash from Mac
You may wonder how to recover emptied Trash on a Mac free without software. There are some built-in functions that you can try, including time machine backup, iCloud backup or Email Recovery. However, these methods might only provide a partial recovery.
- Way 1. Recover Trash Mac via Time Machine
- Way 2. Recover Trash Mac via iCloud Backup
- Way 3. Undo Empty Trash Mac with Terminal Command
- Way 4. Get Trash Back from Emails
- Way 5. Contact a Data Recovery Service
Way 1. Recover Emptied Trash Mac Free via Time Machine
Time machine is a real savior if you have had a backup. Follow the instructions to recover the empty trash Mac Free.
-
Access the Time Machine by clicking on the clock icon in the menu bar. You can also access it through the Terminal app.

- Then, use the timeline and navigate to the time before you emptied the Trash. Time Machine will display all the backups up to that time. You can then choose the desired one.
- Once you can see the files you want, select them and click on restore.
- It will restore the files to their locations. Depending on the size of your files, the process may be time-consuming.
-
Ensure the Mac device is turned on and connected to the time machine.

Way 2. Recover Emptied Trash Mac Free from iCloud Backup
If you have an iCloud backup, you can quickly recover emptied Trash on a Mac for free. Deleted files should also be part of the backup.
iCloud Drive may have the files you deleted from your Mac device. Open the finder and check for the folders containing deleted files. Once you get the results, navigate to the folders, find them, select them, and recover them.
If the backup is enabled, then you can restore the complete data. You need to follow the simple steps:
- Go to the Apple menu and log in with your Apple ID.
- Next, you need to click "iCloud" in the sidebar and click "Manage."
- Select "Backups".
-
Select the one with deleted and required files.

-
Once the files are selected, click "Restore" and follow the instructions to complete the restore.

If you forget to back up using Time Machine or iCloud, you will not be able to recover emptied trash using this method. Installing the 4DDiG Mac data recovery tool is suggested.
Secure Download
Secure Download
Way 3. Using Terminal to Get Trash Back
Like the Windows Command Prompt, Terminal lets users manage a Mac through the command line, providing advanced options for those familiar with computers. Remember, this method only works if the file is still in the Trash. If you've emptied the Trash, you'll need to try other recovery methods. Follow these steps to recover emptied trash from mac using Mac Terminal.
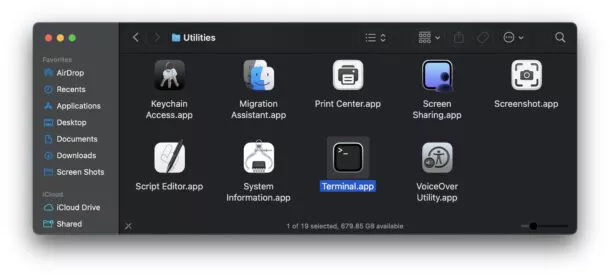
Open Spotlight and search for "Terminal", or go to "Finder > Applications > Utilities" to locate it.

- Type "cd ~/.Trash" and pressEnter. This command takes you to the Trash folder.
- Use the "ls" command to list all files in the Trash. Look for your deleted file in this list.
- To restore a file, type "mv filename ../" replacing "filename" with your file's name. This moves the file back to your home directory.
- Check your home directory to confirm the file is restored.
Misusing Terminal commands might lead to further data loss or system issues if not handled carefully. It can be time-consuming to learn and execute the right commands, especially when compared to easier recovery tools.
Way 4. Recover Emptied Trash Mac Free from Emails
Recovering an emptied Trash on a Mac free from Emails can be challenging, as emails don't store files in the Trash. However, if you've recently exchanged those files with someone, you may be lucky to have gotten them from Email.
Steps that you can do here include:
- Email services like Gmail and iCloud Mail have their trash folders; you can navigate through those folders and check for deleted files if they are found there.
- Log in to your account and check for attachments sent or received. If you have exchanged files with someone, you can restore the files.
- To save time, you can look for the search option and find the files by their names or some relevant keywords.
- If you have email backups, you can navigate through them to get the desired files. The backup may contain all the deleted or non-deleted files.
-
You may not get all the deleted files from Email, but you may get most of them. Moreover, remember to create a backup of your important files to avoid disturbance in the future.
Way 5. Contact a Data Recovery Service If Still Can't Recover Emptied Trash on Mac
When all else fails, professional data recovery services can be your last resort. These experts have specialized tools and knowledge to recover files from even severely damaged drives.
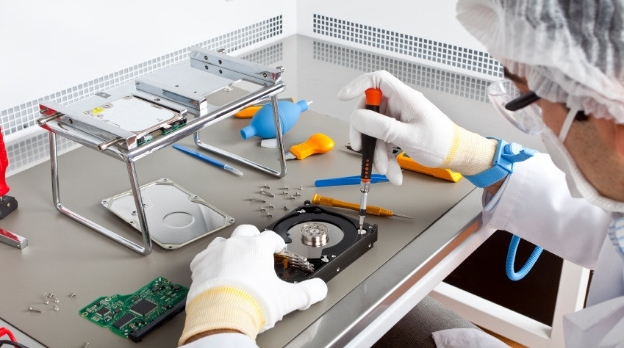
Here's how to use a data recovery service:
-
Research reputable data recovery companies online. Look for reviews and success rates.
-
Contact the service for a price estimate. Explain your situation in detail.
-
If you decide to proceed, follow their instructions for shipping your device.
-
The company will examine your drive and provide a more accurate recovery estimate.
-
If you approve, they'll recover your data and transfer it to a new storage device.
-
Once you pay, they'll ship the new device with your recovered files back to you.
Remember, this option can be expensive and time-consuming. It's best used for extremely valuable data that can't be recovered through other means.
Always choose a service that doesn't charge if they can't recover your files. Also, ensure they have a privacy policy to protect your sensitive information.
More Advice on Mac Emptied Trash Recovery
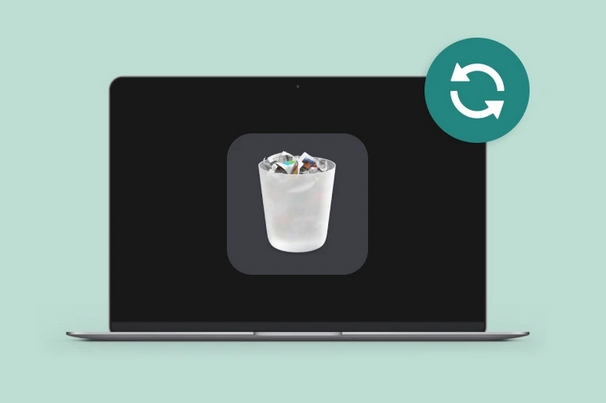
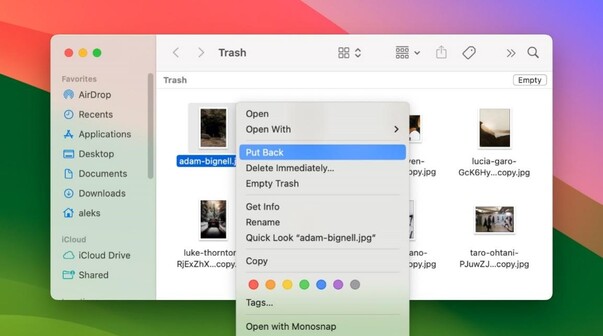
- Check the Trash: Before emptying the Trash, open it and look for the file. You can simply right-click the file and choose "Put Back" to restore it to its original location.
- Act Quickly: When files are deleted, they’re not immediately overwritten. The sooner you attempt recovery, the better the chances of retrieving the data before it gets replaced.
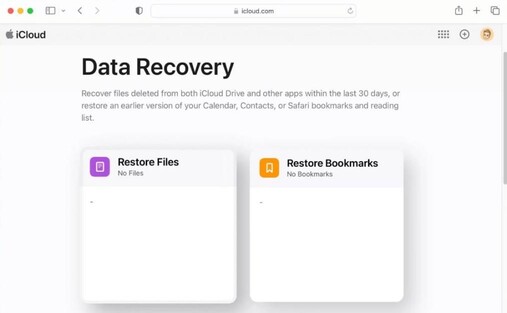
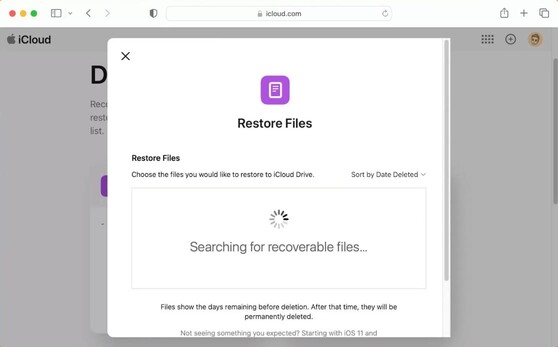
- Check iCloud: If you use iCloud for backups or storage, deleted files may still be available in the "Recently Deleted" section for restoration.
- Professional Help: If you're unable to recover the files yourself, consider reaching out to a professional data recovery service.
Conclusion
Nothing is worse when you accidentally delete files and Trash is emptied. You can go and check the backups immediately; it's the first thing you can do. In case you have no backup, don't worry. 4DDiG Mac Data Recovery is the ultimate choice to recover files from trash mac free.
Secure Download
Secure Download
Macbook Empty Trash Recovery FAQs
Q: Where is the trash on macbook?
To open the trash folder, you need to press command+shift+G. Then, type "Trash" to get into the trash folder. Or you can just simply click on the Trash icon on the desktop to open it.
Q: How do I recover permanently deleted files from Mac terminal?
Use the Terminal command "cd ~/.Trash" to access the Trash folder. Then use "mv filename ../" to move the file back to your home directory. This only works for files still in Trash.
Q: How do I recover permanently deleted files from bin on Mac?
For files already emptied from Trash, use data recovery software like 4DDiG. It can scan your drive for deleted files and restore them, even after emptying the Trash.
Q: When you empty Trash on Mac, is it gone?
Once the Trash is emptied, recovery is more challenging, but it is still possible.
Q: What is the difference between empty Trash and delete immediately?
When you delete files on a Mac, they first go to the "Trash," allowing you to recover them later. After emptying the Trash, these files are marked for deletion but can still be recovered if they haven't been overwritten. To increase your chances of recovery, avoid using your Mac and Tenorshare 4DDiG Mac Data Recovery recover deleted files on mac as soon as possible.




 ChatGPT
 Perplexity
 Google AI Mode
 Grok
Grok

