How to Downgrade macOS Tahoe to Sequoia (3 Simple Ways)
Not every macOS upgrade goes as planned. After updating to macOS 26, some users report problems like app crashes, slower speed, or features that don’t work as expected. If this sounds familiar, you may be considering a downgrade. The good news is that you can downgrade macOS 26 without losing data if you follow the right steps. In this guide, we’ll show you safe and effective ways to roll back to macOS 15 or earlier, so you can restore stability and keep your files intact.
💡 Summarize with AI:
Part 1. Backup Your Mac Before Downgrading macOS 26
Downgrading macOS 26 involves wiping your Mac’s drive, meaning all data will be erased. To prevent permanent data loss, you must back up your files before proceeding. Here are some common ways to back up your data before downgrading:
- Back up Methods
- Detailed Steps
- Way 1. Time Machine Backup
-
1. Connect an external drive with enough storage.
2. Open System Settings > General > Time Machine.
3. Select your drive and enable automatic backups.
- Way 2. Backup image File on Mac
-
1. Download 4DDiG Mac Data Recovery on your macbook and launch it.
2. Connect an external drive
3. Click on the Data Backup > Select a disk to start backup > Select the save location.
4. Complete backup.
Part 2. How to Downgrade macOS Tahoe to Sequoia in 3 Ways
Before you begin, let’s explore three reliable ways to downgrade macOS 26 to older version, so you can choose the method that works best for your Mac.
Way 1. Downgrade macOS 26 to 15 via a Bootable Installer
Creating a bootable installer is necessary when rolling back from macOS 26 to 15. However, for many users, especially those unfamiliar with Terminal commands, manually creating the installer can feel overwhelming. Luckily, 4DDiG Mac Data Recovery comes with a completely free macOS installer creation tool, allowing even first-time users to set up their downgrade environment with ease.
Prepare a 32GB (or larger) USB flash drive, and follow the steps below to complete your macOS downgrade.
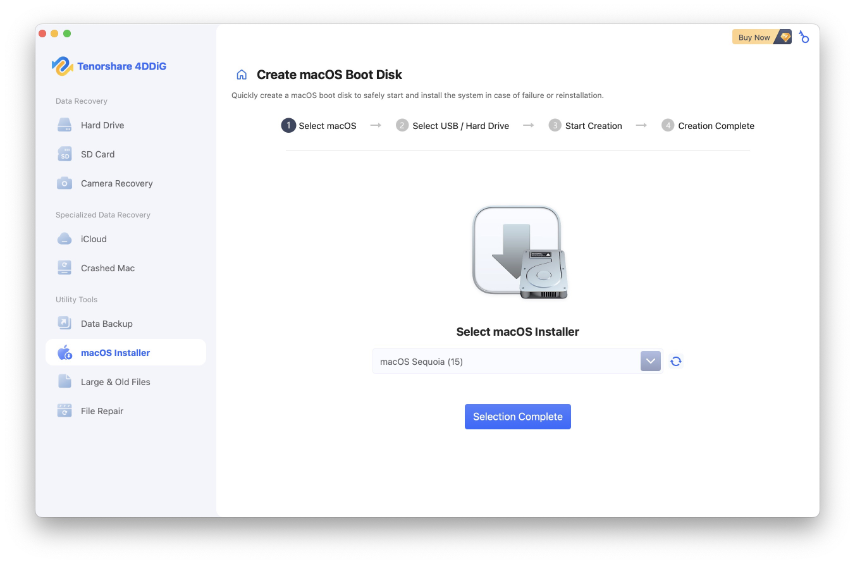
Download and install the software on your Mac computer, select the macOS installer feature.
FREE DOWNLOADSecure Download
FREE DOWNLOADSecure Download
-
Choose the older macOS version you want to downgrade from macOS 26.

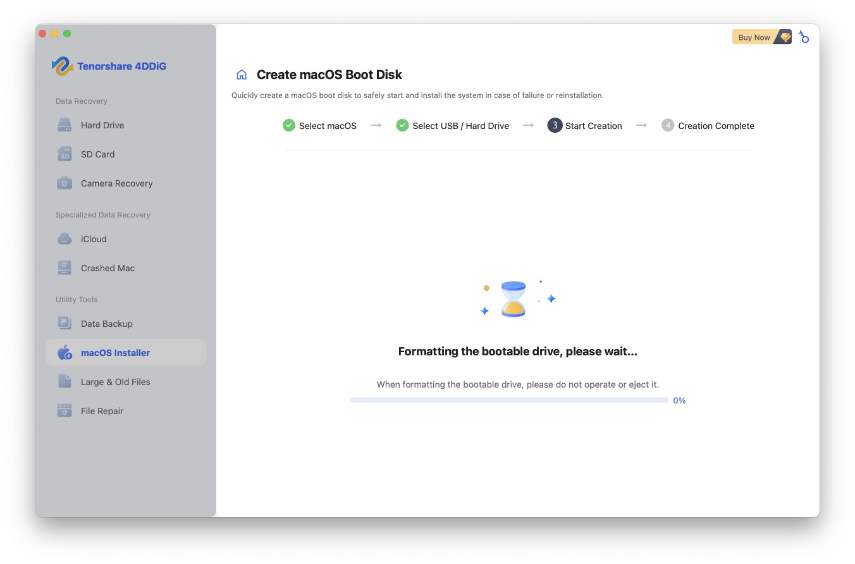
Connect the USB and format, then it will start to create the installer.

Wait for the installation to complete, and then proceed to set up your Mac with the previous version of macOS.

Secure Download
Secure Download
Way 2. Downgrade macOS 26 to 15 via Time Machine
If you’ve created a Time Machine backup of macOS Sequoia, you can use it to roll back your system. This method restores your Mac to its previous state along with all apps and settings. Keep in mind, though, that any files or changes made after the backup will not be recovered.
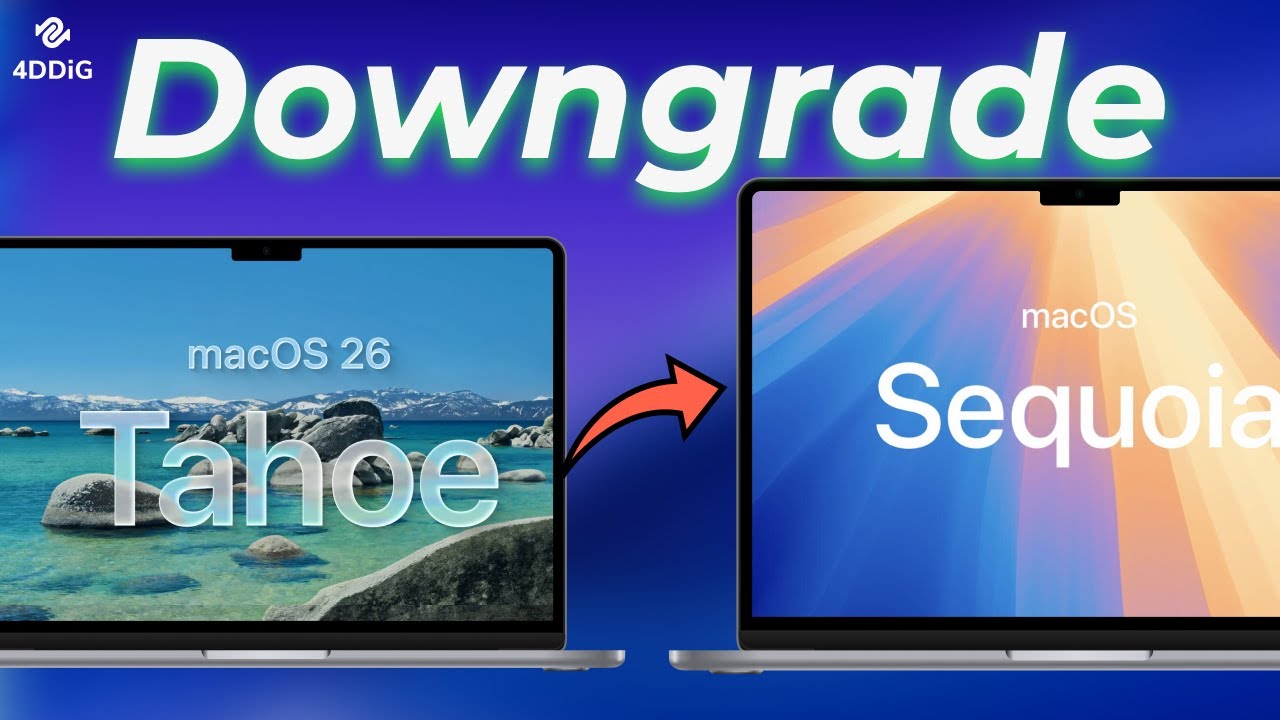
This video demonstrates how to downgrade macOS Tahoe to Sequoia:
Connect your Time Machine backup drive to your Mac.
Restart your Mac into Recovery mode:
Intel-based Macs: Hold down Command (⌘) + R until the Apple logo appears.
Apple Silicon Macs: Hold the power button until the startup options appear.
Select Options and click Continue.
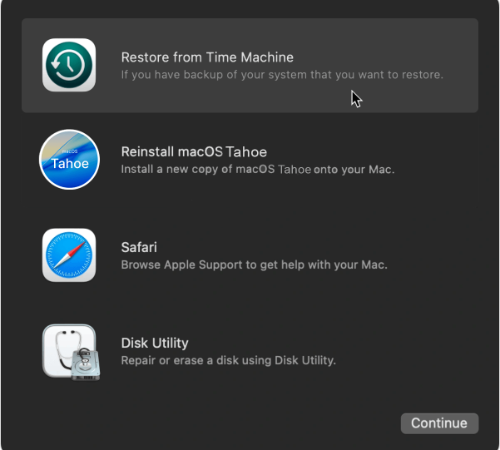
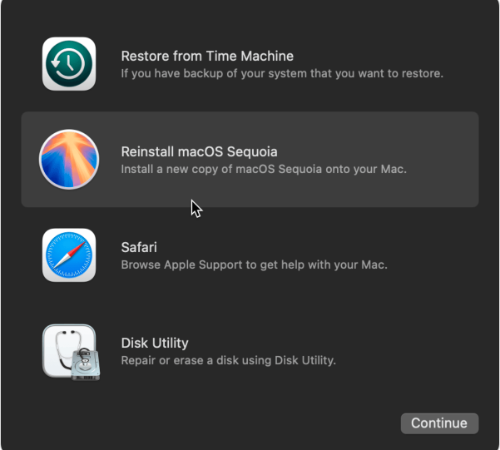
Choose “Restore from Time Machine”, then click Continue.

Pick the backup created before you upgraded to macOS Tahoe.
✅ You May Also Like: How to Restore from Time Machine
Method 3. Downgrade macOS 26 to 15 via Internet Recovery
If your Mac originally came with macOS Sequoia and later upgraded to macOS Tahoe, you can use Internet Recovery to reinstall the factory-installed system.
Simply restart your Mac, then press and hold Shift + Option + Command + R until the spinning globe appears. This will download and reinstall the macOS version that came with your Mac (Sequoia).

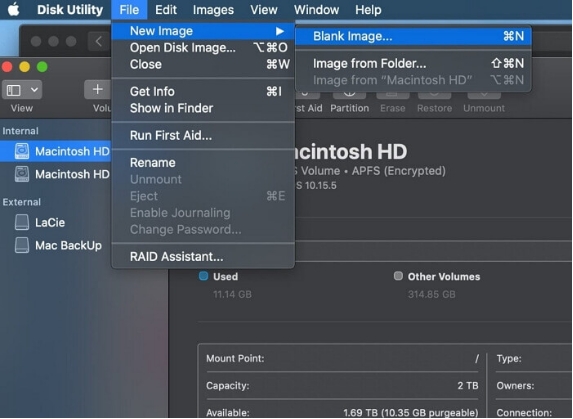
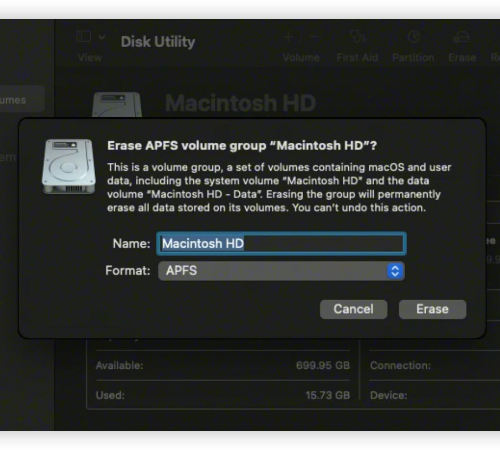
Next, choose Disk Utility and click Continue, then erase your main drive (Macintosh HD) and format it as APFS.

Return to the macOS Utilities window and select “Reinstall macOS Sequoia”.
Follow the on-screen instructions to complete the installation.
Bonus Tips: How to Recover Loss Data After Downgrading macOS 26
Downgrading from macOS 26 to an earlier version can sometimes lead to unexpected issues, such as missing files, corrupted documents, or even an inaccessible drive. If you’ve already lost important data during the downgrade, don’t worry— 4DDiG Data Recovery can help you quickly scan your Mac and bring those files back safely.
4DDiG Windows Data Recovery
- Recover data from laptop/PC, internal & external drive, USB flash disk, SD card,etc.
- Recover 1000+ file types including photos, videos, documents, and audio.
people have downloaded it

Conclusion
Downgrading from macOS 26 to a stable version is straightforward if you follow the right steps. Always back up your data first, then use macOS Recovery Mode to clean-install an older macOS version. If any files are missing, tools like 4DDiG Mac Data Recovery can help restore them. By taking these precautions, you can safely downgrade without losing important data.
FAQs about How to Downgrade macOS Tahoe 26
Q1. How do I get the new macOS beta?
Go to Apple's Beta Software Program website > Sign in with your Apple ID > Click "Enroll your Mac" and follow the instructions.
Q2. Which Macs will get macOS Tahoe?
Compatible devices include:
- iMac (2020 and later)
- MacBook Air with Apple Silicon (2020 and later)
- MacBook Pro with Apple Silicon (2020 and later)
- MacBook Pro (16-inch, 2019) & MacBook Pro (13-inch, 2020, Four Thunderbolt 3 ports)
- Mac Mini (2020 and later)
- Mac Pro (2019 and later)
- Mac Studio (all models)
Q3. Is it safe to install macOS beta?
Installing macOS beta may cause system instability, app incompatibility, data loss, and difficult downgrading - avoid on primary devices.
Q4. How to download the macOS Tahoe 26 developer beta
- Check Compatibility – Ensure your Mac supports macOS Tahoe
- Back up your Mac to avoid data loss
- Sign in to Apple Developer Account: – Required for beta access. Go to Apple Developer, click Account (top-right), and log in.
- On your Mac, go to System Settings > General > Software Update.
Turn on Beta Updates and choose macOS Tahoe 26.
☞ How to Clean Up Mac and Get macOS 26 Beta Without Issues | Anthing You Want
💡 Summarize with AI:
You May Also Like
- Home >>
- Mac Recovery Solutions >>
- How to Downgrade macOS Tahoe to Sequoia (3 Simple Ways)
 ChatGPT
 Perplexity
 Google AI Mode
 Grok
Grok

 ChatGPT
 Perplexity
 Grok
Grok


