How to Install macOS Tahoe Beta in 5 Minutes (Free Guide)
Apple has unveiled macOS Tahoe 26, a beta version packed with exciting new features, enhanced security, and improved performance. If you're eager to try it out early, this guide will walk you through every step of installing the macOS Tahoe beta safely and efficiently. From checking compatibility to backing up your data and completing the installation, we’ve got you covered.

Part 1. Check Mac Compatibility with macOS Tahoe 26
Before diving into the installation process, the first step is to ensure your Mac is compatible with macOS Tahoe 26. Apple typically releases a list of supported devices for each macOS update. As a general guideline, the following Mac models are expected to be compatible:
Part 2. Back up Your Mac Before Installing macOS 26 Beta
Installing a beta version of macOS can bring unexpected bugs or system instability. To avoid data loss, it’s critical to back up your files before you begin. Before you proceed, make sure to check the storage space.
Step 1. Clear up Storage Space firstly
If your Mac has any of these issues, you should clean up storage space first:
- You receive "Your disk is almost full" alerts.
- The installation process halts due to insufficient space.
- Your Mac becomes sluggish or apps take longer to open.
- You haven’t deleted large or old files in a while.
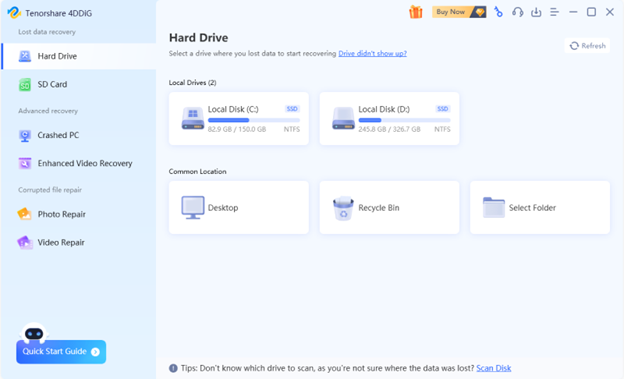
To quickly free up space, we recommend using 4DDiG Mac Data Recovery. This powerful tool not only recovers lost data but also features a “Large & Unused Files” scanner that helps you:
- Locate large files taking up significant space.
- Identify unused or duplicate files.
- Remove unnecessary files safely and efficiently.
Trustpilot Rating 4.3
100% Secure
If you have enough time, it would be more efficient to simply clean up large files before backing up; if there is enough space, you can back up directly.
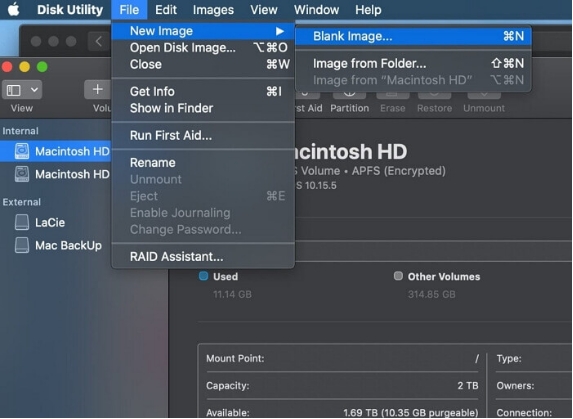
Step 2. Use Time Machine to Back up Now
If you’re intent on having a macOS Tahoe developer beta on your main PC, then understand that it’s risky to run a pre-release operating system on it – and definitely be sure to back up before proceeding (you should do this in any case). Apple’s built-in Time Machine is the simplest way to back up your Mac. Here’s how to do it:
- Connect an external storage device to your Mac.
- Click the Apple logo > System Settings (or System Preferences in earlier macOS versions).
- Select Time Machine and click Add Backup Disk and choose your external drive.
Time Machine will automatically start backing up your files, apps, and system settings.
Wait until the backup is complete before proceeding to the installation of macOS 26 beta.
Part 3. Download and Install macOS Tahoe 26 Beta
Once you’ve confirmed compatibility and backed up your Mac, you can move on to installing macOS Tahoe beta. Make sure your Mac is connected to a stable Wi-Fi and plugged into power. Follow These Steps:
Trustpilot Rating 4.3
100% Secure
- Visit developer.apple.com and sign in with your Apple ID. Enroll your Mac in the beta program.
- After enrolling, download the beta access utility and run the installer.
Once installed, go to System Settings > General > Software Update. Your Mac should now detect macOS Tahoe beta.
- Click ‘Upgrade Now’, the process can take some time, depending on your internet speed and system performance.
- After installation, your Mac will restart and guide you through the setup process.
Once the installation finishes, your Mac will restart automatically. When you log back in, you're ready to experience the all-new macOS Tachoe 26 beta, with its sleek features, faster performance, and enhanced security.
Need to roll back from macOS Tachoe 26 beta? Follow this guide to downgrade macOS 26 beta.
Part 4. What If You Lose Data After Installing macOS Tahoe Beta
Despite all precautions, beta installations can sometimes result in unexpected data loss — from missing documents to corrupted system files.If you find that files are missing after installing macOS 26 beta, don’t panic. 4DDiG Mac Data Recovery can help you recover:
4DDiG Mac Data Recovery
- Files lost due to failed installation
- Data erased during system reformatting
- Corrupted documents or media
people have downloaded it
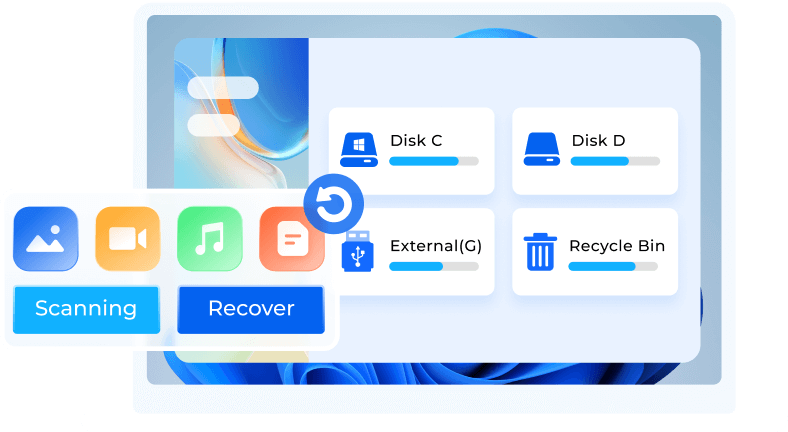
Simply launch 4DDiG, scan your disk, and preview files before recovery. It’s fast, secure, and doesn’t require technical skills.
Conclusion
Trying out the macOS Tahoe 26 beta is a great way to experience Apple’s latest features before the official release. However, to avoid data loss and system issues, it’s crucial to make a backup. With proper preparation, you can enjoy the new macOS beta with confidence and peace of mind.
✅ You May Also Like: What To Do If macOS 26 Beta Download Failed
💡 Summarize with AI:
 ChatGPT
 Perplexity
 Google AI Mode
 Grok
Grok

Tenorshare 4DDiG
All-in-One Data Recovery Software for Any Data Loss Scenario
- Control alt delete mac
- How to restore mac to previous date
- How to reset mac without losing data
- How to recover unsaved word document mac without autorecovery
- iCloud email recovery
- Restore messages from icloud
- How to recover tabs on mac
- Open office mac
- Free data recovery software mac
- Recover Emptied Trash Mac Free
- Undelete from Trash Mac
- Recover Emptied Trash on Mac without Software
- Mac free any data recovery
- How to recover permanently deleted photos from icloud
- Retrieve contacts from icloud
- Best Mac Cleaning Software
- Recover Deleted Files Mac Free