[2026] How to Restore from iCloud Backup
Restoring data from iCloud Backup is a crucial process that ensures you never lose important information stored on your Apple devices. Whether you've encountered an unexpected device issue, upgraded to a new device, or need to retrieve deleted data, knowing how to restore from google backup effectively is essential. In this guide, we'll explore four straightforward methods to restore from icloud backup, empowering you to recover your valuable information seamlessly whenever needed.
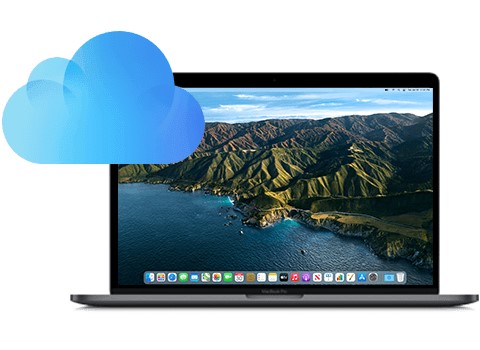
Part 1: Can I Restore from iCloud Backup?
Restoring from iCloud Backup is a fundamental feature Apple provides its users. It serves as a lifeline, ensuring that your valuable data remains safe and accessible, even in the face of unexpected events. Whether you've lost your device, upgraded to a new one, or need to retrieve specific files, iCloud Backup offers a reliable solution. However, before diving into the restoration process, it's essential to understand the basics and ensure that you have a backup available. So, let's explore the ins and outs of restoring from iCloud Backup to empower you with the knowledge needed to safeguard your digital life.
Bonus Tip: Recover Photos from iCloud via 4DDiG Data Recovery
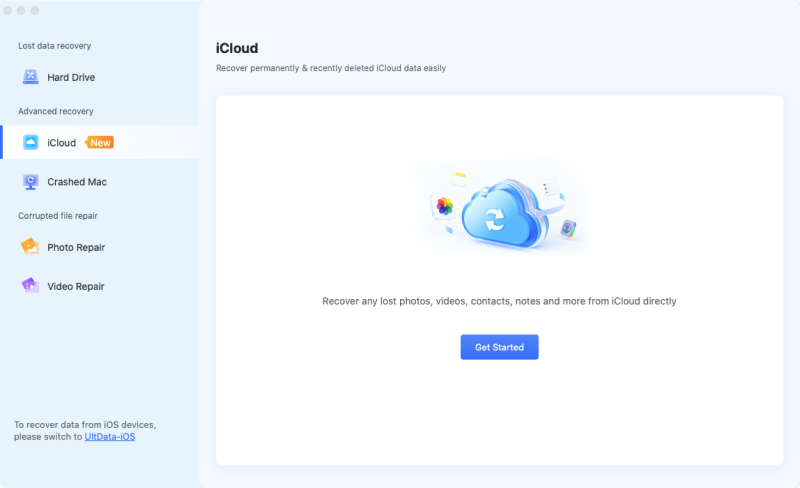
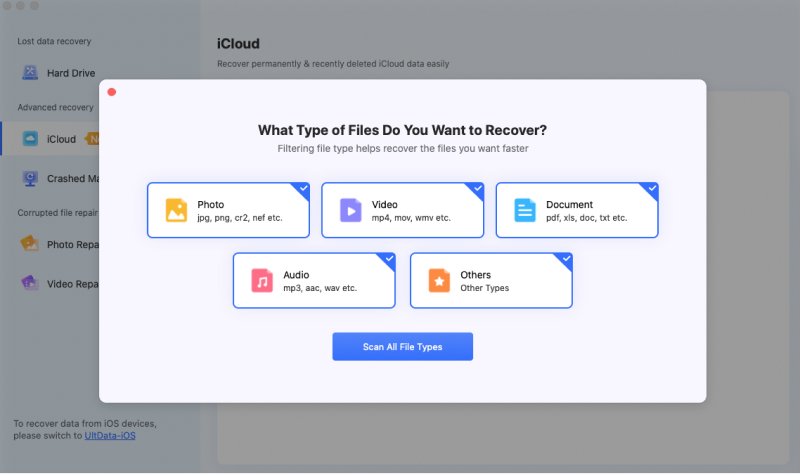
In our digital age, losing essential data from our devices is a common concern. Whether it's cherished photos, important documents, or vital contacts, accidental deletion or device issues can lead to panic. It is where 4DDiG Data Recovery steps in – a user-friendly tool designed to rescue your lost data. With its straightforward interface and powerful features, 4DDiG Mac Data Recovery offers a simple solution to recover data from various sources, including iCloud backups. It's like having a safety net for your digital life. In the upcoming sections, we'll explore how 4DDiG seamlessly works with iCloud Backup, making data recovery a breeze for everyone.
Secure Download
Secure Download
-
Select a Location
o start Mac data recovery after installation, open 4DDiG-Mac and select a destination, like your local CDs. The word "Scan" will appear in the lower right corner of the icon when you move your mouse pointer over the target location. To start looking for any lost files, click Scan.
Note:
If Tenorshare 4DDiG is unable to detect the external drive, first try getting the Mac to acknowledge the detachable drive by following the steps in the video below.
-
Scan and Preview
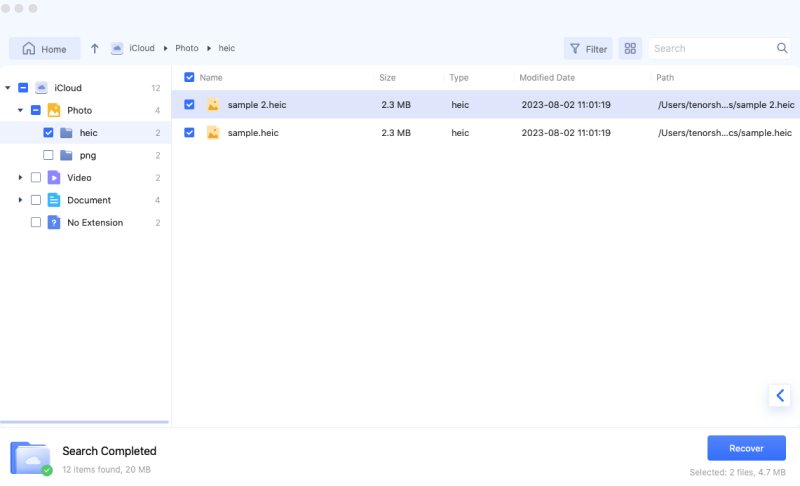
It takes time to go over each deleted file. By clicking on specific file types, you can see more data after the scanning result has been created.
-
Recover Mac Files
Select a location and click the "Recover" button to save the files that have been discovered. Storing the restored files on the same partition as the lost ones is not recommended. This could lead to permanent data loss.
Part 3: How to Restore from iCloud Backup
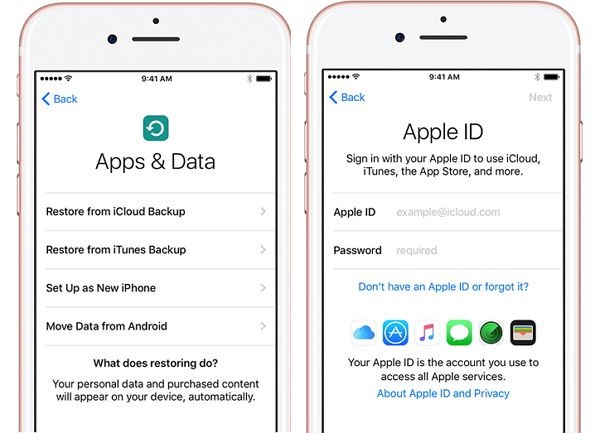
Now that we've explored the bonus tip for recovering photos from iCloud let's delve into the various ways you can restore iphone from backup.
Way 1: Restore from iCloud Backup via Set up
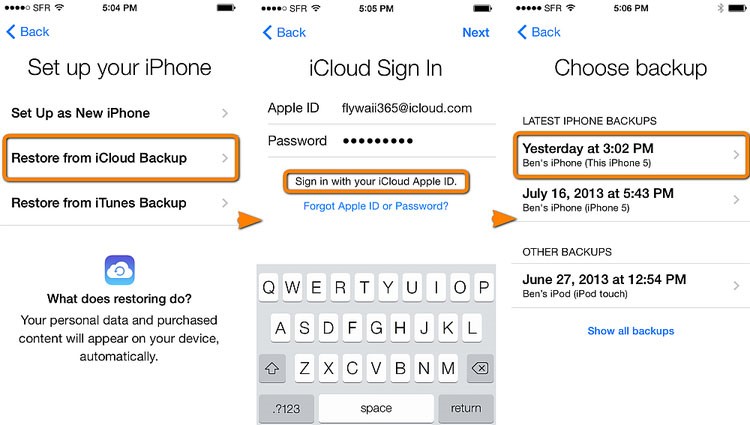
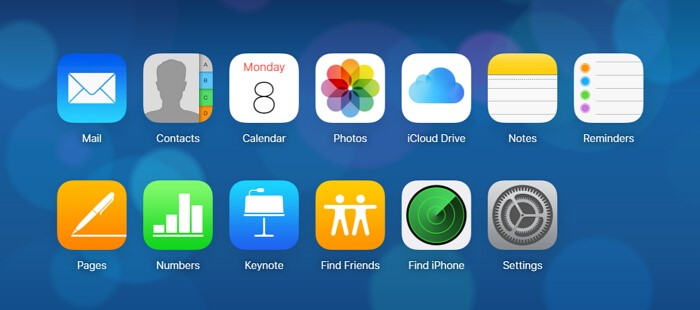
Accessing your iCloud backup for restoration can be done through various methods, with setting up being one of the most common and user-friendly approaches. This method provides a convenient and secure way to access your data stored in iCloud. Additionally, it allows you to upload specific data, such as Pages, documents, Contacts, Photos, and Notes, from your PC to iCloud. Here's a detailed breakdown of the steps involved in using this method:
- Sign in to the iCloud website using your Apple ID and password. It ensures that you have authorized access to your iCloud account and its associated backups.
- Once logged in, navigate to the "Settings" app within the main iCloud menu. It is typically located within the dashboard or main menu of the iCloud website.
- Within the "Settings" menu, locate the "Advanced" section. Click on this section to access advanced iCloud backup and restoration settings.
- Within the "Advanced" section, you can select the specific content you wish to restore. It may include various data types such as Contacts, Photos, Notes, and more.
- Clicking on the "Restore Files" option within the advanced settings will provide you with a list of all files that have been deleted over the past few days. This feature allows you to recover recently deleted files from iCloud.
- Review the list of deleted files and select the ones you wish to restore. You can check the box next to each file or select multiple files simultaneously.
- After selecting the files for restoration, click on the "Restore File" button to initiate the restoration process. This action will prompt iCloud to retrieve and restore the selected files to your iCloud Drive.
-
Once the restoration process is complete, you should receive a confirmation message indicating that the selected files have been successfully restored to iCloud Drive. You can then access these files from any device connected to your iCloud account.

Way 2: Restore from iCloud Backup in Official Way
Another official method to restore from icloud recovery is through the device's settings menu. This option is helpful if you've already set up your device but need to restore data from a previous i
- On your iOS device, navigate to the "Settings" app. On your Mac, go to the Apple menu and select "System Preferences," then click "Apple ID."
- If you're not already signed in, tap on your name at the top of the Settings menu on iOS or select "iCloud" in System Preferences on Mac. Enter your Apple ID and password to sign in to your iCloud account.
- On iOS, tap on your name at the top of the Settings menu, then select "iCloud" > "iCloud Backup." On Mac, select "iCloud" in System Preferences, then click on "Manage" followed by "Backups."
- You'll see a list of available backups in the iCloud Backup menu. Choose the backup you want to restore based on the date and time of the backup.
- On iOS, tap on the backup you want to restore from and then tap "Restore" to confirm. On Mac, click on the backup, then select "Restore" and follow the prompts to confirm.
- The restoration process will begin, and your device will download the selected backup from iCloud. Depending on the backup size and internet connection speed, this process may take some time.
- Once the restoration process is complete, your device will restart, and you'll be guided through the remaining setup steps. Follow the on-screen instructions to complete the setup, including language, region, Wi-Fi network, and Touch ID or Face ID (if applicable).
-
After completing the setup, ensure all your data, including apps, photos, contacts, messages, and other content, has been successfully restored from the iCloud Backup.

Way 3: Download and Restore Data from iCloud.com
If you prefer to restore data from iCloud Backup using a computer's web browser, you can do so by accessing iCloud.com. This method lets you selectively download and restore specific files or backups from iCloud to your computer. Here's how to download and restore data from icloud photo recovery:
- Open a web browser on your computer and navigate to iCloud.com.
- Enter your Apple ID and password to sign in to your iCloud account.
- Click the "Settings" icon once logged in.
- In the iCloud Settings menu, scroll down and click on "Restore Files" under the "Advanced" section.
- You'll see a list of available backups. Select the backup from which you want to restore data based on the date and time of the backup.
- After selecting the backup, iCloud will display the files and data categories available for restoration. You can restore specific files or categories such as Contacts, Calendars, Reminders, and more.
- Select the files or categories you want to restore, then click the "Restore" button. iCloud will start downloading the selected files to your computer.
- Depending on the size of the files and your internet connection speed, the download process may take some time. Ensure that your computer remains connected to the internet throughout the download.
- Once the download is complete, check the downloaded files to ensure that your data has been successfully restored.
-
To transfer the downloaded data to your iOS device, you can use iTunes or Finder on macOS. Connect your device to your computer, open iTunes or Finder, and follow the prompts to sync the downloaded data to your device.

Part 4: FAQ
Q1: How can I access my old iCloud Backups?
You can access your old iCloud backups by going to Settings > [Your Name] > iCloud > Manage Storage > Backups on your iOS device. On macOS, go to System Preferences > Apple ID > iCloud > Manage, and select "Backups" from the left sidebar.
Q2: How do I back up my iCloud backup?
To back up your iCloud backup, ensure that iCloud Backup is enabled on your device by going to Settings > [Your Name] > iCloud > iCloud Backup on iOS or System Preferences > Apple ID > iCloud > iCloud Backup on macOS. When connected to Wi-Fi and charging, your device will automatically back up to iCloud.
Q3: How do I get my contacts back from iCloud?
You can icloud restore contacts by going to Settings > [Your Name] > iCloud on your iOS device and toggling "Contacts." Go to System Preferences > Apple ID > iCloud on macOS and check the box next to "Contacts." Your contacts will then sync with iCloud.
Q4: Can you permanently recover deleted photos from iCloud?
Suppose you've permanently deleted photos from iCloud. In that case, you might be able to recover them within a limited time frame through the "Recently Deleted" folder in the Photos app on your iOS device or iCloud.com. Beyond that, you may need to use third-party data recovery software like 4DDiG Mac Data Recovery.
Conclusion
In this guide, we've explored four practical ways to restore from iCloud Backup, ensuring your data remains safe and accessible in various scenarios. Whether you're setting up a new device, restoring to factory settings, or needing to retrieve specific files, iCloud Backup provides a reliable solution. Tools like 4DDiG Mac Data Recovery also offer enhanced functionalities for recovering data from iCloud backups, further enhancing your data recovery experience. Following the steps outlined in this article and utilizing the available resources, you can confidently restore your data from iCloud Backup and continue using your devices without interruptions.
 ChatGPT
 Perplexity
 Google AI Mode
 Grok
Grok


