How to Run Caffinate Mac Terminal
Interruption during the tasks, such as file transfer, backup, or data processing can lead to data corruption or complete data loss. Download 4DDiG Mac Data Recovery to retrieve all of your lost/deleted or corrupted files with just a one-click operation.
Ever found yourself in the situation of downloading some big files or running a lengthy rendering task on your Mac, but it goes into sleep mode after a few minutes of idle? You don’t want to keep moving the mouse to keep it active. One way to avoid this is by playing a YouTube video, but of course, it’ll increase the data consumption and battery drainage. But did you know Mac has built-in settings called Caffeinate which allows you to keep it awake as long as you want?
This page will show you how to Caffeinate Mac terminal with simple and easy steps and prevent it from going into sleep mode to avoid disruptions on the active tasks.
Part 1: What Is Caffeinate Mac Terminal
The Caffeinate is the terminal command in macOS that prevents it from going into sleep mode which translates into dimming the display, powering down the hard drives, or disrupting the active tasks. Generally, Mac goes to sleep after a few minutes of remaining in idle mode.
This is designed to preserve the battery timing and resources of your Mac. However, sometimes it becomes necessary to keep it active when you’ve some lengthy important task running on the system. A typical approach followed by the users is nudging the mouse after every few minutes. However, it’s not a practical solution especially when you want something to be done overnight.
Using the Caffeinate command you can easily prevent the Mac from going into sleep and keep it active as long as you want. The caffeinate command temporarily disables the sleep settings on your Mac and remains active until the task is completed.
Key Features:
- Stops Mac from going into sleep mode.
- You can specify the time period for how long the Mac stays active.
- You can select if you want only the display or the whole system active.
Example:
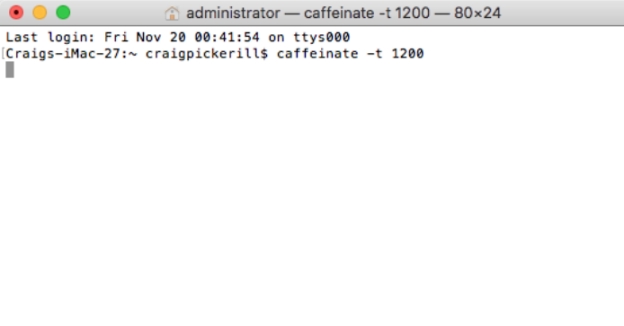
- You can use a specific command to keep it active for the next 12 hours.
- You can append the caffeinate command to prevent the sleep mode until the specific task is completed.
An option to modify the command, especially an ability to prevent sleep until the specific task is completed makes the caffeinate Mac terminal quite useful. This will also ensure your Mac doesn’t remain active, and drain the battery juice while running idle.
Abrupt closing of the task running on Mac due to the sleep mode can cause permanent data loss. To avoid this, it’s essential to keep it active as long as the task is running. In case of data loss, use the 4DDiG Windows Data Recovery to recover the lost files.
Part 2: Recover Data Lost from Mac Sleep Mode
When a Mac abruptly goes into sleep mode while there’s a critical task running on the system, it can lead to serious and permanent data loss. The sleep mode on Mac disrupts the task progress, forcing it to be eliminated without proper closing. This abrupt interruption can cause significant loss of the program on the task which can corrupt the important files on the system. 4DDiG Mac Data Recovery is the data recovery software that allows you to recover deleted files mac and corrupt files with a one-click process.
With 4DDiG anyone can recover any type of deleted, lost, or corrupt files within just a few clicks. It’s equipped with smart algorithms that enable it to dig into the system and recover files without any manual input. You can recover files from external/internal hard drives, SSD , USB, and memory cards.
Secure Download
Secure Download
- 3 step operation to recover deleted/lost or corrupted files.
- Recover all types of files in one go e.g., photos, videos, documents, and audio.
- Preview feature to check the files before restoring them.
Steps to recover lost data from Mac using 4DDiG:
-
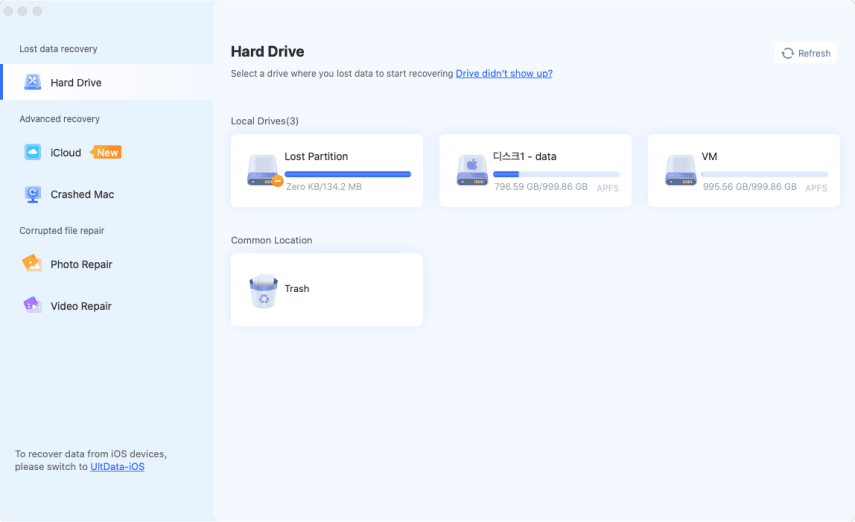
Install the latest version of 4DDiG on your Mac, and launch it. Select the storage device from which you want to recover the data, then click Start.

-
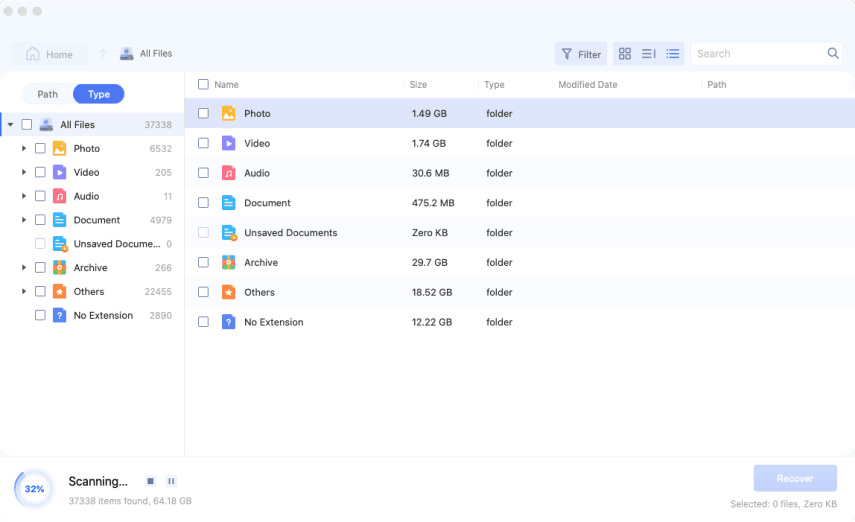
Once the scanning is initiated, you can stop it if the desired files are identified. Use the filter option in the left sidebar to narrow down your search.

-
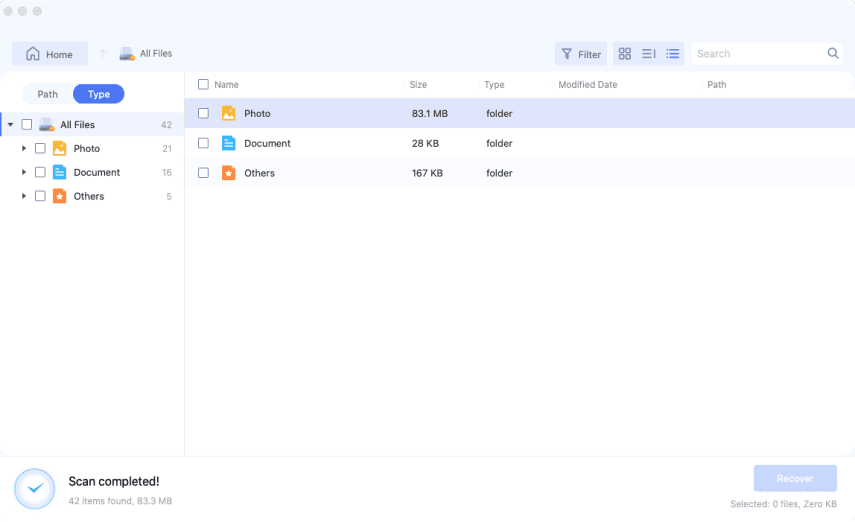
Once the scanning is completed, you can preview the files. Select the desired files, and hit the Recover button to move them to a secure location.

That’s how simply you can recover the lost files on your Mac computer using the 4DDiG Mac Data Recovery software. It offers two modes, quick, and deep scanning mode. If the quick mode doesn’t recover the targeted files, run the deep modes to scan the entire storage device. It’ll take longer to complete, but will recover the deleted/lost files.
Part 3: How to Run Caffeinate Mac Terminal
In order to activate the caffeinate on your Mac, you simply need to use a simple command in the terminal. Here’s the step-by-step guide to turning the caffeinate Mac terminal to prevent it from going into sleep mode:
-
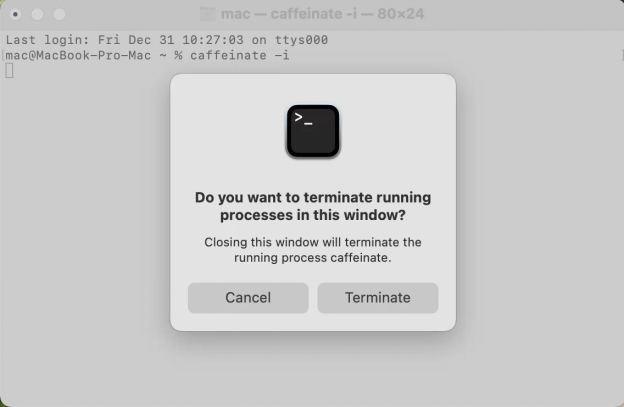
Launch the terminal on your Mac computer, and type in the following command.
- caffeinate
-
Hit enter to execute it, and it’ll stop the Mac from going into sleep mode.
If you run the command this way, it’ll prevent the Mac from going into sleep mode until the terminal window is closed. This way you also don’t need to disable the caffeinate command to revert it to the original sleep settings.

You can also set the timer (in seconds) in the caffeinate command for how long you want the Mac to be awake. Here’s how to set a caffeinate Mac terminal 1 hour timer:
caffeinate -t 36000
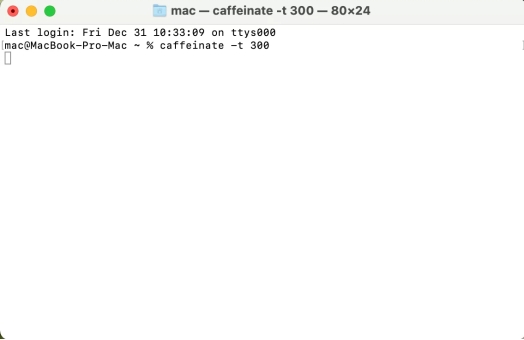
This way you can specify the caffeinate command, and set the caffeinate Mac terminal 1 hour timer. Replace the 3600 with the number of seconds you want the Mac to stay awake. Once the timer is over, it’ll automatically reset the sleep settings to the default value.
If you’re facing a caffeinate Mac terminal disable not working issue, ensure you’ve typed the correct syntax of the caffeinate command. However, if it doesn’t work, run it as administrator by running the sudo command before the caffeinate command.
Part 4: FAQ about Caffeinate Mac Terminal
Q 1: How to Fix the Caffeinate Mac terminal not working?
If the Caffeinate Mac terminal isn’t working, make sure you’re using the correct syntax of the command. If it still doesn’t work, try running it as administrator by running the sudo command before the caffeinate command. Lastly, try updating the macOS from the Software update.
Q 2: How do I disable Caffeine in the terminal?
To disable Caffeinate in the terminal, simply press the Ctrl + C shortcut key in the terminal window where it’s running. It’ll immediately stop the command operation. You can also close the terminal window to kill the caffeinate command function.
Q 3: How do I stop my Mac from sleeping Caffeine?
To stop your Mac from going into sleep mode, you can run the caffeinate command in the terminal. To do so, launch the terminal, type the caffeinate command, and execute. You can also specify the time by typing the caffeinate -t 4000 (in seconds).
Final Words
Mac going into sleep mode during critical tasks such as file transfer, backups or data processing can lead to data loss. To avoid this, you can use the Caffeinate Mac terminal to prevent it from going into sleep mode. However, if the data loss occurs, you can recover it using 4DDiG Mac Data Recovery to restore deleted/lost corrupted files. It provides a reliable way to recover all types of files, lost or corrupted due to interruptions or accidental deletion.
Secure Download
Secure Download
 ChatGPT
 Perplexity
 Google AI Mode
 Grok
Grok

