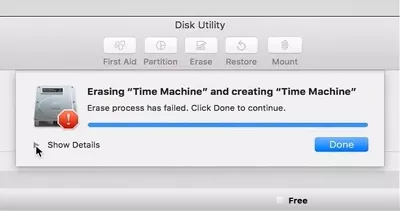
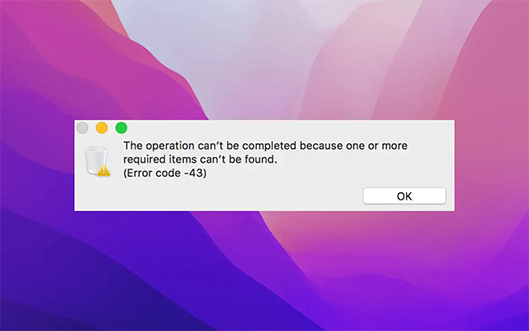
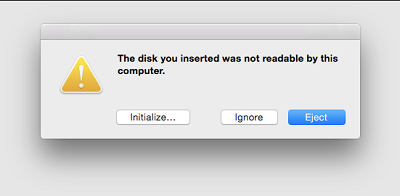
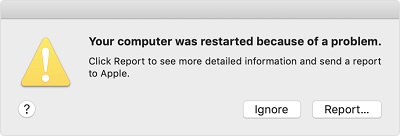
How to Fix the Installer Information on the Recovery Server is Damaged?

5 mins read

Updated on 2024-04-17 15:10:14 to Mac Problems

Whenever there are conversations about MacOs, talks about how secure, smooth, and error-free it is never far away. However, this is not always the case. Like any other piece of software ever built, MacOS too can run into errors from time to time. What's worse is that these errors can crop up at any time, unannounced. One such error which occurs during the installation of macOS is the installer information on the recovery server is damaged error. Now, given its long and complicated name, one might assume that this error is tough to fix but the truth can't be farther away. Our guide on how to fix this particular installer error covers everything from the whys to the hows. So let's get started and read up on simple fix that you can employ to get rid of this error.

install information is damaged

Part 1: Why Installer Information on the Recovery Server is Damaged Error Occurred?

Errors can have multiple causes and Apple the installer information on the recovery server is damaged error is no different. While the exact cause may be difficult to pinpoint, the most common culprit behind this error is an outdated Mac certificate. If your Mac certificate has expired, Apple servers won't be able to verify it while installation which may lead to the error.

A compatibility issue between the macOS version you are trying to install and the hard disk format can also bring up the installer information on the recovery server is damaged high sierra error. This is seen in Mac versions that have come after the release of macOS Sierra as newer Mac models started using a new hard disk format-APFS thus causing compatibility issues.

Part 2: Reinstall macOS from Recovery Mode to Fix This Error

Now that we know about the potential causes of the error let's look at how we can go about solving it. The most preferred solution to this problem is reinstalling macOS from recovery mode. Reinstalling the macOS from scratch can sound like a bit of a hassle, however we have broken it down in 3 simple steps so that you can do it without breaking a sweat. Here's how to go about it,

  • Shut down your Mac and start it up again. While starting it again immediately press either one of the following three keyboard combinations as per your need after pressing the power button.

    • ⌘ (Command) + R to install the latest macOS version that was installed on your Mac.
    • Option + ⌘ + R to upgrade your computer to the latest macOS version.
    • Shift + Option + ⌘ + R to install the version that was on your Mac before the error.
  • Now that you are in recovery mode it's time to reinstall macOS. Bring up the utility window and from there select the 'Reinstall macOS' option. In the next window click on continue and follow the installation process.

    reinstall macos
  • If the computer asks you to unlock your hard drive you can do it by putting in your Mac password.

If after all these steps you are still seeing the macOS high sierra the installer information on the recovery server is damaged error, the problem may lie in your hard drive. To get around this issue you'll have to erase your hard drive and start afresh. Erasing your hard drive also comes in handy if you are looking to sell or give away your mac. Here's how you can erase your hard drive.

  • After completing Step 1 from the guide, open the utilities window and select 'Disk Utility'.

    factory reset macbook 1
  • In the next Window highlight the Macintosh HD option and click on the 'Erase' button.

    erase hard drive
  • In the next window, click on the macOS Extended format and press erase and then select the Quick Disk Utility, and voila, your hard drive is now erased.

Make sure that you do not shut down your device during these procedures as they may affect your device and may also render it useless in some cases.

After you have completed the reinstallation process, the Setup Assistant will ask you to set up the device for future use. If you intend to sell or give away the laptop then you may quit the window by pressing Command + Q so that the new owner may complete the process once they open it up again.

Note:

If macOS Sierra 10.12.4 (or later) has never been installed on your Mac, you can enter the recovery mode and reinstall macOS in the following ways.

  • You can press the Command + R buttons just after pressing the power button to enter recovery mode. After this, you can install the macOS. This method ensures that the reinstalled software won't be connected to your Apple ID.
  • In the next Window highlight the Macintosh HD option and click on the 'Erase' button.
  • You can also use the Option + Command + R combination to install the version that came with the device or one that is closest to it.

Part 3: How to Recover Lost Data from Mac When Reinstalling macOS?

Now that the question of how to reinstall macOS has been answered, let's find out how you can recover the data that you lost during the reinstallation process. The simple answer to that problem is the Tenorshare 4DDiG. This data recovery software is a powerful little tool that comes in handy in times of need. With its unmatched ability to extract deleted data from local drives, portable devices like USB, SD card, external hard drives, and crashed computers, it is the all-in-one solution for data recovery that you are looking for. It's a fast, accurate, and user-friendly software that believes in getting more done in less.

  • Recover everything you lost from Mac and all Mac-based devices including USB, SD card, digital camera, etc.
  • Broad - T2 chip, M1, M1 Pro, M1 Max and macOS Ventura are supported.
  • Just 3 clicks away to restore data. No need to disable SIP.
  • 100% securely recover deleted files on Mac with high success rate.

Follow these steps to use it to recover your lost data on Mac in no time.

FREE DOWNLOAD

Secure Download

FREE DOWNLOAD

Secure Download

  • Select a Local Disk

    Launch the software. The initial window will show you all the drives and storage devices connected to your Mac. Select the location in which you want to look for deleted files and click on Scan.

    recover from crashed mac
  • Scan Hard Disk Drive

    As the scan goes on, recovered files will be shown. You can preview these files and select the ones you want to recover.

    scan and preview
  • Recover Files

    Once you've selected the files you want to recover, click on the recover button. Select the location on your device where you want to keep the recovered files and click OK. Recovered files will be present in your desired location.

    recover files
    Note:

    If you are running macOS High Sierra or higher then to recover data you'll first have to disable SIP to enable access of Mac files. To do it just follow the steps in the picture below.

    disable sip

FAQs

1. How to fix the recovery server could not be contacted error on mac?

The recovery server could not be contacted error on Mac occurs when the Apple servers are busy. A simple and effective fix to this problem is to reinstall macOS high sierra.

2. How to fix Mac internet recovery not working?

Internet recovery may get affected due to busy Apple servers, an unstable WiFi connection, or issues with your hard drive. Retrying the installation process or waiting for the servers to clear up can solve this problem.

3. How do I repair a Mac installation?

You can repair Mac installation by going into recovery mode and reinstalling macOS. You can enter recovery mode by pressing any one of these combinations.

  • ⌘ (Command) + R
  • Option + ⌘ + R
  • Shift + Option + ⌘ + R

Summary

That brings us to the end of this exhaustive guide where we answer the question 'how to reinstall os sierra' when you are met with the 'Recovery server is damaged' error. If you follow all the steps mentioned in this guide diligently, it won't be long before you are out of this mess. But solving this mess can create other messes like losing your data while the reinstallation process. That's why we have the Tenorshare 4DDiG which recovers your lost data like a champ. So employ your fixes without any data loss worries with Tenorshare's data recovery app.

William Bollson (senior editor)

William Bollson, the editor-in-chief of 4DDiG, devotes to providing the best solutions for Windows and Mac related issues, including data recovery, repair, error fixes.

(Click to rate this post)

You rated 4.5 ( participated)