How to fix overexposed photos?“What causes overexposed photos, and what is an easy way to fix it?”
Capturing pictures with a camera is indeed fun. However, the whole mood can change when you think you clicked a top-notch picture and it ends up being "overexposed." Luckily, you can change the image's quality by following simple ways, which you will learn in this guide. So, if you are wondering how to fix overexposed photos, then stay till the end.
- Part 1: What're Overexposed Photos?
- Part 2: How to Fix Overexposed Photos
- Part 3: FAQ about Fix Overexposed Photos
Part 1: What're Overexposed Photos?
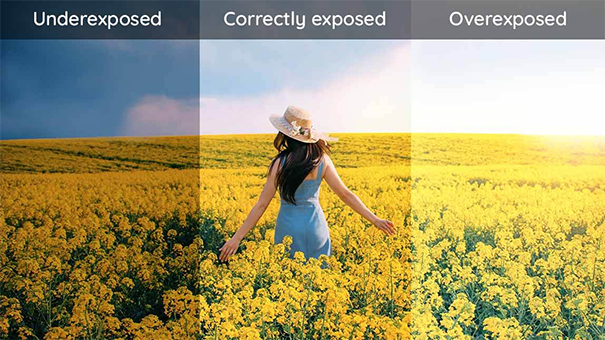
Overexposed photos are those that are brighter than the usual ones. The white color shines more in them, while the black shade gets compromised. As a result, a person or object in the photo looks weird. Some digital cameras can now adjust the settings automatically to avoid capturing such kinds of photos.
But almost every other camera can click such images. An overexposed image gets captured when the sensor or film of the camera receives more light. It happens when you click a photo during sunny hours, the camera faces the sun, or if you are right under a bulb or any light source.
So, can you fix overexposed photos? Yes, you can fix these photos by using editing software or third-party tools. However most of them are complicated to use, but we have shortlisted the top five for you. In the end, you will also find out which is the best one out of these five. So, let's now delve into how to fix an overexposed photo.
Part 2: How to Fix Overexposed Photos
Fixing overexposed photos is not as difficult as it may seem. With the help of the right editing software, you can get rid of all the brightness easily. Here are the top fives ways for you to resolve this image's problem:
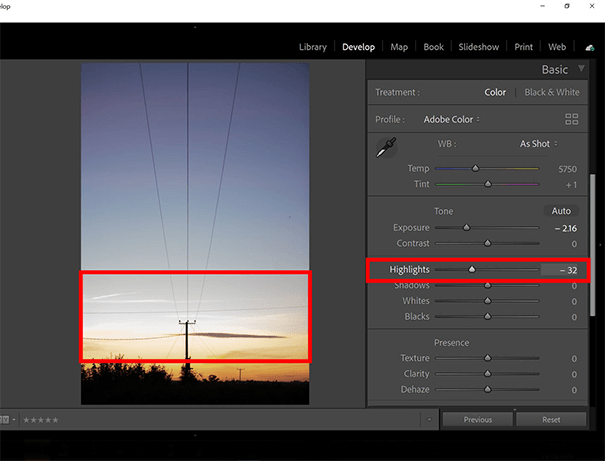
Way 1: Fix Overexposed Photos via Adobe Photoshop
Adobe Photoshop is a popular graphics editor that millions of designers use to adjust, crop, restore, and retouch images. It is also a great choice for dealing with the extra brightness on your overexposed pictures. You will have to use layers, brushes,and some other tools for this.
Moreover, it also offers selection and masking features, which allow you to refine the picture even more. However, your PC has to be advanced if you want this tool to run smoothly. Furthermore, Adobe Photoshop is a bit complex.
If you haven't used Adobe tools before, you will find it difficult to use Photoshop. Even if you know the basics, the Adobe settings and continuous upgradation might get you confused too. But if you are an expert in it, you can go for this tool!
Way 2: One-click to Fix Overexposed Photos with 4DDiG Photo Enhancer
The easiest way of fixing overexposed photos is by using 4DDiG AI Photo Enhancer. It can restore the image's quality in a few seconds with just a single click only. Therefore, if you don't know how to use editing tools, you will still find it really simple to use 4DDiG. The best part? It can also fix blur, noise, and other issues with photos.
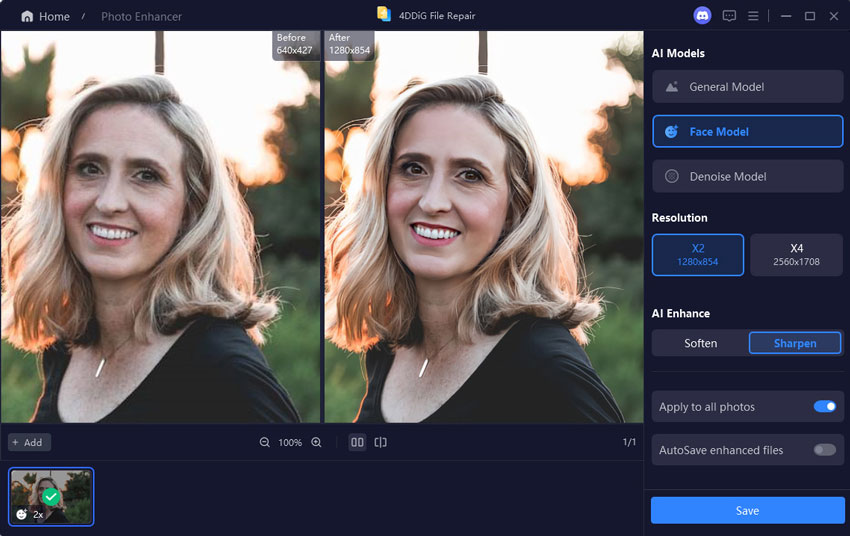
You can edit 3000 images in one go at the same time. The photo enhancer tool also allows you to preview the edited image to let you know how it has transformed the image's fate. Furthermore, 4DDiG supports every popular image format, including JPEG, CRW, SRW, etc.
That’s not it. It also includes facial enhancement features, which means it will pop the details near and on the faces. Also, know that 4DDiG fixes overexposure and other issues 100 percent automatically. Simply click and wait a few seconds to have a high-quality image. So, use it without any hesitation and recover your favorite photos right now.
- Restore photos that are blurry, overexposed, or pixelated.
- Support various image formats including jpg, jpeg, arw, cr2, erf, nef, pef, orf, raw, srw, crw and raf.
- Up to 3000 pictures can be enhanced or repaired at one time.
- Support batch enhance and repair in various formats.
- Revive old black & white photos with AI-powered colorization in seconds (Windows Only).
For PC
Secure Download
For MAC
Secure Download
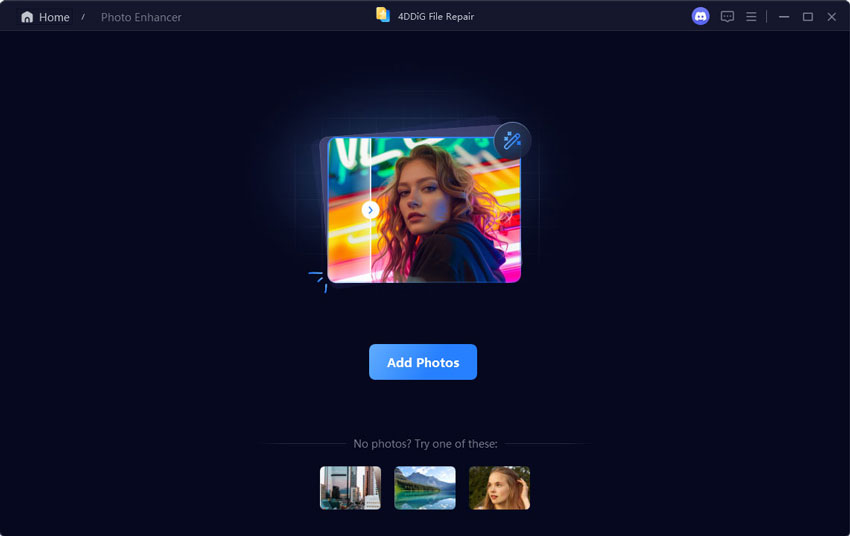
Launch 4DDiG Photo Enhancer (aka 4DDiG File Repair) on your Windows PC. Then navigate to the "AI Enhancer" tab and click the "Photo Enhancer" box. If you hopt eo adjust the color of the photo, please go to the "Photo Colorizer" box.

To fix the overexposed photo, simply click on the "Add Photos" button or drag and drop it into the upload area.

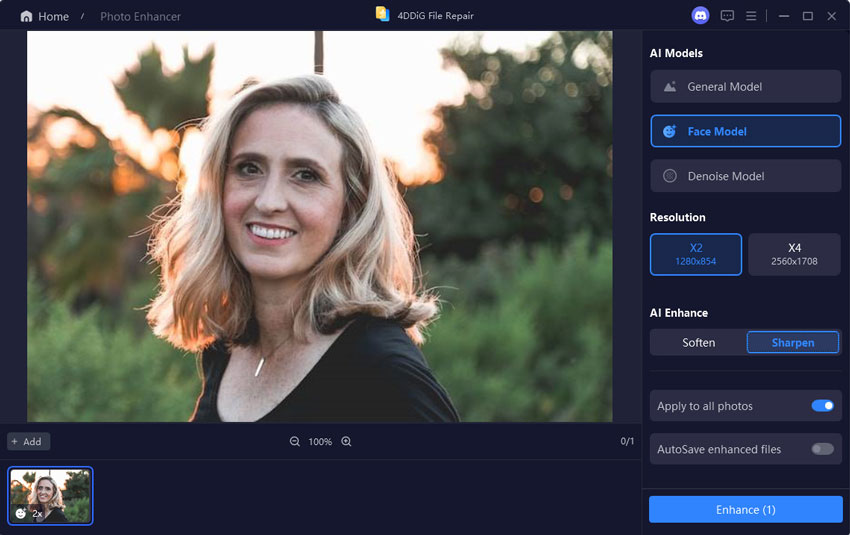
After importing your low-quality photo, choose an AI model to enhance it. Also, adjust the resolution (such as X4) as needed. Once you've made your choices, click the "Enhance" button to start fixing the overexposed picture.

Once enhanced, save your photos by clicking "Save" to download and export the fixed photo.

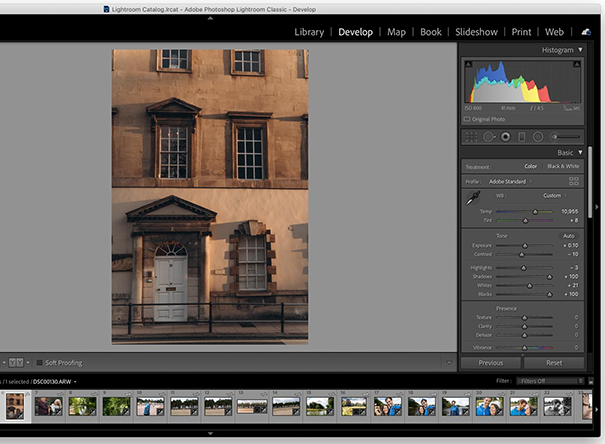
Way 3: Fix Overexposed Photos Using Adobe Lightroom
Adobe Lightroom is another top-notch editing software you can use. Just like Adobe Photoshop, you should be an expert in this tool. It is because you can only fix overexposed photos with Lightroom by using a combination of exposure, highlights, contrast, shadows, etc. Newbies may even face difficulty in finding all of these smart tools.
So, Lightroom can scare you a little bit if you are a beginner. Furthermore, it takes more time to fix an overexposed image in Adobe Lightroom than other tools. Still, if you know how to edit images with it and have bought its premium, you can use it to change your image's quality from bad to top-level.
Way 4: Fix overexposed photos via Movavi Picverse
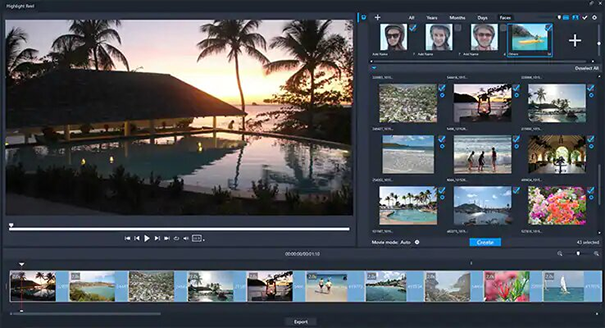
Apple fans often ask us, "How to fix overexposed photos on iPhone?" Well, they can use Movavi Picverse. It is a top-quality photo editor that can adjust the colors/contrast of any image easily. It is designed for all people, whether they have photo editing skills or not.
Simply tap on an editing tool and let it do the rest. This photo editor is powered by cutting-edge AI, so you know it will work. Plus, you can use Movavi on both mobile and PC(depending on your preference). It also supports RAW images, which many tools don't.
However, people often complain that it has limited features than other editing tools. Furthermore, if you want to remove blur in addition to fixing overexposed pictures, then it might not produce better results. Still, it has thousands of users, and most of them are happy.
Way 5: Fix Overexposed Photos via PaintShop Pro
The last way to fix overexposed photos is by using PaintShop Pro. With it, you can normalize overexposed pictures, adjust saturation, tone down the brightness, and resize the frames with a few clicks.
Moreover, PaintShop Pro also allows you to share the edited picture on social media platforms as well. However, many have complained about this tool being too expensive. But it is highly efficient in transforming the image quality. So, if you have a wide budget, you can get the premium one. That's everything about how to fix an extremely overexposed photo.
Part 3: FAQ about fix overexposed photos
Q1: Why Do We Get Overexposed Images?
We get overexposed images because of the bright location. If the light falls on the camera lens, it will capture an extra bright picture with no black shades. It can happen when you try to click a photo under the sun or near a lighting source, like a bulb.
Sometimes, the incorrect camera settings can also cause lots of problems, including overexposed photos. So, open the settings and confirm whether they have been changed or not. You can search about the default camera settings of your camera on the internet too.
Q2: Some Tips to Fix an Overexposed Picture
You can fix overexposed pictures by adjusting the highlights and shadows from your mobile's editing tools. If it has adjustment brushes, you can also use them to reduce the brightness. However, the easiest way is using third-party tools like 4DDiG. You should also choose a site wisely before clicking the photo to avoid this problem in the first place.
Q3: How to Edit Overexposed Photos
Editing overexposed photos can be tricky with inbuilt mobile editors and other complicated tools. You will have to adjust the brightness, saturation, shadows, highlights, and many other things to restore the picture. It is a lot of work if you use only low-quality editing tools.
That is why using a third-party tool, like 4DDiG, is recommended. It can do all the editing with just a single click. It will spare you time, which you can then spend on capturing some more photos.
Final Thoughts
All-inclusive, fixing an overexposed image is really simple, but only if you choose the right photo-editing tool. Out of the top five we have discussed above, the best one is 4DDiG AI Photo Enhancer because of its top-notch features, quick processing speed, user-friendly interface.So, download it right now and use it to transform your overexposed images into HD-Quality! That's all about how to fix overexposed photos.

 ChatGPT
 Perplexity
 Google AI Mode
 Grok
Grok

