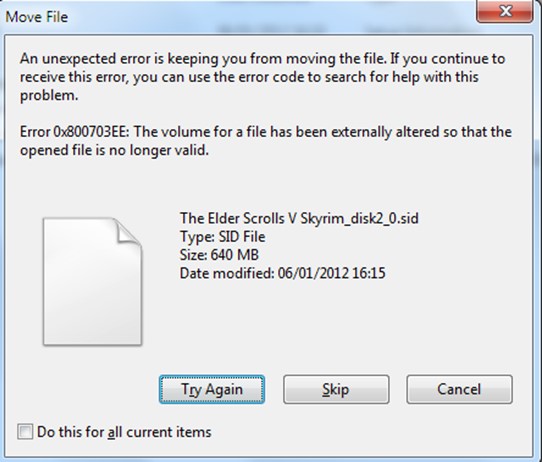
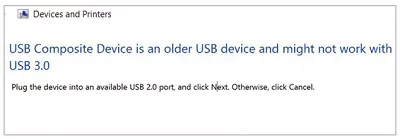
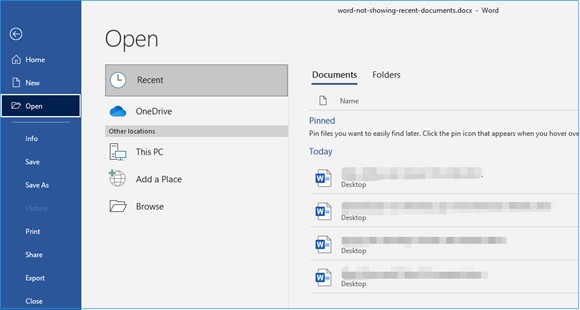
How to Fix Power Surge on the USB Port? FREE DOWNLOAD FREE DOWNLOAD BUY NOW William Bollson 5 mins read Updated on 2026-07-22 15:54:37 to USB Recovery You May Also Like How to Recover Files Copied to a USB Drive Disappear? [Top 8] Best USB Format Tool in 2026 How to Fix Error Code 0x800703EE When Copying Files from USB to PC How to Fix USB Error Code 43 in Windows 10 9 Ways on How to Fix USB Composite Device Can't Work Properly with USB 3.0? - 2026 How to Fix My Recent Documents Not Showing in Word Home >> USB Recovery >> How to Fix Power Surge on the USB Port?