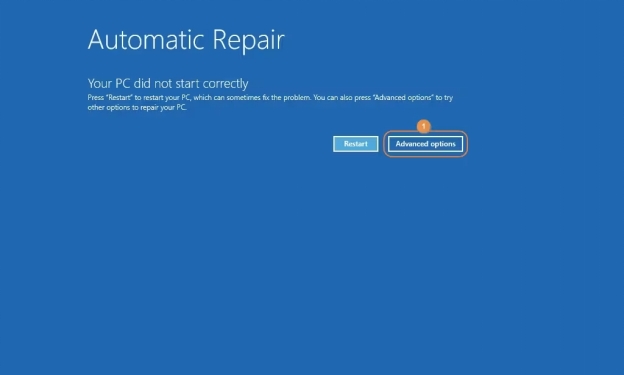
How to Fix Your PC Did Not Start Correctly FREE DOWNLOAD FREE DOWNLOAD BUY NOW William Bollson 5 mins read Updated on 2026-07-22 15:54:37 to Windows Fix You May Also Like How to Solve MacBook Pro Won't Turn on/Start up after macOS 15 Update? Windows 10 Won't Boot? 5 Methods to Restart Your PC How to Fix Critical Error Your Start Menu Isn't Working Windows 10/11? How to Fix It Looks like Windows didn't Load Correctly Home >> Windows Fix >> How to Fix Your PC Did Not Start Correctly