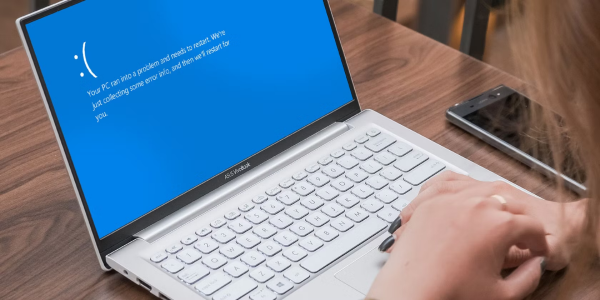
How to Fix Restart to Repair Drive Errors FREE DOWNLOAD FREE DOWNLOAD BUY NOW William Bollson 5 mins read Updated on 2026-07-15 11:11:15 to Windows Fix You May Also Like How to Fix Raspberry Pi Check SD Card for Errors How to Check SD Card for Errors in Windows 10/11 Excel Errors Were Detected While Saving? Here's How to Fix Them 10 Solutions to Fix Preparing Automatic Repair Loop Windows 10 How to Fix Windows System32 Logfiles Srt Srttrail Txt Home >> Windows Fix >> How to Fix Restart to Repair Drive Errors