How to Delete Trash on Mac in Multiple Ways
Managing your Mac's Trash is essential for freeing up storage space and maintaining system performance, as cluttered bins can slow down your device. Many users struggle with accidental deletions, files stuck in Trash that won't empty, or confusion over permanent removal. Whether you're wondering how to empty trash on Mac or recover mistakenly deleted items, this guide covers it all to help you reclaim control effortlessly.
Part 1. Understanding the Trash on Mac
The Trash folder on Mac functions much like the Recycle Bin on Windows. You can find it directly in the Dock, represented by a wastebasket icon. Any file you delete—whether a document, photo, or app—moves here first. This design gives users a safety net, allowing them to restore items if deleted by mistake.
1. Where Is the Trash Folder on Mac?
It's easily accessible right in the Dock at the bottom of your screen, represented by a wastebasket icon. To view its contents, simply click the icon, and Finder will open the Trash window showing all deleted items.
2. Differences: Delete Trash vs Empty Trash; Delete Immediately vs Empty Mac Trash Permanently
A common question is: “Is Trash the delete button on Mac?” The answer is no. When you press Delete, files simply move into the Trash—they’re not gone yet. Here are the main differences:
- Delete vs. Empty Trash: “Delete” only relocates files to the Trash, while “Empty Trash” permanently erases them from your Mac.
- Delete Immediately vs. Empty Trash: The Delete Immediately option bypasses the Trash, removing files instantly. By contrast, Empty Trash clears all items at once.
- Empty Trash Permanently: Once you empty it, files are gone for good and cannot be recovered without third-party tools.
Understanding these distinctions helps you decide when to keep the safety net of Trash and when to remove files permanently to free up disk space.
Part 2. How to Delete Trash on Mac (Basic Methods)
Clearing Trash is straightforward on Mac, but knowing multiple ways helps tailor to your workflow. Below are the most reliable basic methods for how to delete trash on Mac, including tips for selective or immediate actions. These steps work across macOS versions like Ventura or Sonoma.
Method 1: Empty Trash from the Dock
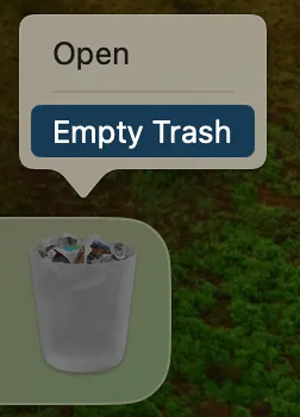
This is the quickest visual option for a full clear:
Locate the Trash icon in your Dock (it fills up when items are added).
Right-click (or Control-click) the icon.
Select "Empty Trash" from the context menu.
-
Confirm the prompt to proceed—your Mac will securely erase everything.

This method is perfect for routine maintenance and directly addresses "how to empty trash on Mac" searches. It takes seconds and provides a satisfying visual as the icon empties.
Method 2: Empty Trash via Finder Menu
For more control within the file explorer:
Open Finder (click the smiling face icon in the Dock).
In the sidebar, click "Trash" to view contents.
-
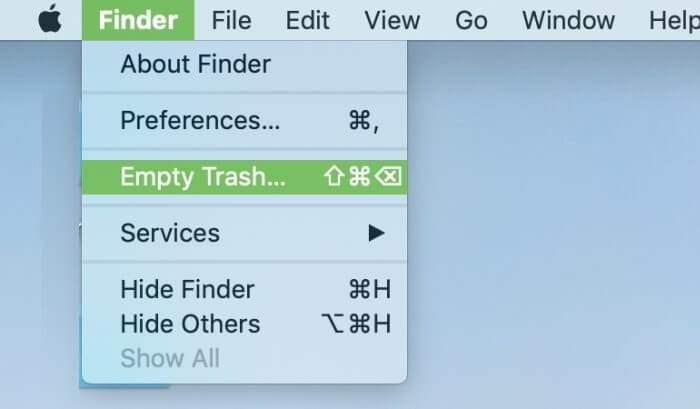
From the top menu bar, go to Finder > Empty Trash (or press the button in the toolbar).

Authenticate if prompted, then confirm deletion.
This approach shines when you need to preview files first, helping with issues like "how to delete files from trash on Mac." It's especially handy for bulk operations without leaving the Finder app.
Method 3: Use Keyboard Shortcut (Delete Immediately)
For speed demons wanting to delete without moving to Trash Mac:
Select the file(s) in Finder.
-
Hold Option + Command + Delete, which bypasses Trash for permanent deletion.
Confirm the dialog box.
If you're already in Trash and need to delete selected items in trash Mac (like specific photos), open Trash first, highlight items, then use Command + Delete. This variant answers "delete stuff from trash on Mac" by allowing targeted removal without emptying the whole bin. For photos specifically, it resolves "how to delete photos from trash on Mac" efficiently.
Part 3. Force Delete Trash on Mac (When Can't Delete Trash)
Common issue: can’t delete trash Mac / can’t delete files from trash Mac.
Solutions:
1. Force Empty Trash from Finder
This built-in option overrides minor glitches for a quick fix:
Open Finder and navigate to the Trash in the sidebar.
-
From the menu bar, hold the Option key while clicking “Finder” > “Empty Trash”. This reveals the Force Empty Trash command.
-
Confirm the action; it will bypass warnings and delete everything.
This is ideal for "force empty trash Mac" scenarios where standard emptying fails, reclaiming space fast without Terminal.
2. Clear Trash in Mac Terminal
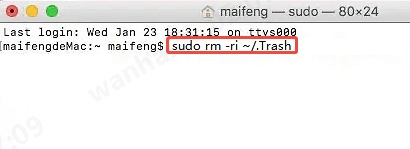
For deeper issues, Terminal offers a nuclear option: "force delete trash Mac terminal." Warning: This command is irreversible and can delete system files if mistyped—always double-check paths and back up first. It's not for beginners.
-
Open Terminal (via Spotlight: Command + Space, type "Terminal").
-
Type rm -rf ~/.Trash/ and press Enter (the rm -rf forces recursive deletion).

Enter your admin password when prompted.
This clears all items in Trash, addressing "clear trash in Mac" queries effectively. If you're trying to "delete stuff from trash on Mac" selectively, use rm -rf ~/.Trash/path/to/file instead. Test on non-critical items first to avoid accidental data loss.
Part 4. One-Clock Solution to Secure Delete Junk Files Hidden in Mac
Beyond visible Trash, Mac accumulates hidden junk like caches, logs, and orphaned files that bloat storage—think "deleted photos on Mac not in Trash" that linger invisibly. Manual hunting is tedious and risky, so enter Tenorshare Cleamio, a trusted third-party tool from Tenorshare that performs deep scans to uncover and securely delete these ghosts.
It excels at removing system caches, app leftovers, and stubborn Trash remnants with one-click precision, ensuring "secure delete trash Mac" without compromising performance.
Secure Download
How to clean junk files on Mac using Tenorshare Cleamio:
-
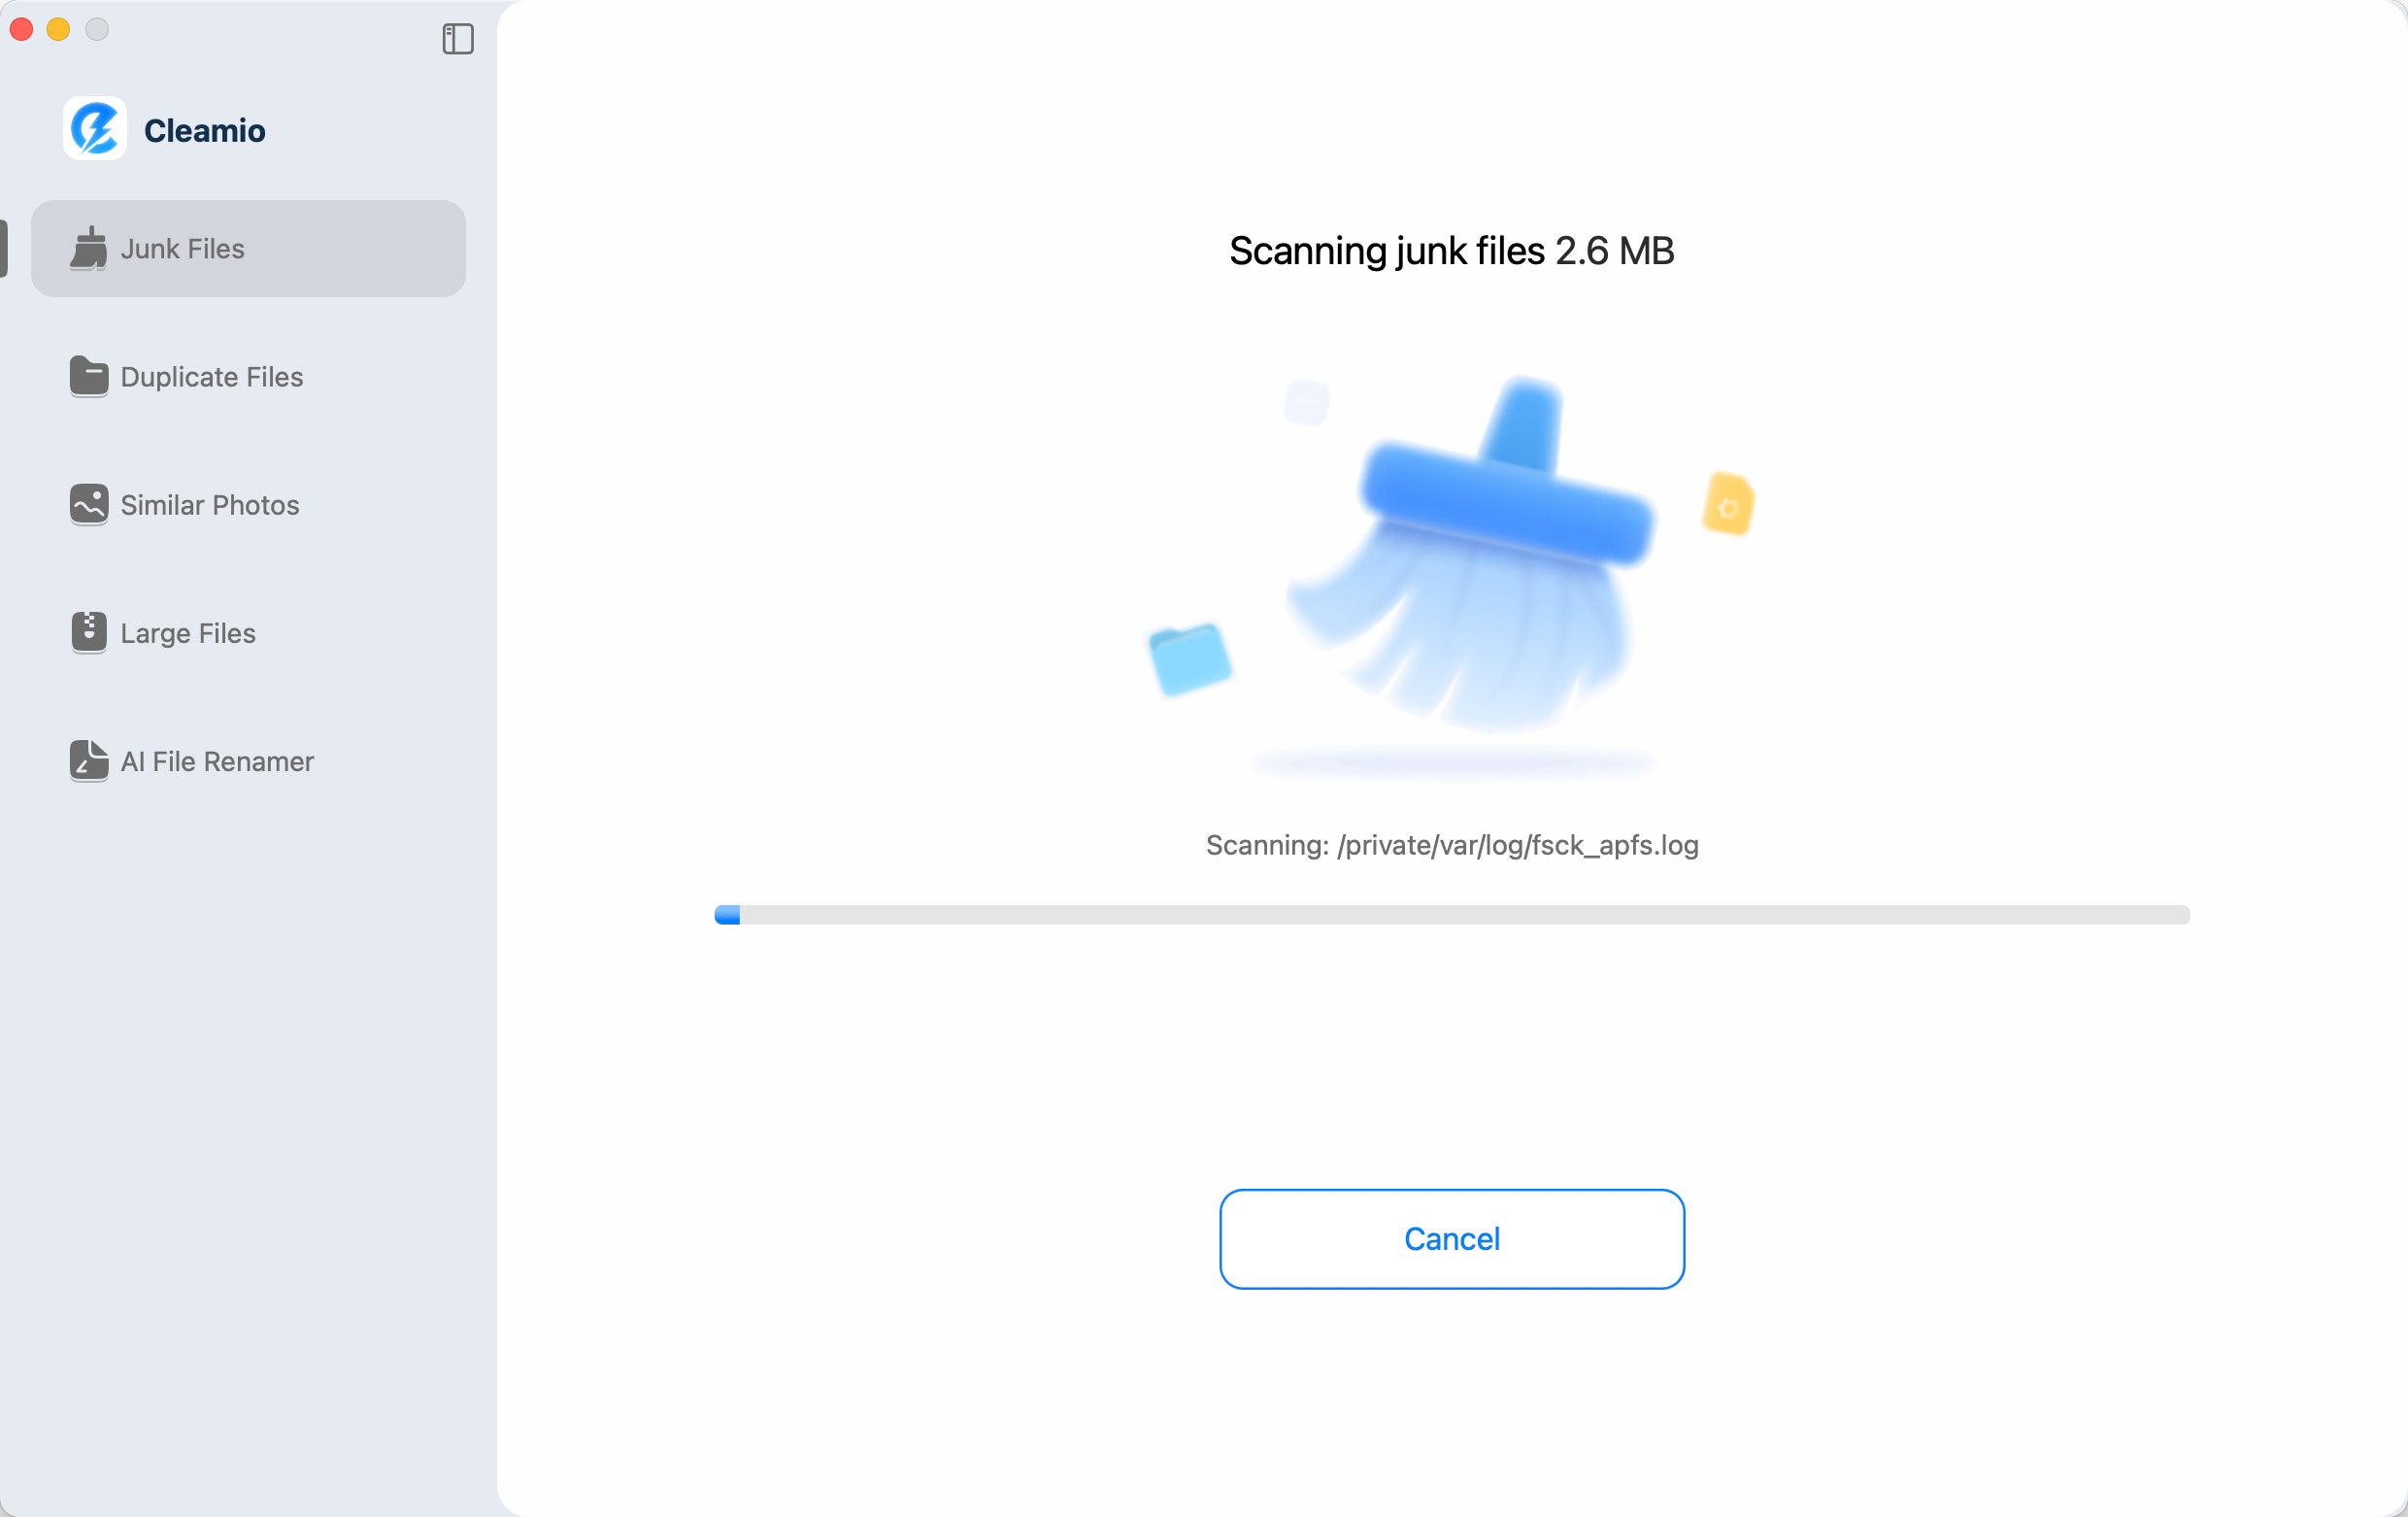
Boot up Tenorshare Cleamio and select "Junk Files" from the left sidebar. Later, click "Scan" to let it deep-scan for hidden junk, including those elusive deleted photos.

-
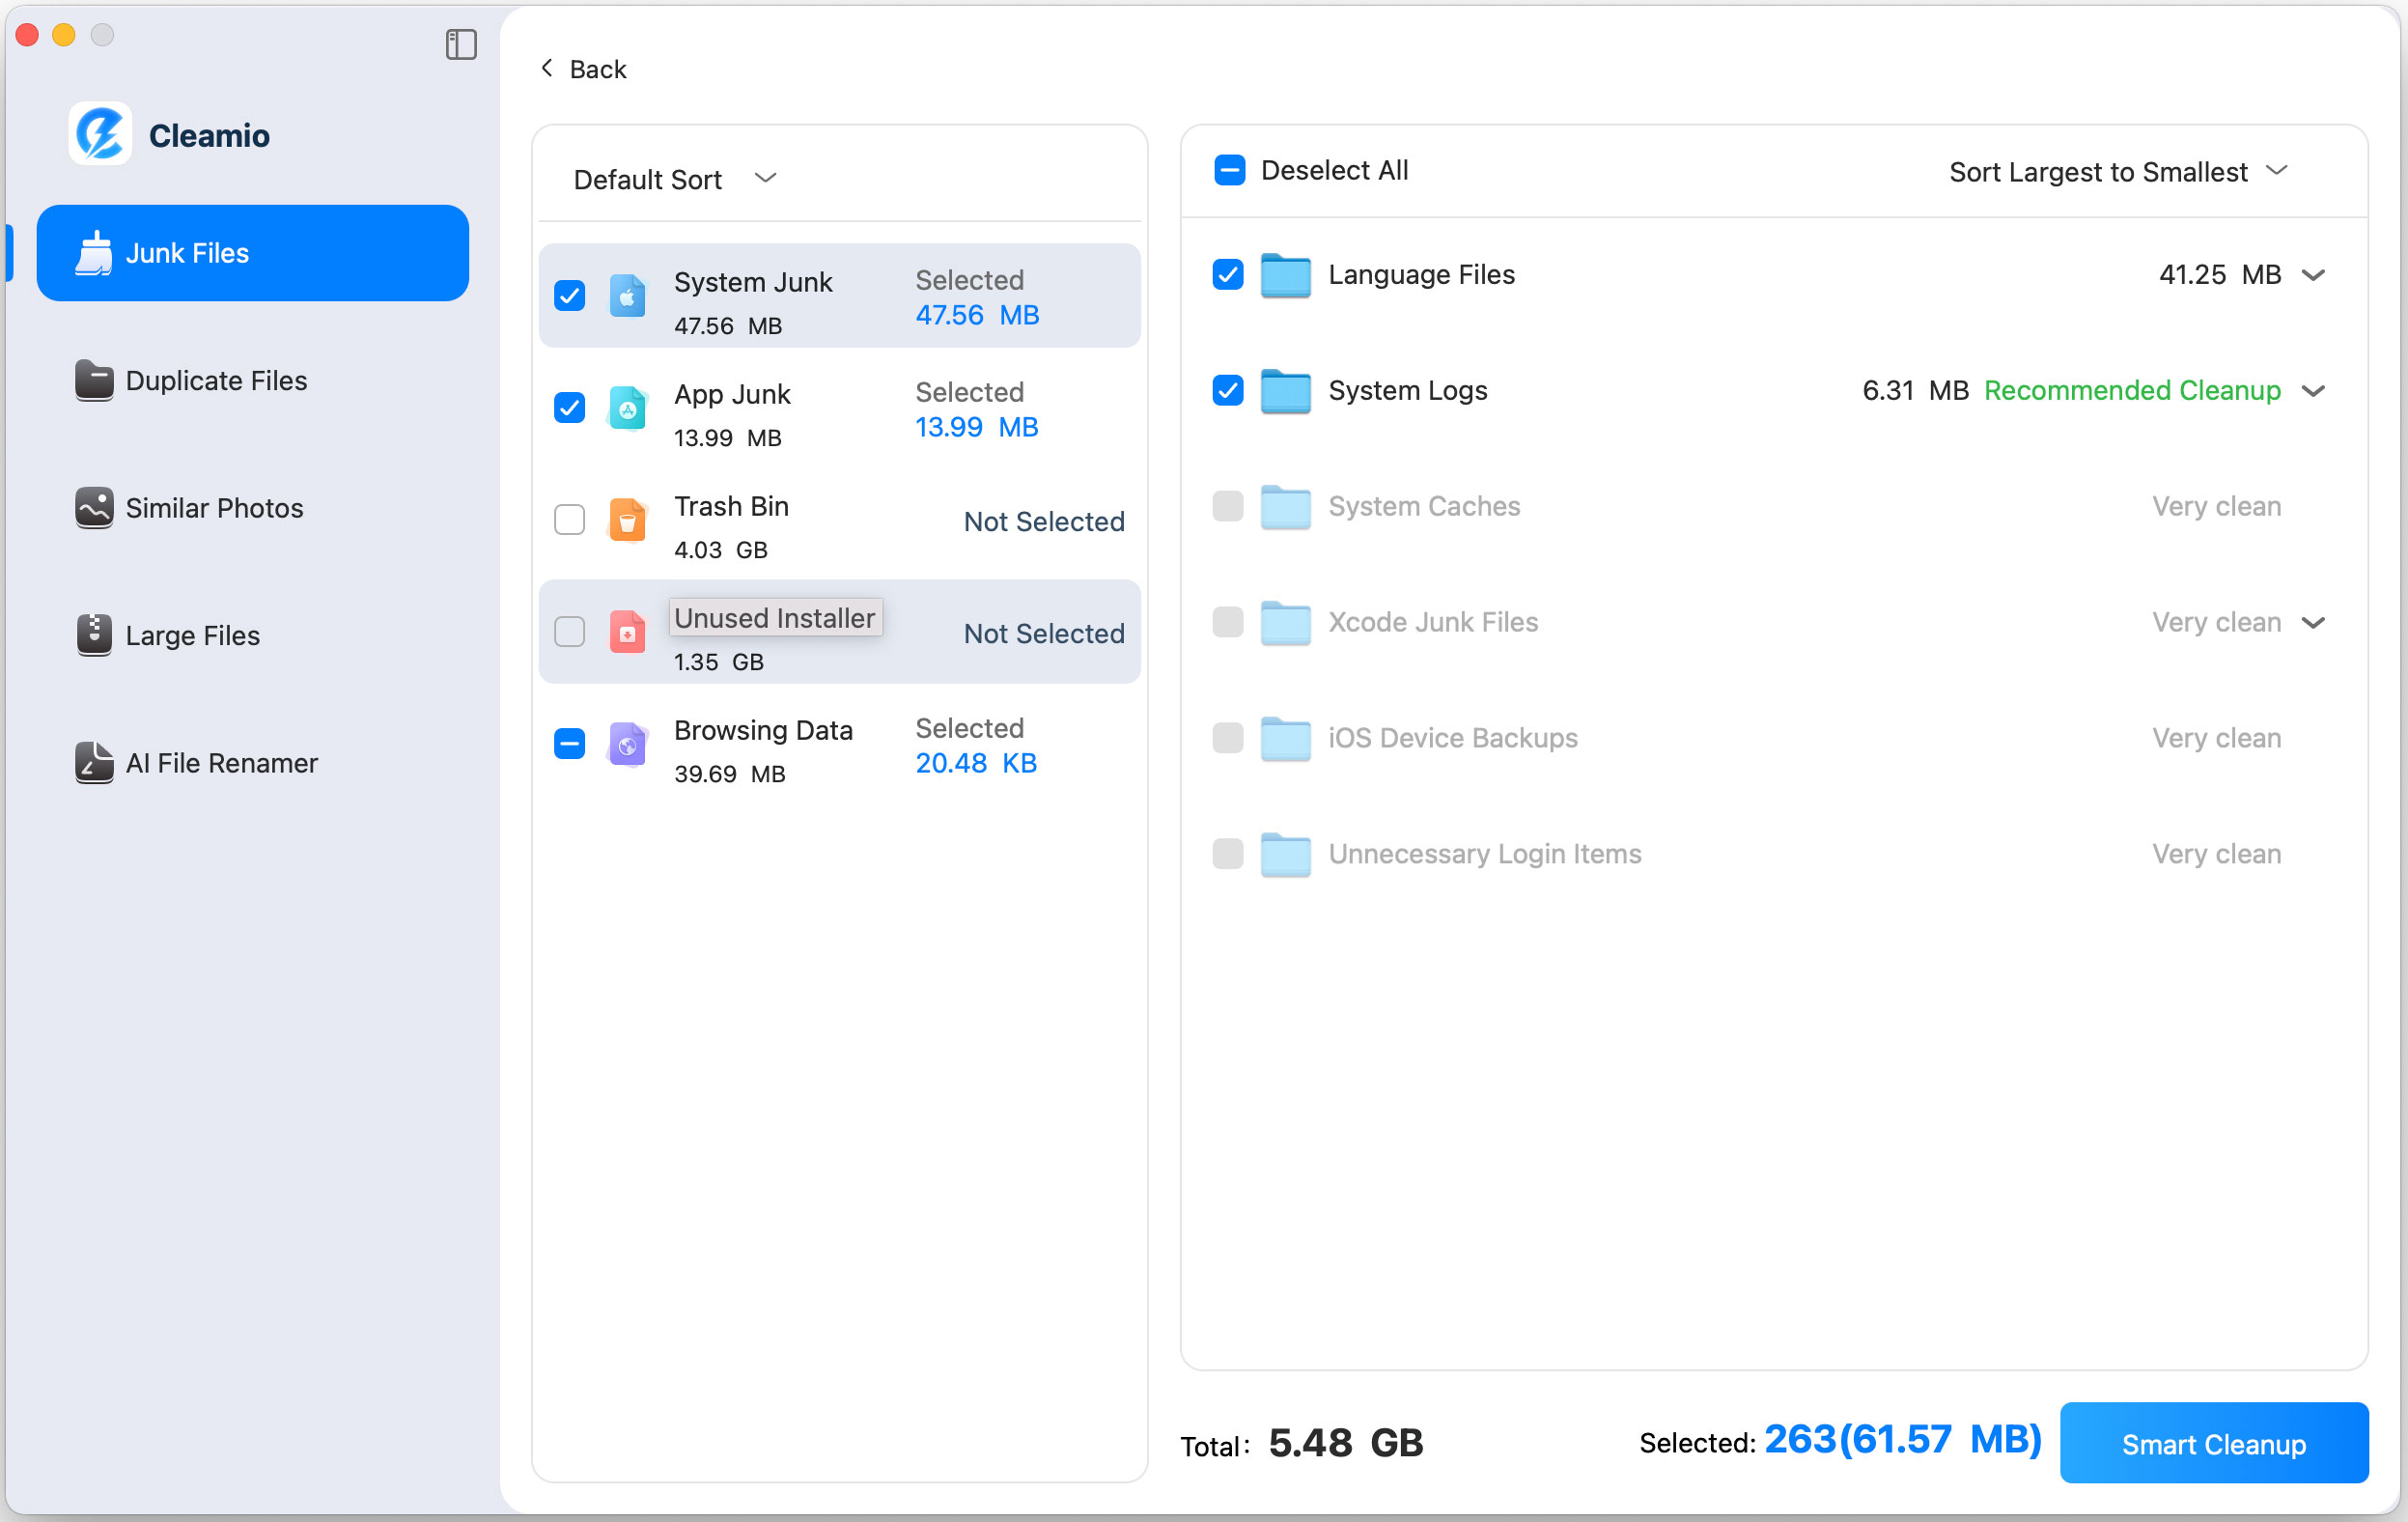
Once scan is finished, you can check the detected junk file details like system or app caches, logs, unused Trash Bin items, leftover installers, large files, and more. Select items to delete and hit "Smart Cleanup" for secure, permanent removal.

-
You can stop the trash removal process at any time via the “Stop” button at the bottom right. When deleted, click Done and try other features, such as finding and deleting large files or monitoring Mac performance.

Part 5. How to Recover Deleted Trash on Mac
Accidentally emptied your Trash? Don’t panic. Tere are ways to undo Trash delete Mac or even find files deleted from Trash on Mac. Here are some quick recovery methods:
- Undo Delete (if Trash not emptied): Use Command + Z immediately after deletion.
- Time Machine Backup: Connect your backup drive, enter Time Machine (via menu bar or Spotlight), navigate to the file's original location, and restore from a prior snapshot. Ideal for "undo empty trash Mac."
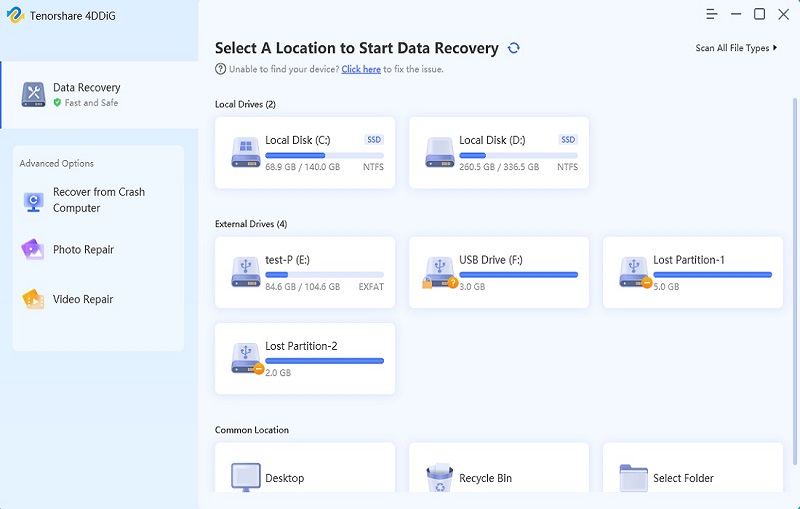
- Professional Recovery Software: Tools like 4DDiG Mac Data Recovery can help you recover permanently deleted files, even after emptying Trash.
- Check Recently Deleted (Photos app): For images, open Photos > Recently Deleted album—items stay here for 30 days. Select and recover with one click, perfect for "how to find recently deleted trash on Mac."
- Terminal Undelete (Limited): If files were recently deleted, use ls -la ~/.Trash in Terminal to check remnants, then copy back manually. Not foolproof for permanent empties.
People Also Ask about Clearing Trash on Mac
Q1: How do I empty the Trash on my computer?
Right-click the Trash icon in the Dock and select Empty Trash. Alternatively, go to Finder > Empty Trash.
Q2: Is it safe to empty Trash on a Mac?
Yes, it’s safe. However, once emptied, the files are permanently deleted. Make sure you don’t need them before confirming.
Q3: How to delete items not going to Trash on Mac?
Use Option + Command + Delete to delete without moving to Trash Mac. This bypasses the Trash and removes files instantly.
Q4: How to delete all Trash emails on Mac?
Open the Mail app, go to the Trash folder, then click Erase Deleted Items. This clears all deleted emails in one step.
Q5: How to delete selected items in Trash Mac?
Open the Trash folder, highlight the files you want to remove, right-click, and choose Delete Immediately. This lets you remove specific files instead of emptying the entire Trash.
Conclusion
keep your system running smoothly. From basic Dock actions to advanced commands like force delete Trash in Mac terminal, each method serves a different need. For users who want to go further, tools like Tenorshare Cleamio provide secure and automated cleanup.
And if you ever make a mistake, methods like Time Machine or recovery software can help you undo Trash delete Mac. By mastering these strategies, you’ll always be in control of your Mac’s storage.
Secure Download

 ChatGPT
 Perplexity
 Google AI Mode
 Grok
Grok


