Ultra-Fast Scanning
4DDiG’s advanced recovery algorithm drastically reduces scanning time, allowing you to scan faster and recover your data more quickly.
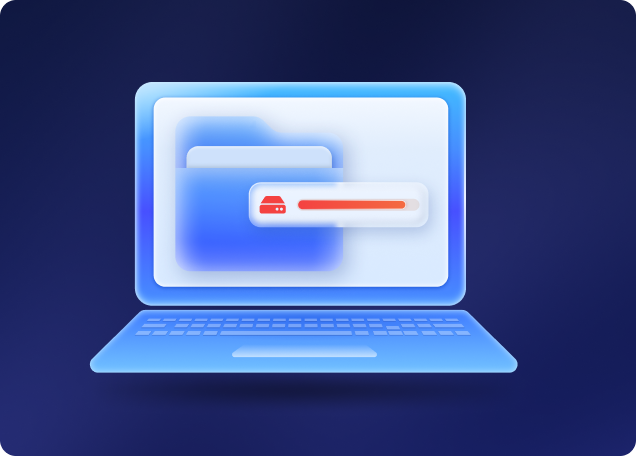
4DDiG Mac Data Recovery AI-Powered


Apple-Notarized

Downloads

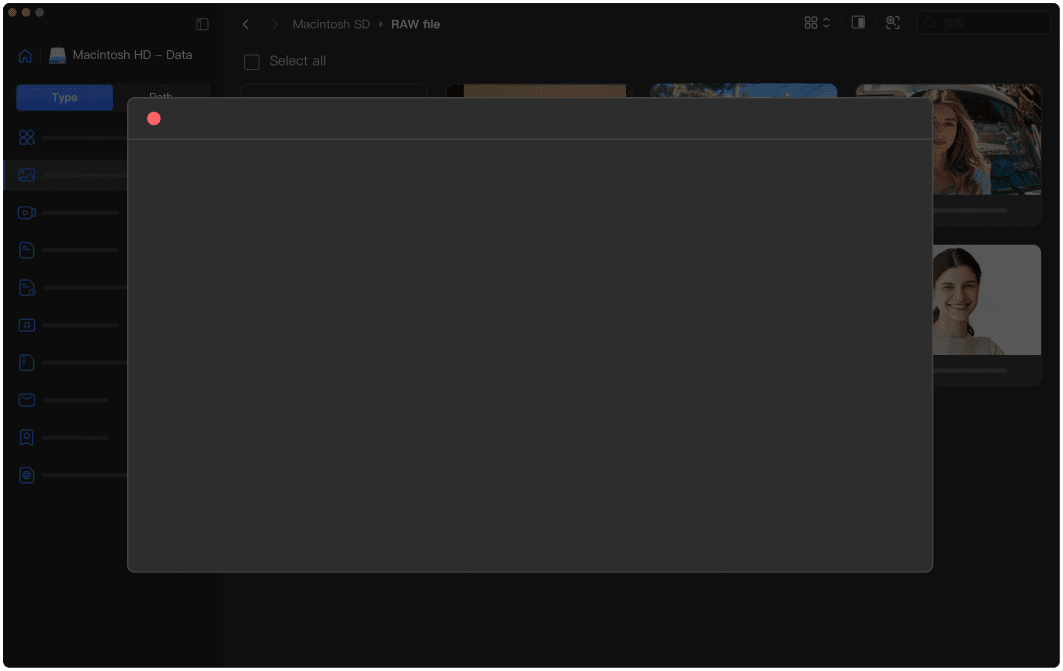
Processing

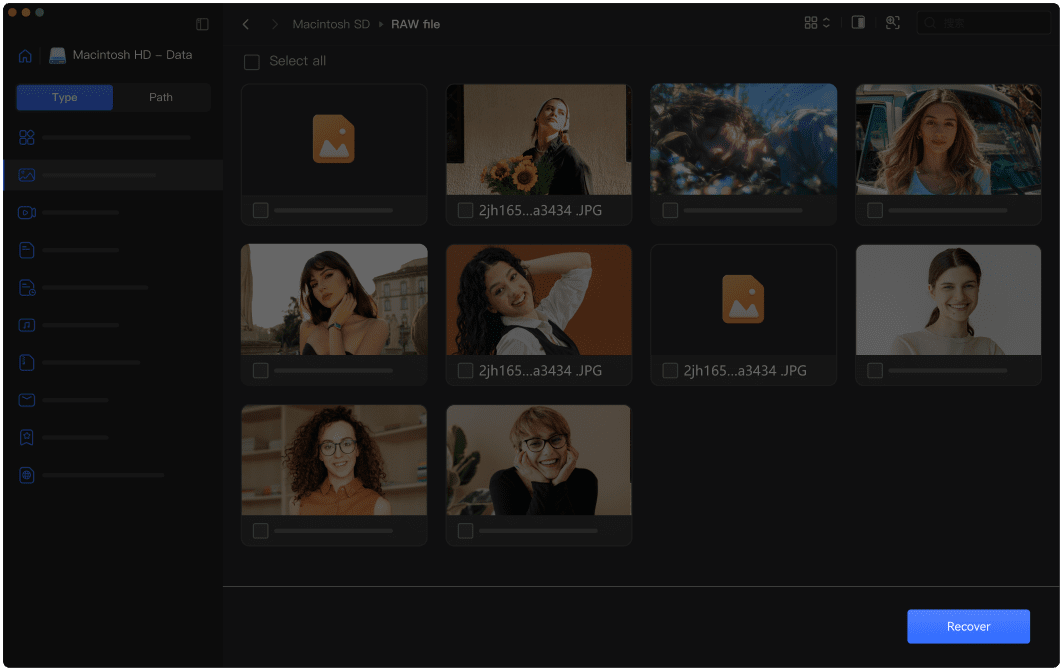
Scan & Preview

Safe and Secure
No matter how your Mac data was lost, 4DDiG Mac Data Recovery can recover files across a wide range of scenarios with reliable results.
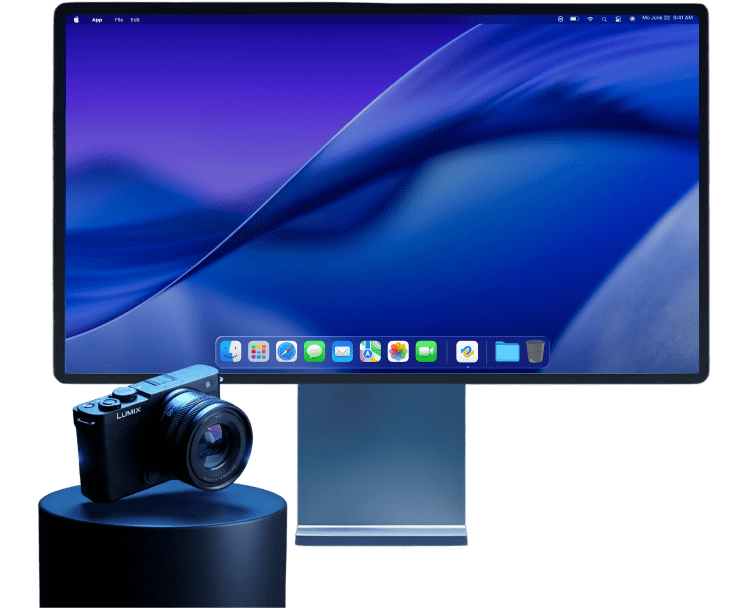
 Camera
 SD Card
 Hard Drive
 USB Drive
 Drone
Drone
External Devices Recovery
4DDiG Data Recovery for Mac supports recovery from a wide range of external storage devices, including external hard drives, USB drives, SD cards, memory cards, drones, and cameras.
Hard Drives & Locations Recovery
4DDiG for Mac can recover data from internal drives such as HDD, SSD, and Fusion Drive. It also provides quick recovery options for desktop files, selected folders, Time Machine backup, and the Trash.


iCloud Data Recovery
Whether it’s a sync error or a missing iCloud backup, 4DDiG helps you restore photos, notes, contacts, reminders, and more from iCloud.
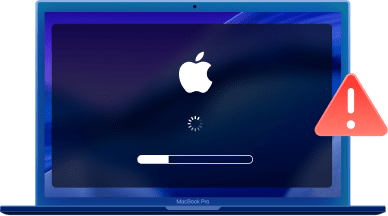
Crashed OS Recovery
When your Mac crashes, won’t boot, or shows a black screen, 4DDiG can create a bootable USB drive to recover your data and restore your system.
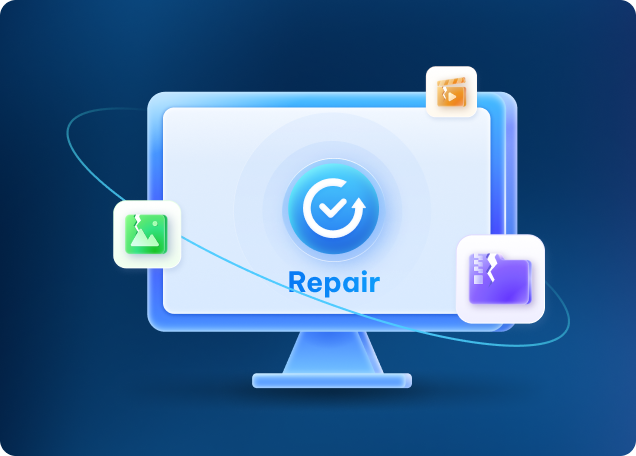
The powerful AI technology helps repair corrupted/damaged files during recovery.

Download and create a macOS USB installer with the latest or older macOS ISO. You can use the bootable macOS installer to have a clean installation.
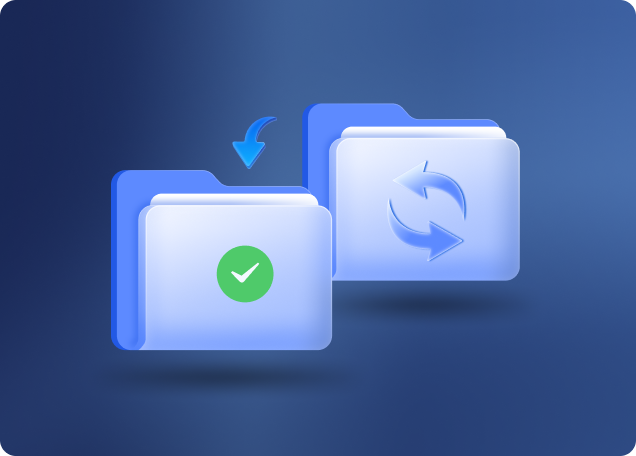
Easily create a full disk backup, and use the image for all scans and recoveries to safeguard your original data.
Quickly find and delete junk files and duplicates on your Mac to free up space and improve performance.
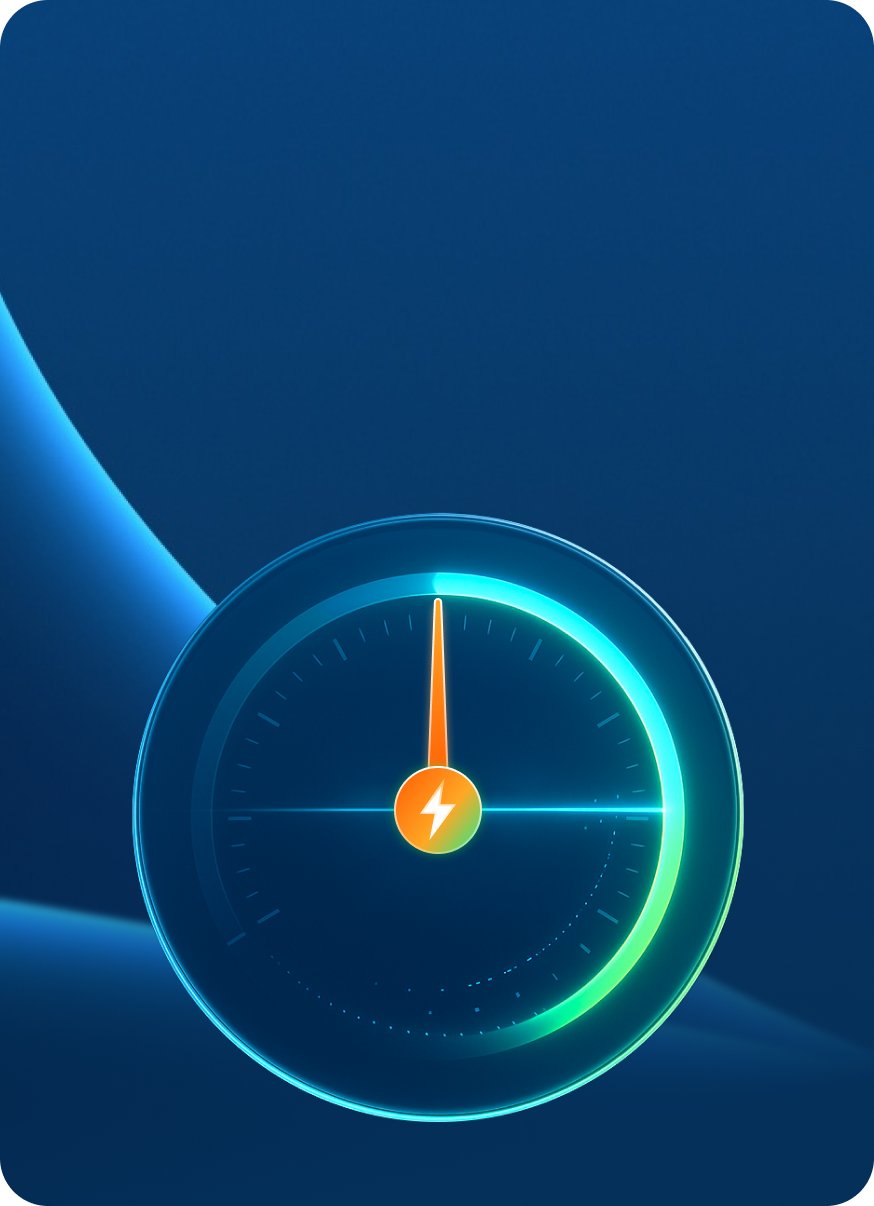
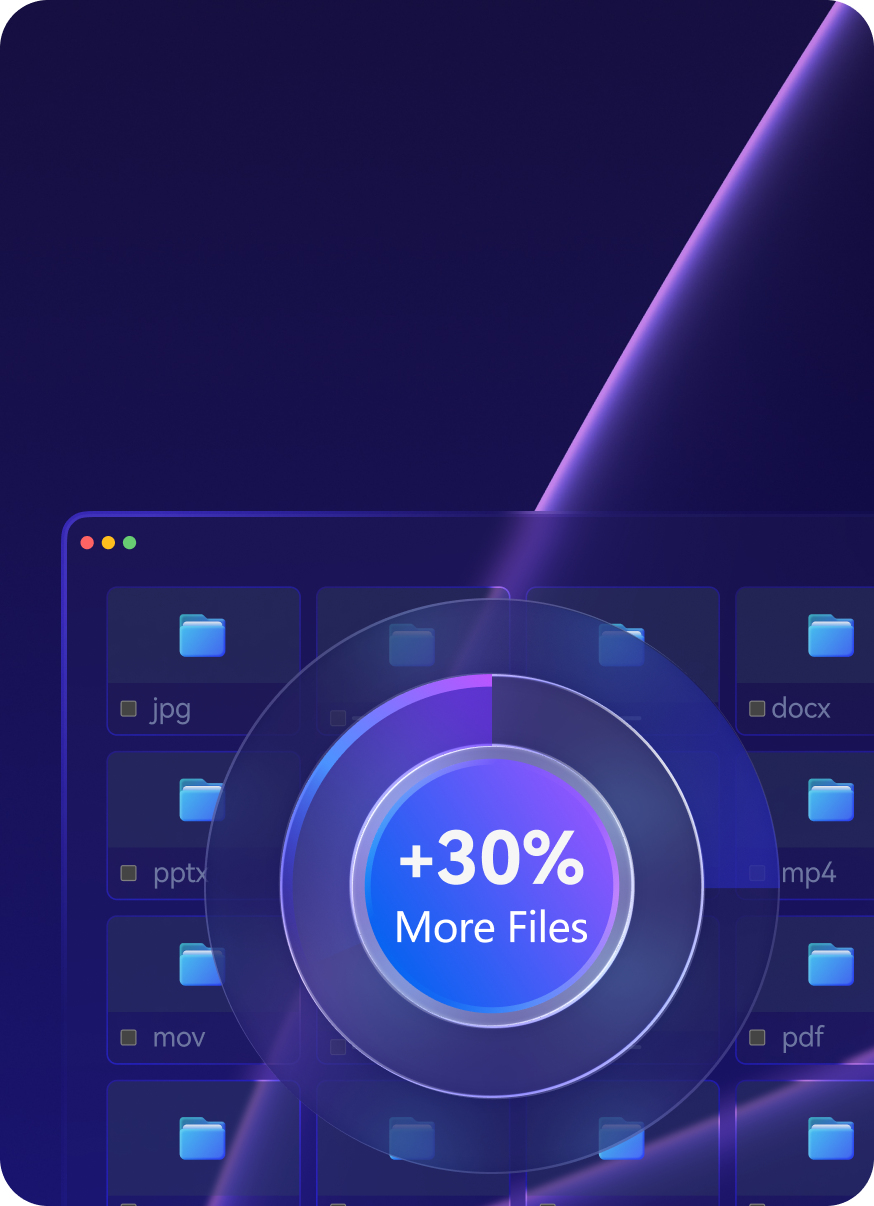
Ultra-Fast Scanning
4DDiG’s advanced recovery algorithm drastically reduces scanning time, allowing you to scan faster and recover your data more quickly.
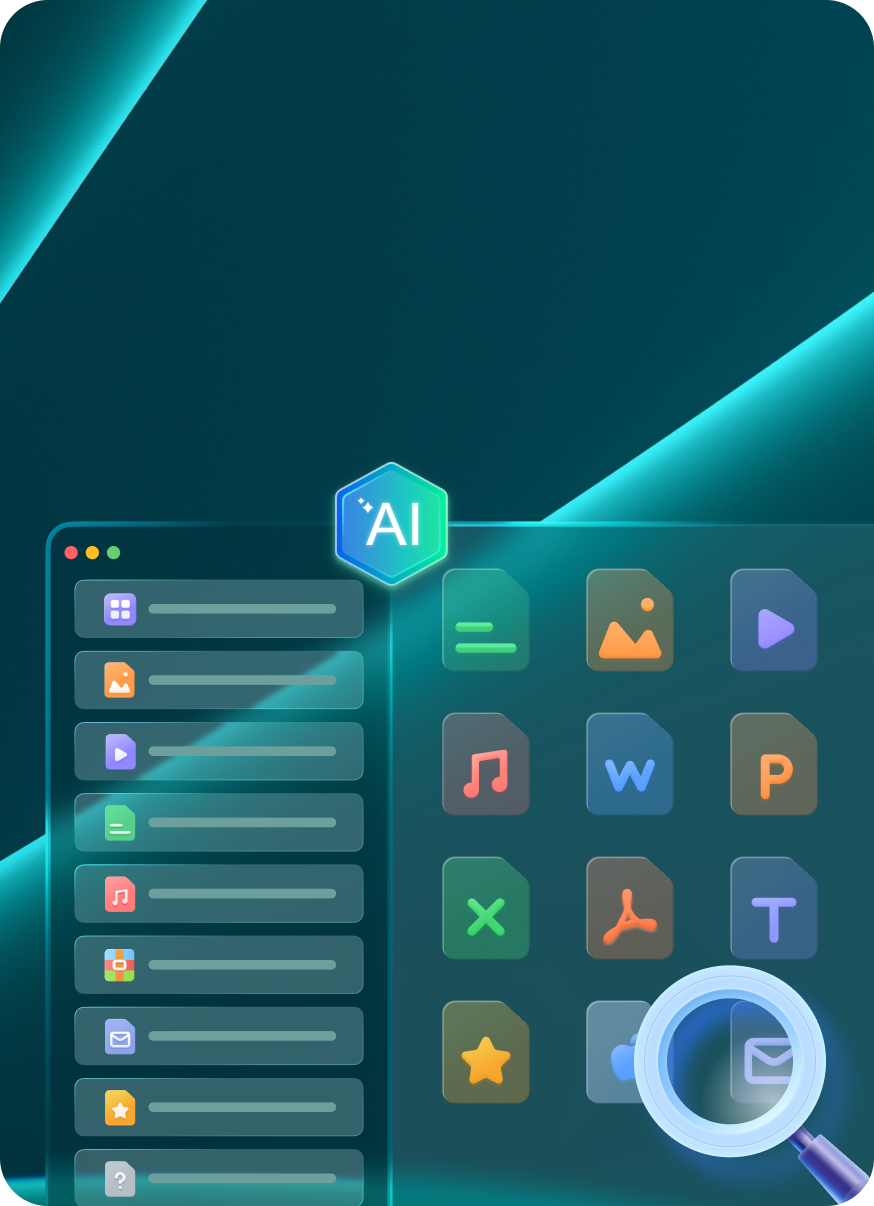
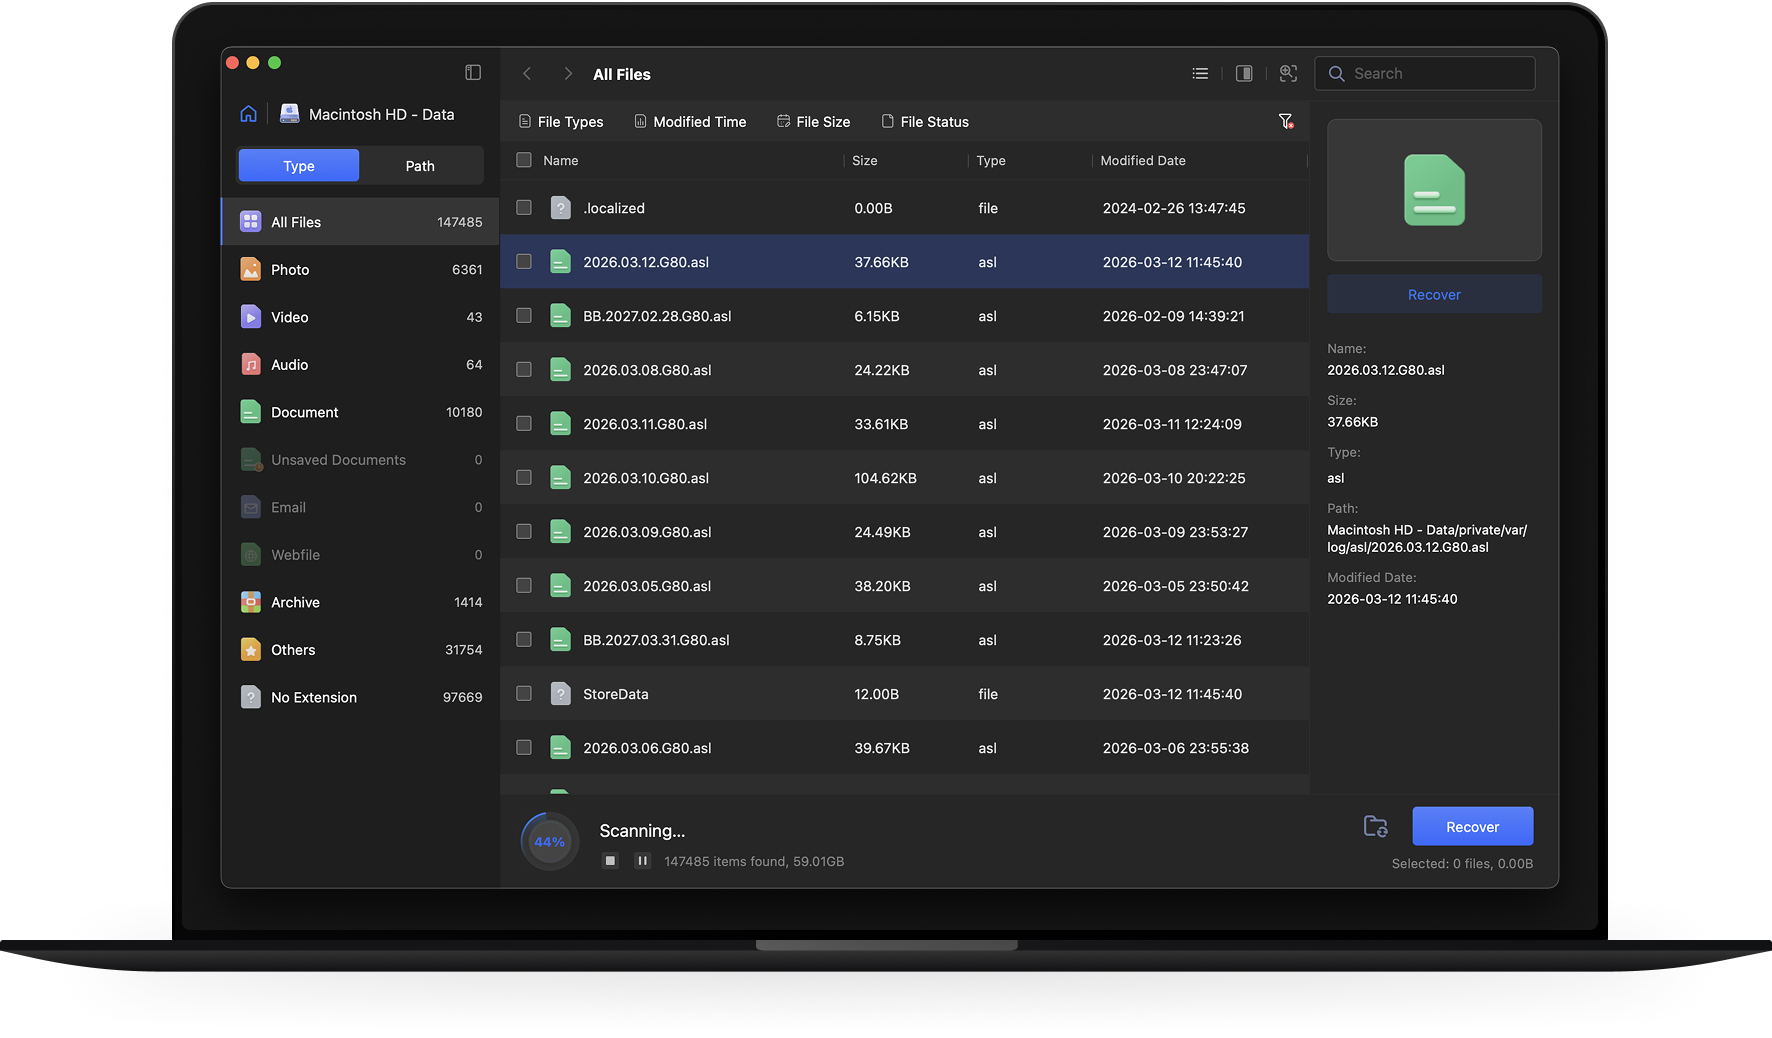
Quickly Locate Files
AI-driven classification and filters help you locate your files quickly and easily.
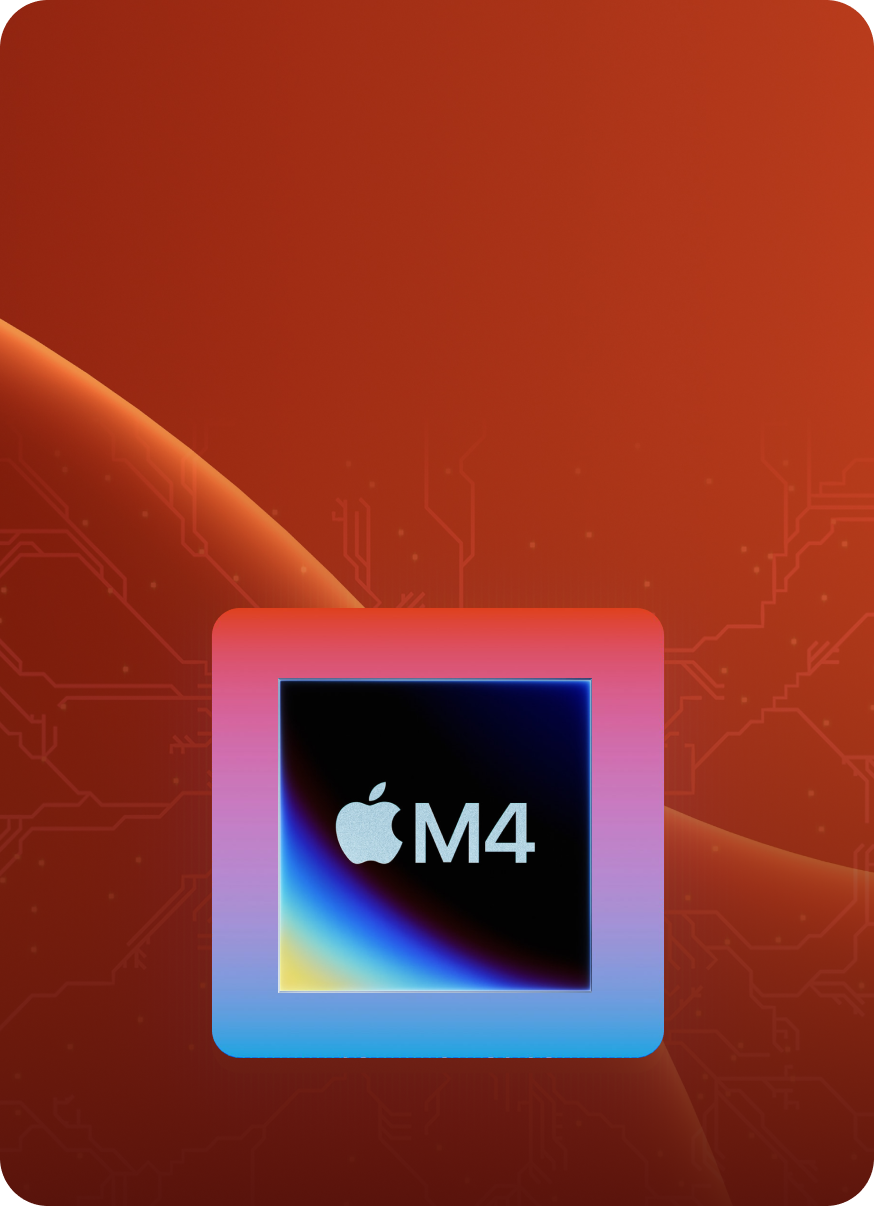
Support of M4 Chip
4DDiG for Mac is fully compatible with the latest Apple M4 chip, ensuring faster and smoother scans and recovery process.
360° Deep Scan
Deep scanning finds every file, even those hidden files on Mac.
100% Safe
With built-in data protection, this best recovery program for Mac protects your original data without overwriting it.

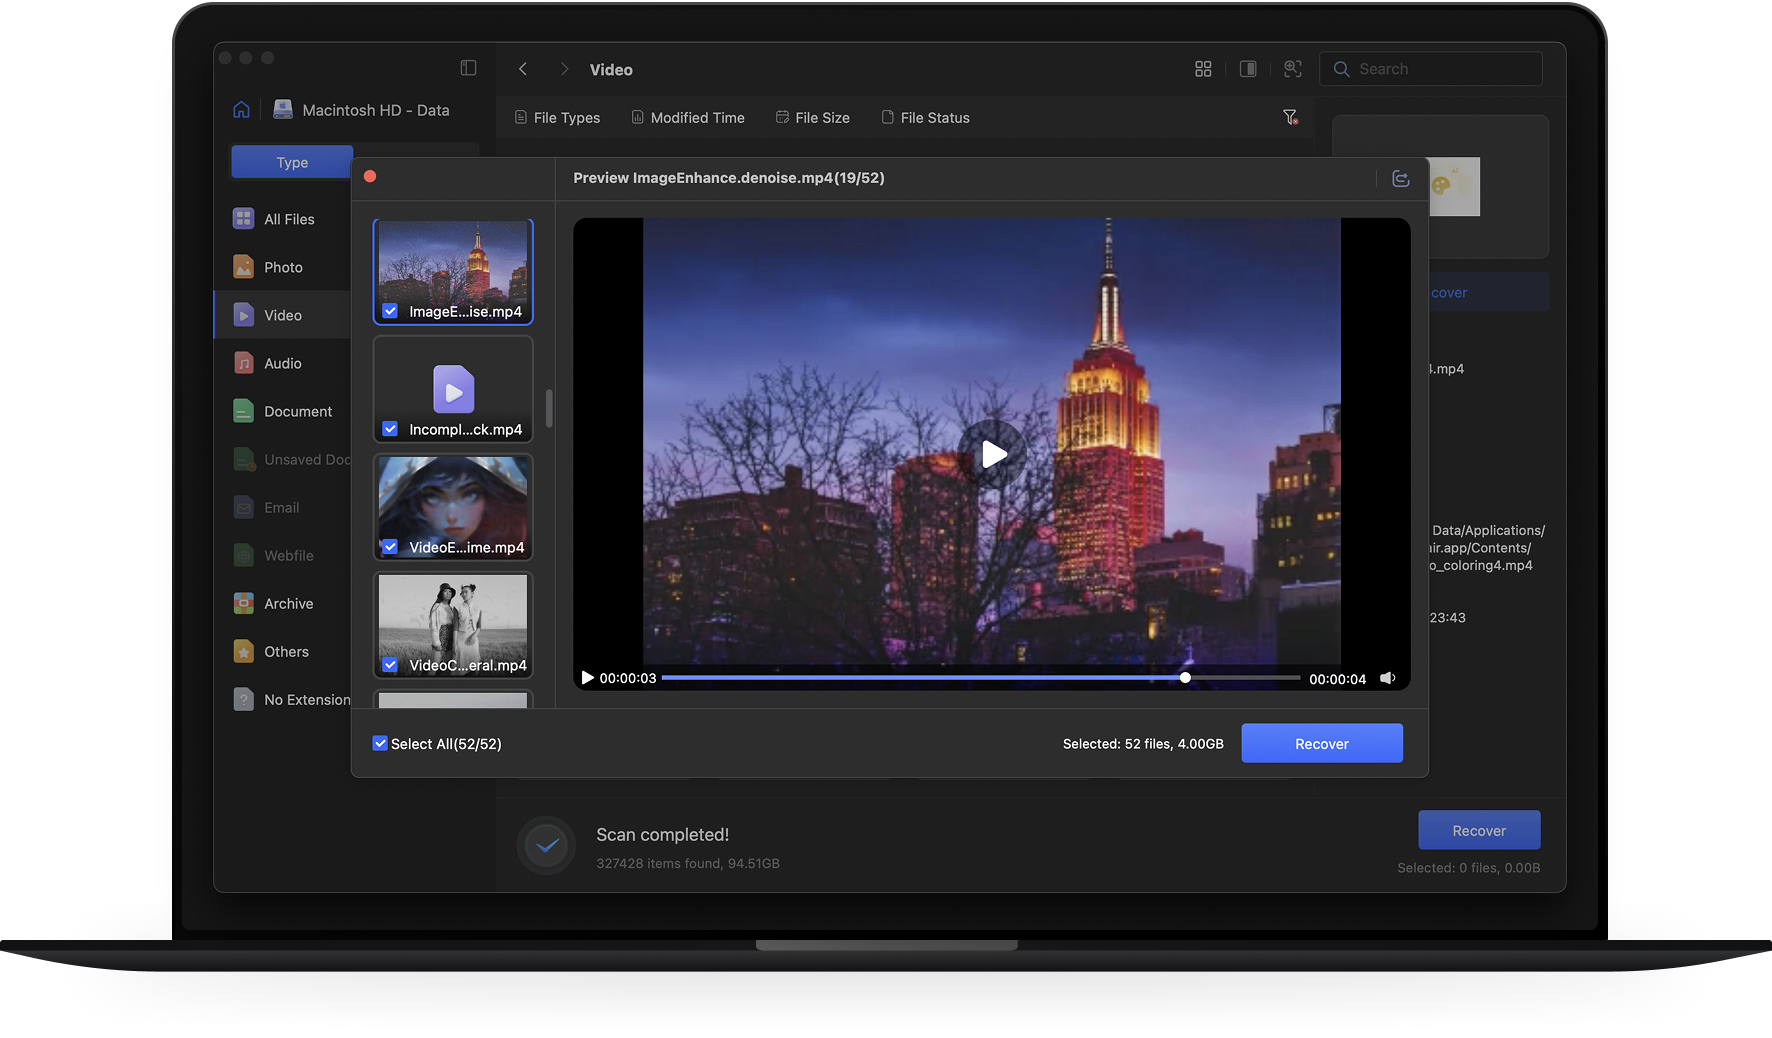
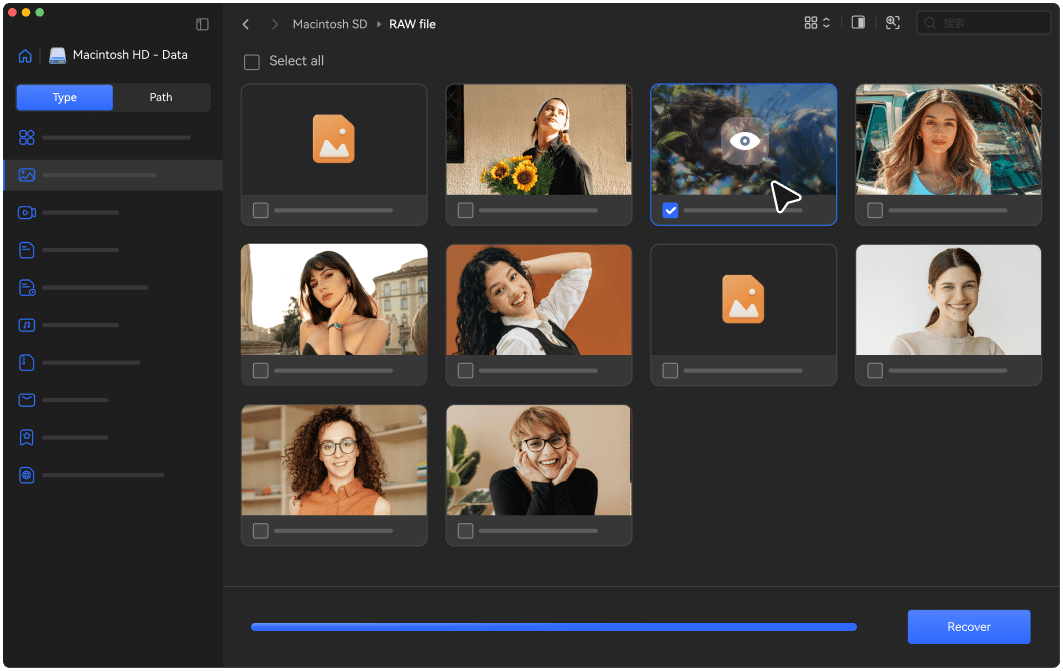
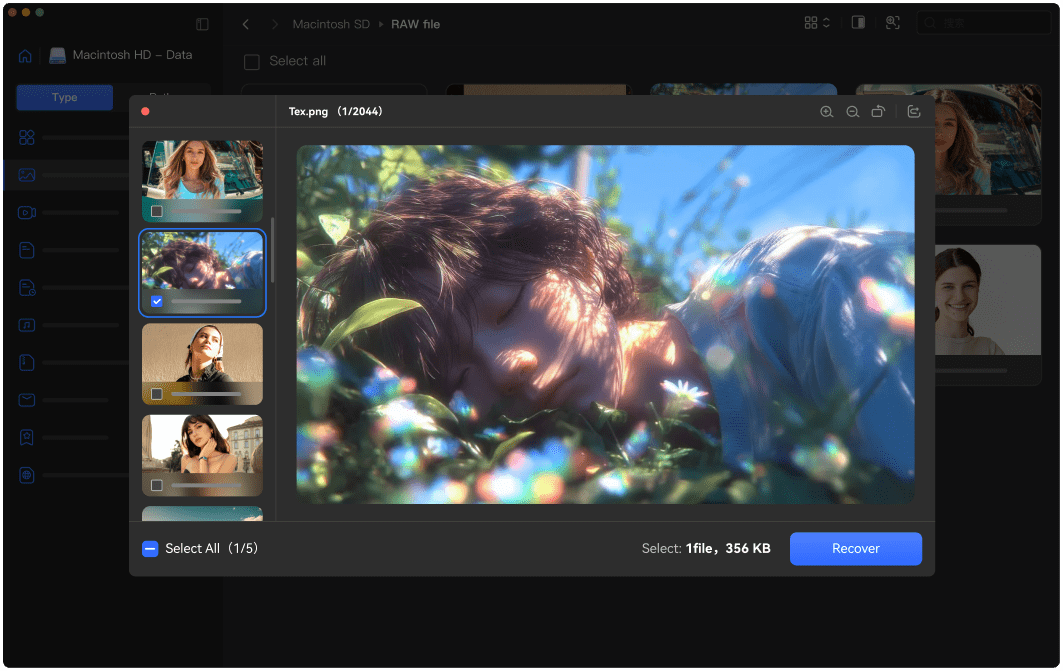
Real-Time Preview
You can preview recoverable files before recovery to verify what can be restored.

Losing raw photo files is one of my worst nightmares. I rely on 4DDiG for Mac to recover lost photos from corrupted SD cards. It saved my work when I thought it was gone forever. Highly recommended for photographer!
Kieran
As a police officer, lost bodycam or dashcam footage can seriously impact investigations. 4DDiG helped me recover deleted dashcam videos crucial for cases. Easy to use and highly reliable — a must-have for law enforcement to prevent important evidence from being lost.
Soren
I accidentally wiped my Steam game saves during a cleanup. 4DDiG recovered lost game data in minutes, saving me from restarting dozens of hours of progress.
Zane
4DDiG makes Mac file recovery super easy. I used it to recover lost documents, photos, videos, and more with just a few clicks. Even after my Mac crashed, it still managed to get back lost data.
Emily R
We use 4DDiG Data Recovery regularly on our IT team to handle accidental deletions, drive issues, and system crashes.
Michael T
I accidentally closed an unsaved Word documents on Mac . Thankfully, the software quickly restored my file with perfect accuracy. Its ease of use and accuracy make 4DDiG become the best recovery program for Mac.
Sophia L


Operating System: macOS 26, Sequoia 15, Sonoma 14, Ventura, Monterey, Big Sur, Catalina 10.15, 10.14, 10.13, & 10.12

Files System: APFS, HFS+, FAT32, exFAT.

Mac computer (M1-M4/T2)

SD memory card

USB flash drive

Digital camera camcorder

Removable Drives

Version: v5.7.0

Update Date: April, 2026

Languages: English, German, French, Italian, Spanish, Portuguese, Russian, Japanese, Korean, Arabic, Dutch, Turkish, Indonesian, Thai, Traditional Chinese and Simplified Chinese.
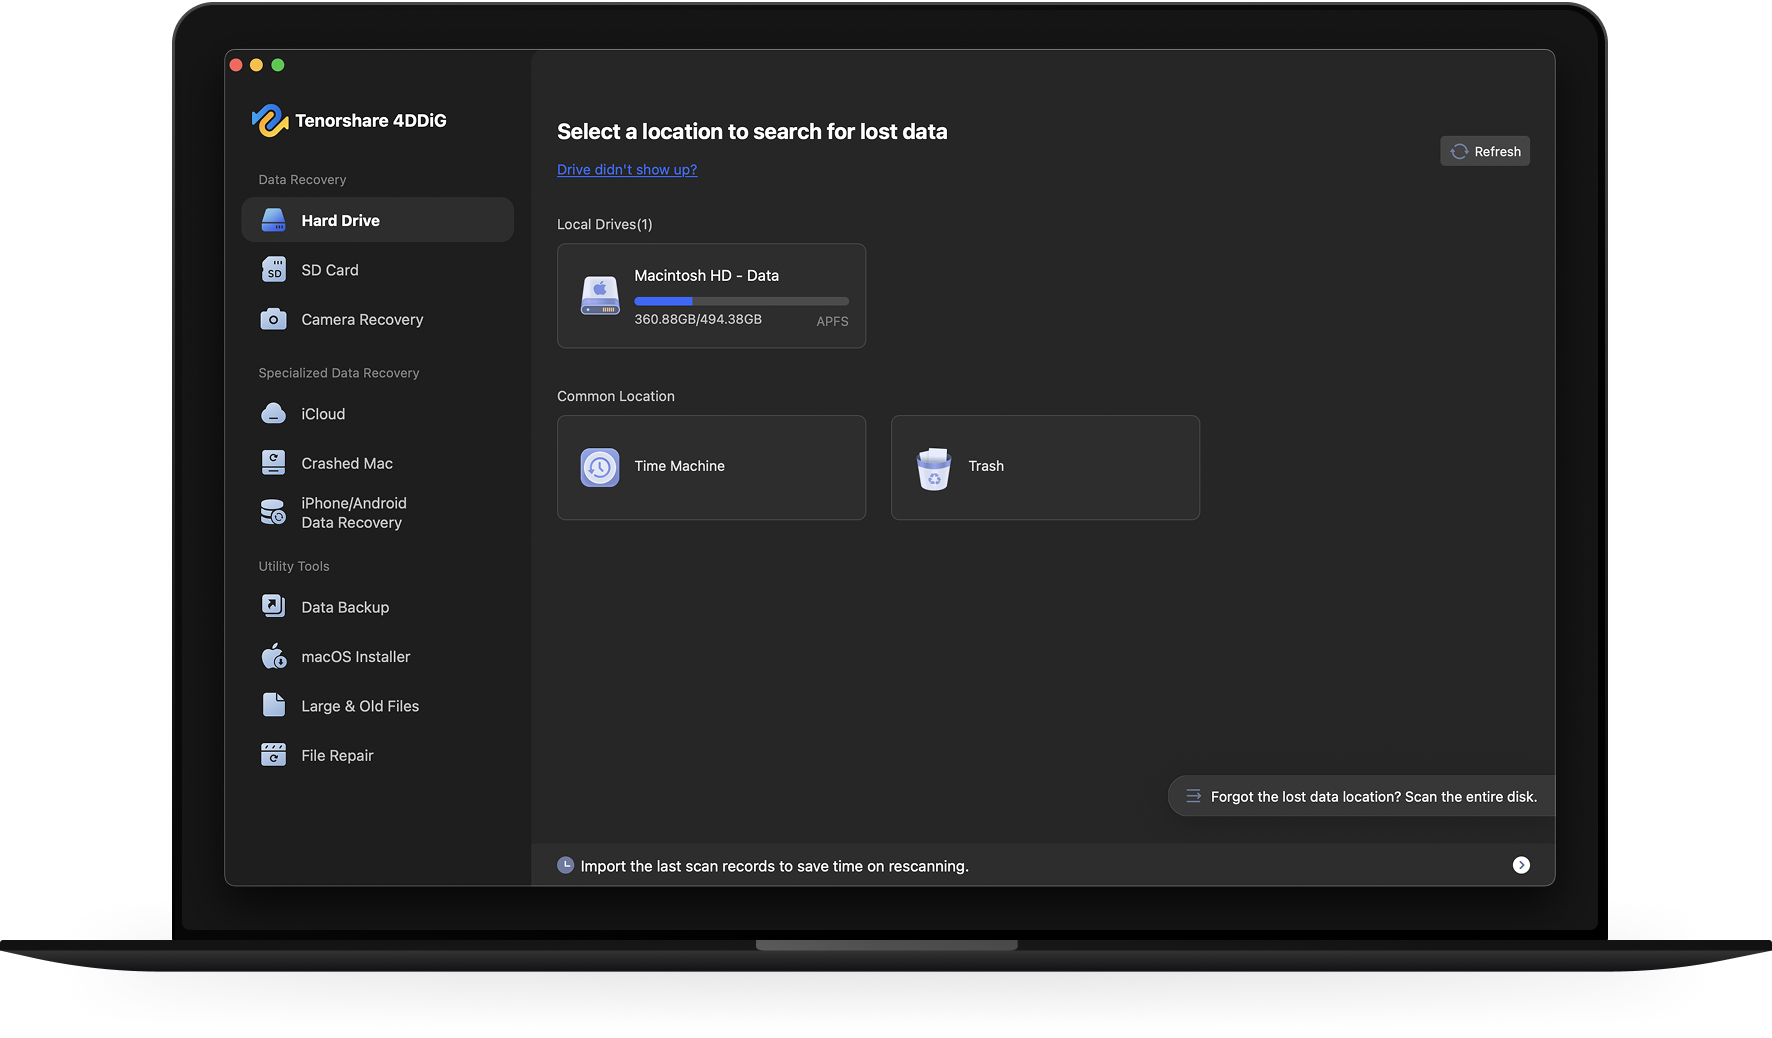
4DDiG can help you recover lost files from an external drive
with simple steps:
Step 1. Download, install and launch 4DDiG Mac recovery tool on your Mac.
Step 2. Connect the external drive to computer.
Step 3. Select the external drive from the list, and 4DDiG will automatically scan your drive.
Step 4. Preview the files and select what you need to recover to proceed.
It depends on the size of the hard drive. By default, 4DDiG uses Quick Scan, which usually completes within a few minutes. If you choose Deep Scan, the process will take longer and may take several hours when scanning a large drive.
You can use the filter and search options to narrow down the scan results by file type, size, name or modified time.
Yes. 4DDiG allows you to preview recoverable files before starting the recovery process, so you can check the file content and select only the files you need to recover.
Yes. 4DDiG Mac Data Recovery is safe to use. It performs read-only scanning on your drive and does not modify or overwrite existing data, ensuring your files remain secure during the recovery process.
Your trusted solution for protecting all your important Mac data.