How to Open EXE Files on Mac
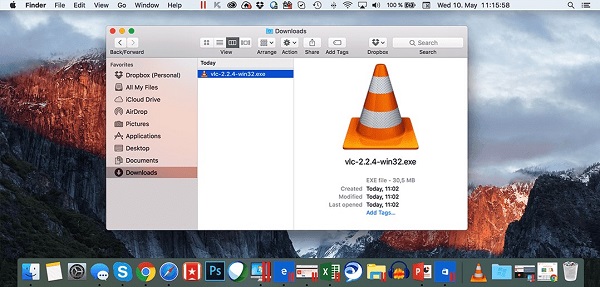
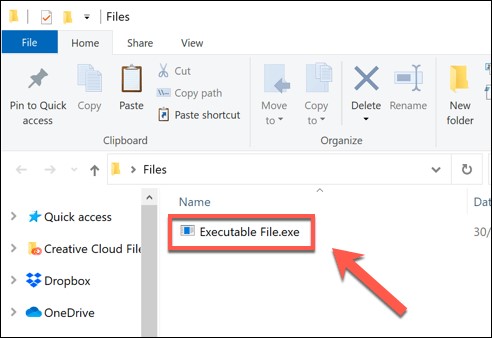
How to open exe files on mac? As Mac users, we've all been frustrated with receiving an EXE file, a format primarily associated with Windows applications. Mac operating systems built on a different architecture don't natively support the execution of EXE files. However, there are ways to overcome this limitation and run EXE files on your Mac.
How to open exe file on mac? This comprehensive guide will explore three effective methods to open EXE files on Mac. Additionally, we'll delve into a bonus tip on recovering EXE files on Mac and address common questions regarding the compatibility of Mac with Windows EXE files.
Part 1: Can You Open an EXE File on Mac?
How to open exe files on mac? Before diving into the solutions, it's crucial to understand the inherent differences between Mac and Windows operating systems. While EXE files are designed for Windows, Mac uses a different file format for its applications. By default, macOS does not support the direct execution of EXE files. However, you can seamlessly integrate Windows applications into your Mac environment with the right tools and techniques.
Part 2: Bonus Tip: How to Recover EXE Files on Mac
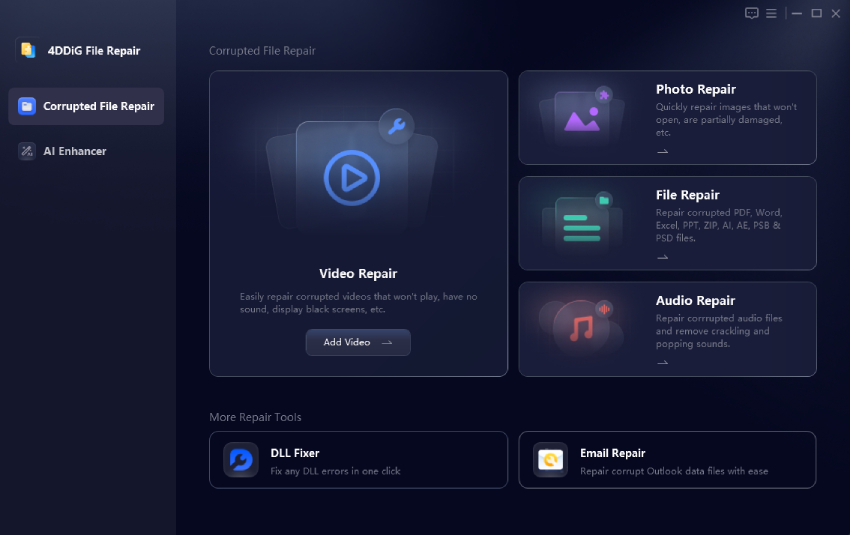
Losing essential EXE files on your Mac can be a stressful experience, especially if they contain critical software or essential data. Accidental deletions, disk formatting, or unexpected system crashes can lead to the loss of these files. To alleviate this concern, we introduce a valuable bonus tip – 4DDiG Mac Data Recovery , a powerful tool designed to recover lost EXE files and various other file types on your Mac.
Why Choose 4DDiG Mac Data Recovery:
- 4DDiG Mac Data Recovery employs advanced algorithms to thoroughly scan your Mac's storage, ensuring the recovery of a wide range of file types, including EXE files.
- The software features a user-friendly interface that makes the recovery process accessible to users with varying levels of technical expertise. The intuitive design ensures a seamless experience throughout the recovery journey.
- One of the standout features of 4DDiG is its ability to preview recoverable files before initiating the recovery process. It allows you to selectively recover only the files that are crucial to you, saving time and storage space.
Secure Download
Secure Download
-
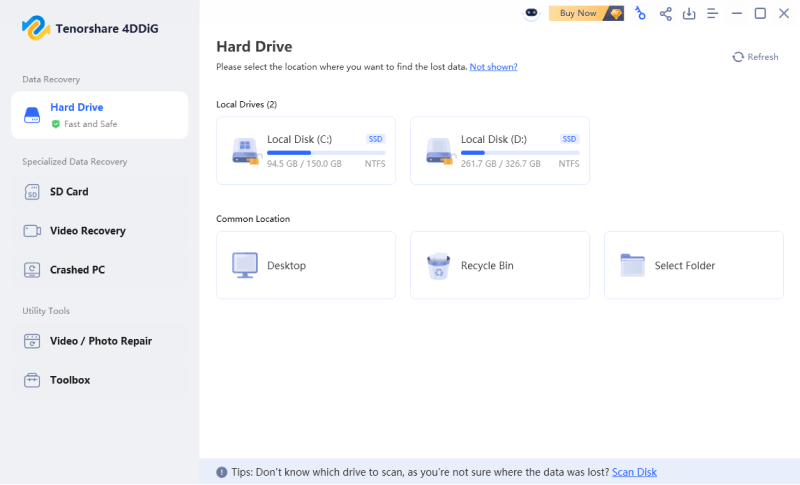
Choose a Local Disk
Upon installing and launching Tenorshare 4DDiG Windows Data Recovery, you'll encounter the home interface, featuring options for Data Recovery and Advanced Options. In our scenario, select the local disk where your data loss occurred from the list of hard drives. Click on Start to initiate the scanning process, or alternatively, you can specify target file types in the upper-right corner before commencing the scan.
-
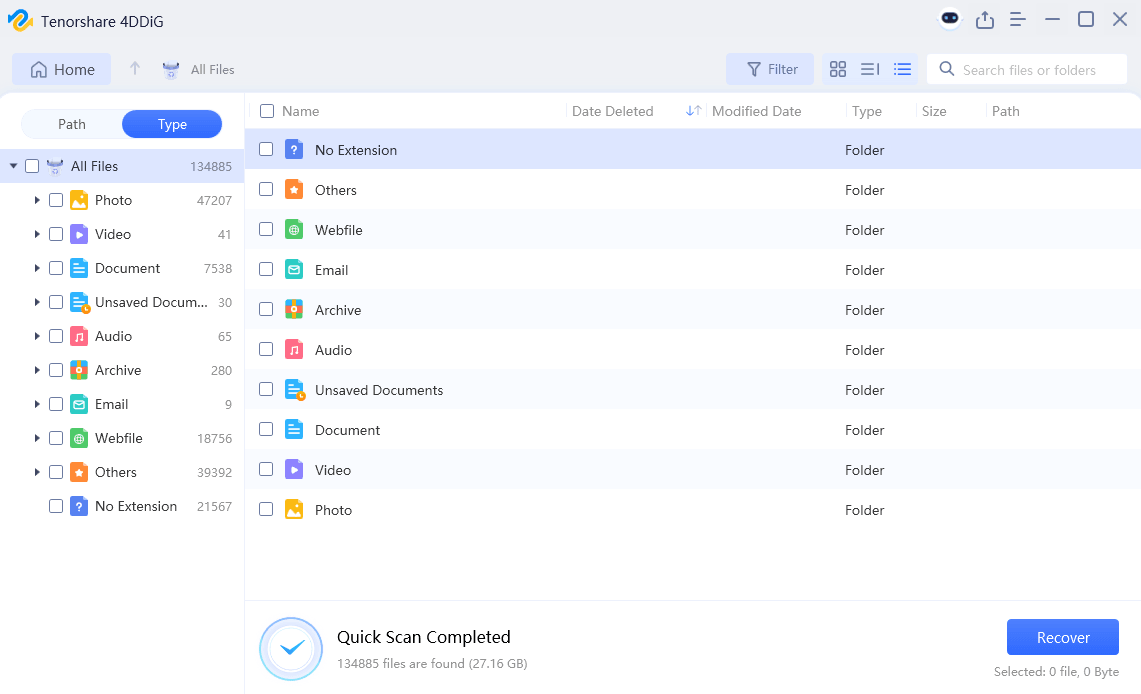
Perform a Scan on the Local Disk
4DDiG promptly conducts a thorough scan of the chosen drive to locate any missing data. You have the flexibility to pause or stop the search at any point if you've identified the files you intend to recover. The Tree View provides categories such as Deleted Files, Existing Files, Lost Location, RAW Files, and Tag Files.Additionally, you can switch to File View to inspect file types like Photo, Video, Document, Audio, Email, and more. Furthermore, the right side of the panel offers the option to search for specific files or utilize filters to refine your search.

-
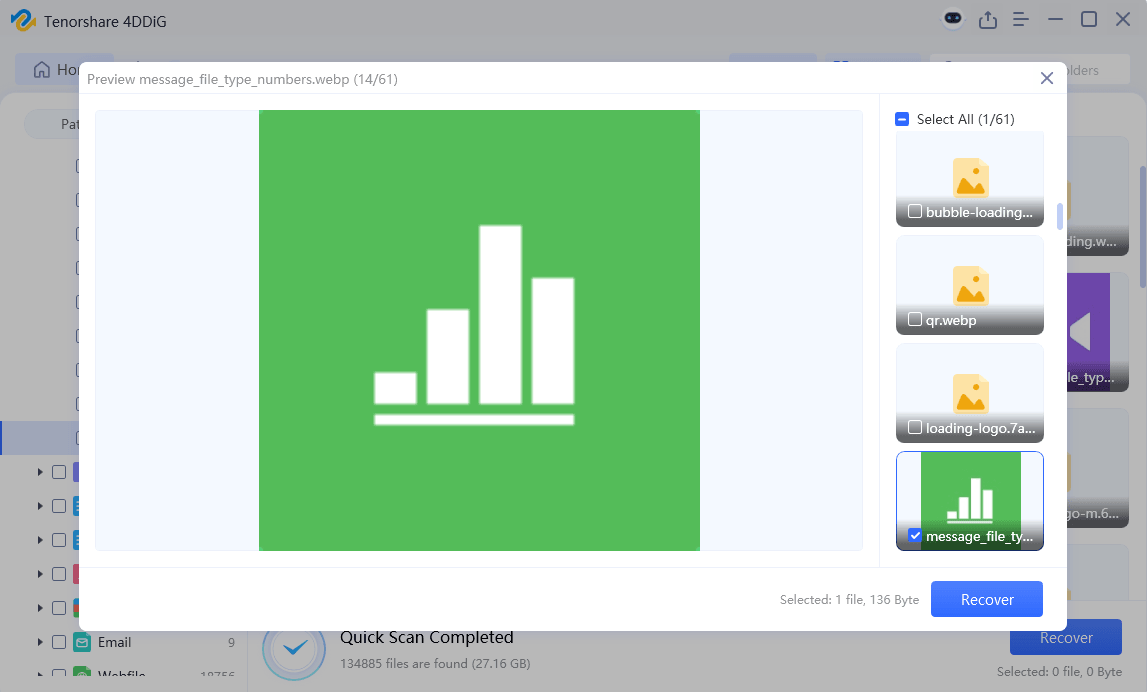
Preview and Recover Files from the Local Disk
Once the desired files are discovered, you can preview them before initiating the recovery process. To prevent disk overwriting and permanent data loss, it is crucial not to save the recovered files to the same partition where the data loss occurred. Choose a secure location for the recovery process to ensure the integrity of your retrieved files.
Part 3: How to Open EXE Files on Mac
How to open exe file on mac? Now, let's explore three ways to open EXE files on your Mac. These methods leverage third-party applications that bridge the compatibility gap between macOS and Windows.
Way 1: How to Open EXE Files on Mac via WineBottler
WineBottler is a versatile and user-friendly application that allows Mac users to run Windows applications seamlessly without needing a virtual machine or a complete Windows installation. It achieves this by encapsulating the Windows application into a standalone macOS application, making it accessible and easy to use. Follow the step-by-step guide below to open EXE files on your Mac using WineBottler:
- After installation, open WineBottler from your Applications folder. The first time you launch the application, setting up some necessary components may take a moment.
- In the WineBottler main window, click on the "Advanced" tab and select the option "Install Predefined Prefixes." This step is crucial as it ensures compatibility with various Windows applications.
- With the predefined prefixes installed, return to the main WineBottler window and click the "Create Custom Prefix" tab. You'll be prompted to choose the Windows executable (.exe) file you want to run on your Mac.
- WineBottler will ask you if you wish to install the selected application, copy it, or do both. Choose the appropriate option based on your preferences and the application's requirements.
- Click on the "Install" button, and WineBottler will set up the environment for your chosen Windows application. Once the installation is complete, the application will be available in your specified location during the setup.
-
Navigate to the location where WineBottler installed the application, and double-click on the macOS application file. It will launch the Windows application as if it were a native Mac application.

Way 2: How to Open and Run EXE Files on Mac via Boot Camp
How to open .exe files on mac? Boot Camp is a built-in utility provided by Apple that enables Mac users to install and run the Windows operating system on their Mac alongside macOS. It allows for a seamless transition between both operating systems, making it possible to run Windows applications, including EXE files, on your Mac. Follow the step-by-step guide below to set up Boot Camp and open EXE files on your Mac:
- Ensure that your Mac meets the system requirements for running Boot Camp. You can find this information on the official Apple support page or in the Boot Camp Assistant application.
- Before proceeding with Boot Camp installation, you should back up your important data. Partitioning your hard drive for Boot Camp involves modifying disk space, and there's always a risk of data loss.
- Boot Camp Assistant is pre-installed on your Mac. You can find it in the "Utilities" folder within the "Applications" directory. Open Boot Camp Assistant to start the setup process.
- Boot Camp Assistant will guide you through partitioning your hard drive. Allocate space for Windows, considering the storage requirements of the Windows version you plan to install.
- Insert a Windows installation disc or use an ISO file to install Windows on the partitioned space. Follow the on-screen instructions the Boot Camp Assistant provided to complete the installation process.
- After Windows is installed, your Mac will restart, and you'll be prompted to set up Windows. Follow the Windows setup process, including creating a user account and selecting system preferences.
- Once Windows is up and running, you'll need to install Boot Camp drivers to ensure that all hardware components of your Mac work seamlessly with Windows. Boot Camp Assistant will prompt you to do this.
- After completing the setup, you'll be prompted to choose between macOS and Windows each time you start your Mac. It allows you to run either operating system based on your needs.
-
In the Windows environment, you can install and run EXE files as you would on a standard Windows PC. Download or copy the desired EXE file, double-click on it, and follow the installation instructions for the Windows application.

Way 3: How to Open EXE Files on Mac Using Parallels Desktop
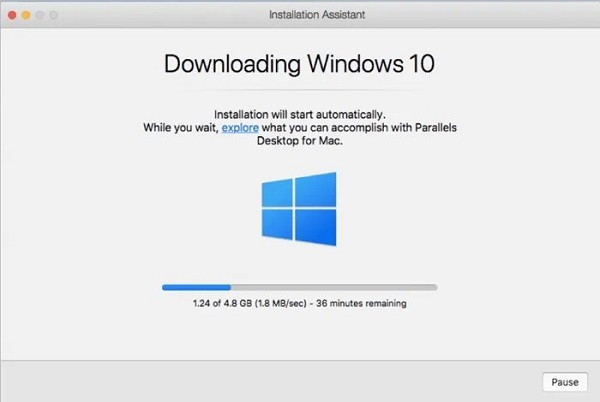
Parallels Desktop is a powerful virtualization software that allows Mac users to run Windows alongside macOS without rebooting. It means you can seamlessly switch between operating systems and run Windows applications directly on your Mac desktop, including those in the EXE format. Follow the step-by-step guide below to set up Parallels Desktop and open EXE files on your Mac:
- Open Parallels Desktop and click the "+" icon to create a new virtual machine. Parallels Desktop supports various operating systems, including different versions of Windows. Choose the Windows version you want to install and click "Continue."
- Parallels Desktop will guide you through installing Windows on the virtual machine. You can use a Windows installation disc or an ISO file. Follow the on-screen instructions to complete the Windows installation.
- Before starting the virtual machine, you can customize its settings, including the amount of allocated RAM, the number of CPU cores, and the size of the virtual hard disk. Adjust these settings based on the requirements of the Windows applications you plan to run.
- After Windows is installed on the virtual machine, Parallels Desktop will prompt you to install Parallels Tools. This set of utilities enhances the integration between macOS and the virtualized Windows environment, providing features like seamless mouse integration and better graphics performance.
- With Parallels Desktop, you can install and run Windows applications, including EXE files, on your Mac. Download or copy the desired EXE file, double-click on it, and follow the installation instructions for the Windows application.
-
Parallels Desktop allows you to seamlessly switch between macOS and the virtualized Windows environment. You can run Windows applications alongside your Mac applications, providing a truly integrated experience.

Part 4: FAQ
Q 1: Why do .exe files not open on Mac?
By default, macOS does not support the execution of Windows EXE files due to the different architectures of the operating systems. To open EXE files on Mac, you must use third-party tools like WineBottler, Boot Camp, or Parallels Desktop.
Q 2: How do you extract an EXE file on a Mac?
EXE files are typically executable files designed for Windows. However, if an EXE file contains compressed or archived data, you can use file archiving software compatible with macOS, such as Unarchiver or Keka, to extract the contents.
Q 3: Can My Mac Run Windows EXE?
Your Mac can run Windows EXE files using methods like WineBottler, Boot Camp, or Parallels Desktop. These tools create a compatible environment on your Mac, allowing you to run Windows applications seamlessly.
Conclusion
How to open a exe file on mac? Opening EXE files on your Mac is manageable with the right tools and methods. Whether you choose WineBottler for a lightweight solution, Boot Camp for a dual-boot setup, or Parallels Desktop for virtualization, each technique has advantages. Additionally, the bonus tip on using 4DDiG Mac Data Recovery ensures that even if you accidentally lose EXE files, you have a reliable solution to recover them. Embrace the versatility of your Mac by exploring these methods and breaking down the barriers between macOS and Windows applications.


 ChatGPT
 Perplexity
 Google AI Mode
 Grok
Grok

