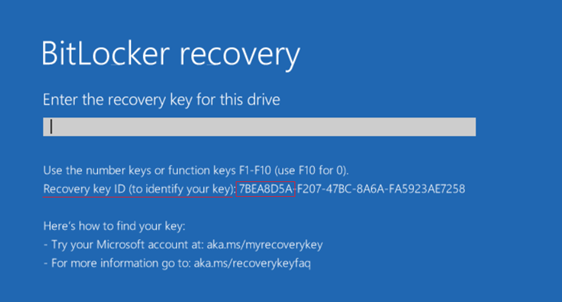
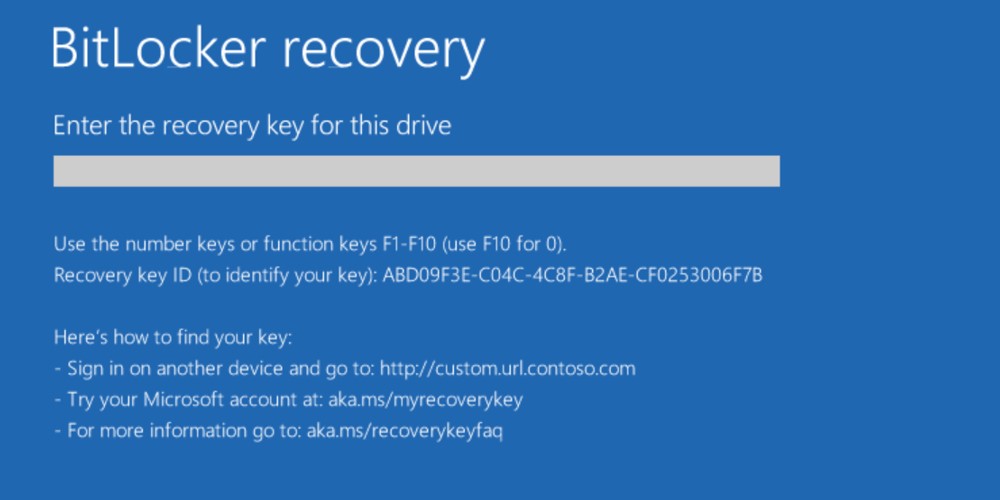
How to Fix BitLocker Keeps Asking for Recovery Key in 8 Ways? FREE DOWNLOAD FREE DOWNLOAD BUY NOW William Bollson 5 mins read Updated on 2026-07-15 11:12:16 to Windows Fix You May Also Like How to Get BitLocker Recovery Key Without Microsoft Account? What Is & How to Bypass Dell BitLocker Recovery Key? [Tutorial] How to Fix Bitlocker Recovery Screen [2026 Newest] How to Bypass BitLocker Recovery Key? How to Fix If You Have Lost BitLocker Recovery Key? [2026] BitLocker Could Not Be Enabled? Causes and Fixes! Home >> Windows Fix >> How to Fix BitLocker Keeps Asking for Recovery Key in 8 Ways?