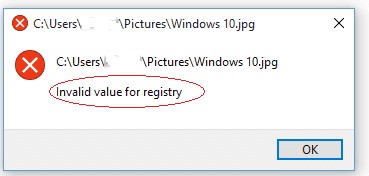
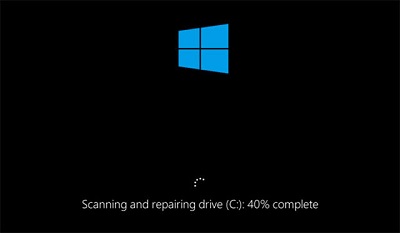
Scanning and repairing regularly get stuck when the PC is attempting to boot. It very well may be brought about by the PC being inaccurately closed down, or the hard drive may have bad sectors or numerous different reasons. A few Windows 10 users have detailed that the Windows scanning and repairing cycle stuck for minutes or even hours. Furthermore, when sometimes they power on PC, they receive the scanning and repairing drive stuck message. If you get the scanning and repairing drive blunder on your Windows 10, relax, you can fix it with the techniques in this guide.
- Bonus: Boot and Recover Data from Computer Stuck in Scanning and Repairing HOT
- Fix 1: Check the Drive Status
- Fix 2: Use Windows Error Checking Tool
- Fix 3: Wait for the Completion of Scanning and Repairing
- Fix 4: Disable Automatic Repair
- Fix 5: Disable Fast startup Feature
- Fix 6: Disable Check Disk on Booting
- Fix 7: Run SFC Utility
- Fix 8: Enter Safe Mode and Run CHKDSK
- Fix 9: Run System Restore
- Fix 10: Reinstall System
Part 1: Overview of Scanning and Repairing Drive Stuck
Scanning and repairing drives may become stuck for certain Windows 10 clients when they attempt to boot their PC; in some cases, it would even be stuck for a few minutes or maybe hours. Different reasons might have caused the "scanning and repairing drive stuck at 100" issue. For instance:
- You didn't close down your computer the right way, like a forced closure or a power loss during usage.
- The hard drive may have bad sectors on it.
- Your PC might be under a virus attack.
- Your device drivers have incorrect configurations.
Bonus: Boot and Recover Data from Computer Stuck in Scanning and Repairing
Hopefully, the above methods will help you fix the scanning and repairing stuck issue. However, there may be instances where the C drive (the system disk) is significantly damaged and you are unable to boot into Windows despite attempting all of the repairs. You'll need bootable data recovery software like Tenorshare 4DDiG data recovery with bootable USB media to recover all of the files from the non-working PC.
Some highlights of the 4DDiG data recovery include:
- Boot and recover data from crached computer
- Compatible with over 2000 file types and file systems, including photos, video, documents, audios and others.
- Support to extract data from flash drives, hard drives, memory cards, digital cameras, and camcorders, among other storage devices.
- Recover any lost or deleted data from Windows/Mac
- Our data recovery success rates are among the best in the industry, with data recovered from a variety of data loss circumstances.
To recover unbootable laptop with 4DDiG, prepare yourself with the following stuffs before data recovery from crash computer: another working computer, a blank USB drive of more than 1.5G or CD/DVD.
Secure Download
Secure Download
- Connect USB drive and Select
- Create a Bootable Drive
- Boot Crashed Computer and Recover Data
Launch 4DDiG software on your computer and get your USB flash drive well connected. Choose Recover from Crash Computer from the home interface and then click on Scan to proceed.
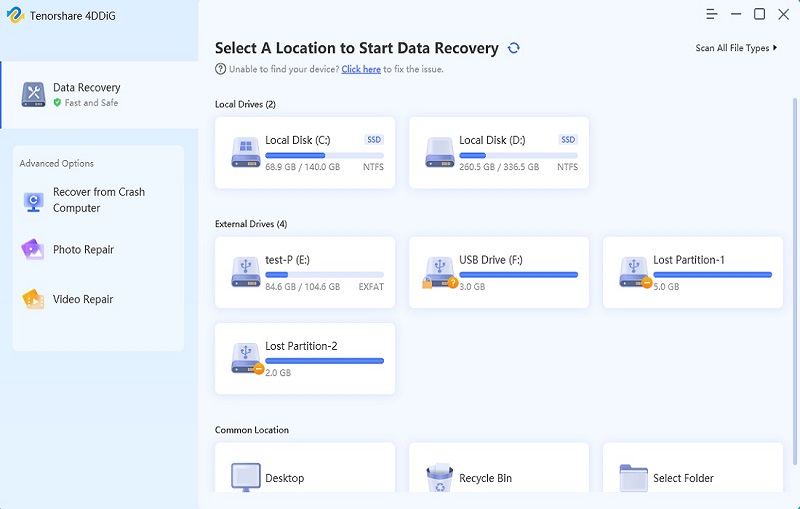
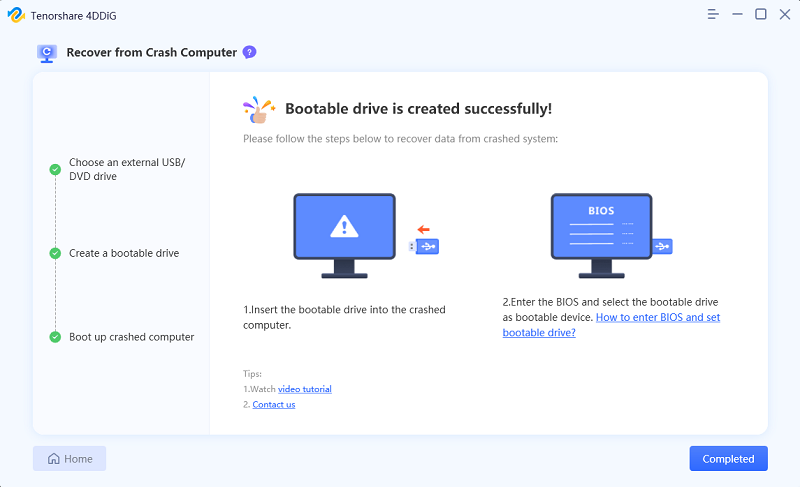
Choose an external USB/DVD drive to create a bootable drive then click on Create. After a while, the bootable drive will be created successfully and then you can turn to your crashed computer to start data recovery.

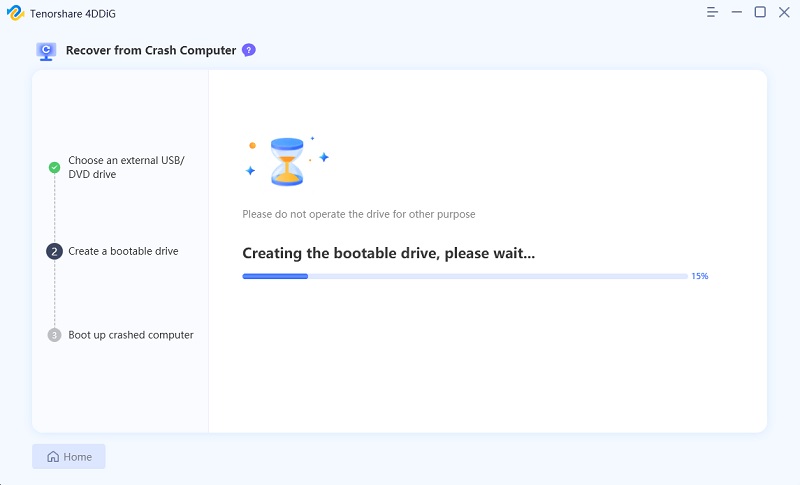
Insert the USB flash drive or CD/DVD drive into the crashed computer then restart your device. Afterwards, you would see the computer brand logo on the screen, then press the corresponding key until you get into your device's BIOS settings.After you enter the BIOS, switch to the boot tab using the arrow keys and select boot device. Then your crashed system will start loading files and please wait patiently for the configuration. Now 4DDiG will be launched automatically and you can select a location to start recovering data.
Secure Download
Secure Download
Part 3: How Do I Fix Scanning and Repairing Drive Stuck in Windows 10?
Fix 1: Check the Drive Status
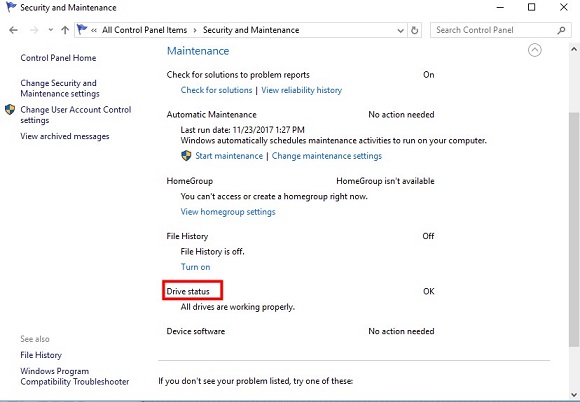
If there are issues with the drive, Windows will identify it and permit you to sweep and fix it by looking at the drive status.
Step 1: From Control Panel, go to Security and Maintenance.
Step 2: Click Maintenance, and under Drive status, you might see issues recorded here and a link to fix them.
Fix 2: Use Windows Error Checking Tool
Step 1: Go to the File Explorer and explore Devices and Drives.
Step 2: Right-click the drive that Windows is scanning and repairing and click Properties.
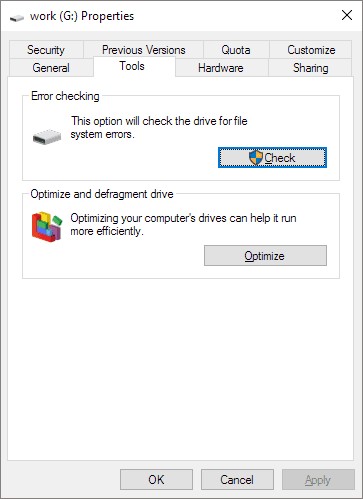
Step 3: Open the Tools tab and snap the Check button under Error-checking.
Step 4: Windows will observe errors and then click Repair Drive to fix them.
Step 5: If no mistakes are found, the following screen prompts. Click Scan drive to fix it.
Step 6 : Reboot your PC and verify whether the scan and repair drive stuck issue is settled.
Fix 3: Wait for the Completion of Scanning and Repairing
What amount of time should scanning and repairing the drive require? That depends. Assuming there is a minor issue on the drive that cycle won't take long. Nonetheless, it might need hours for the "Scanning and repairing drive" to finish if the drive is in poor condition.
Fix 4: Disable Automatic Repair
Step 1: Press the power button to turn on the PC and when you see the Windows logo, hold down the power button again to switch off the PC. Repeat it twice.
Step 2: Turn your PC on, and don't interfere with it this time. Then, at that point, you will see your PC in WinRE.
Step 3: Go to Troubleshoot > Advanced options from the "Choose an option" screen.
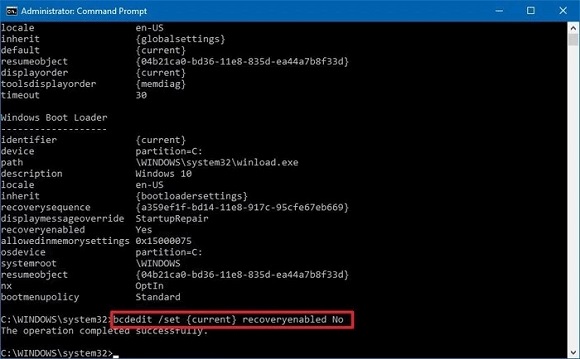
Step 4: Open the Command Prompt and enter “bcdedit” and remember the values of "identifier" and "recoveryenabled." Generally, it's "{current}" and "Yes."
Step 5: Disable Automatic Repair by entering bcdedit/set {current} recoveryenabled no.
Step 6 : Restart your PC.
Fix 5: Disable Fast Startup Feature
Step 1: Right-click the Start button and go to Search.
Step 2: Click on “Power Options” once you have opened Control Panel.
Step 3: Click on the option “Choose what the power buttons do.”
Step 4: Click "Change settings that are currently unavailable."
Step 5: Untick the Turn on quick startup (suggested) option and save changes.
Fix 6: Disable Check Disk on Booting
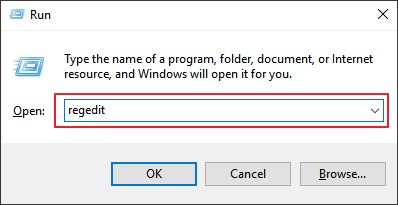
Step 1: Boot your PC in Safe Mode and type “regedit” the Run dialog box.
Step 2: Go to the Session Manager and click BootExecute.
Step 3: Then, at that point, in the spring-up window, change the Value data to autocheckautochk/k:C * and tap OK.
Step 4: Restart your PC to check whether it tackled the Windows 10 scanning and repairing drive stuck at 100 issues.
Fix 7: Run SFC Utility
Step 1: Open command prompt as admin.
Step 2: Run “sfc/scannow” to check and get back the corrupted system files.
Step 3: Sfc utility will examine your framework for such files, and if found, it will restore them from the %WinDir%\System32\dllcache folder.
Fix 8: Enter Safe Mode and Run CHKDSK
Step 1: Press the power button to turn on the PC and when you see the Windows logo, hold down the power button again to switch off the PC. Repeat it twice.
Step 2: Turn your PC on, and don't interfere with it this time. Then, at that point, you will see your PC in WinRE.
Step 3: Go to Troubleshoot > Advanced options from the "Choose an option" screen.
Step 4: Click Startup Settings, then tap Restart and press F5
Step 5: Open This PC, right-click the drive that scanning and repairing drive stuck at 0, then, at that point, pick "Properties >Tools> Check.
Fix 9: Run System Restore
Step 1: Press and hold the Power button to constrain the PC to close down multiple times, and you will enter Windows Recovery Environment.
Step 2: Next, go to Troubleshoot > Advanced options.
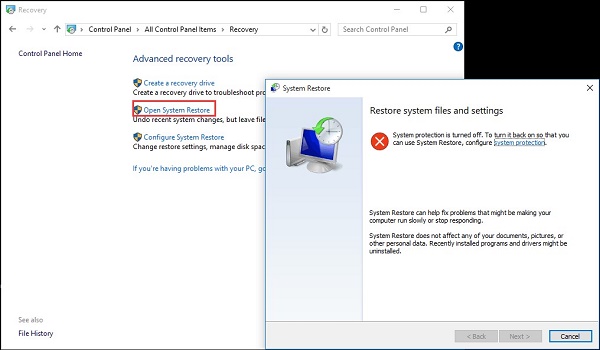
Step 3: From there, click “System Restore” and tap “Next” to pick a system restore point.
Step 4: Click “Finish” to proceed.
Fix 10: Reinstall System
Step 1: Go to Settings > Update and Security and click on Recovery.
Step 2: A message, inquiring you to whether switch applications to Windows Security will show up. Click “Yes.”
Step 3: The Fresh Start option will appear.
Step 4: Tap on the Get Started button and then the "Next" button.
Step 5: That will delete all the applications that are not associated with Windows 10.
Step 6: Click “Next” to download the most recent version of Windows 10. Install the Windows, and your scanning and repairing drive stuck at 10 percent issue will resolve.
FAQs about Scanning and Repairing
1. How long should scanning and repairing the drive take?
Assuming your PC is currently scanning and repairing drive how long, that interaction will take more than 2 hours, relying upon the size of your drive and problems found. It commonly quits refreshing around 10 or 11% and out of nowhere leaps to 100 when done.
2. How do I bypass scanning and repairing drive C?
To bypass scanning and repairing of drive C, boot your computer in safe mode and run the system file checker utility as mentioned above. That will help complete the system scanning and repairing.
3. How do I disable scanning and repairing drive C every time Windows 10 starts?
To disable scanning and repairing drive C, you can employ one of the following techniques:
- Run a CHKDSK scan in Safe Mode
- Use Windows Error-checking tool
- Open Safe Mode and run the Repair-Volume-DriveLetter command
- Check the drive status
Summary
Scanning and repairing drive stuck consistently recommends problems with your disk. The arrangements are visible: either fix the errors or let Windows skip them. Determine your issue and select the most suitable fix from above. We hope that one of the strategies above could be valuable to eliminate the error from your device. By the way, try Tenorshare 4DDiG to boot and recover data before fixing the issue.
 ChatGPT
 Perplexity
 Google AI Mode
 Grok
Grok

