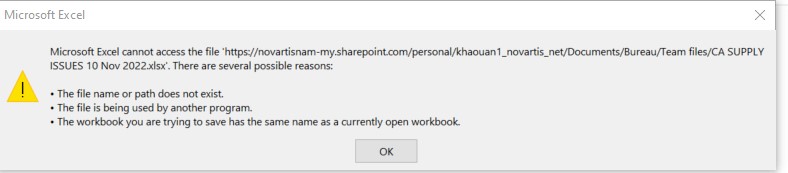
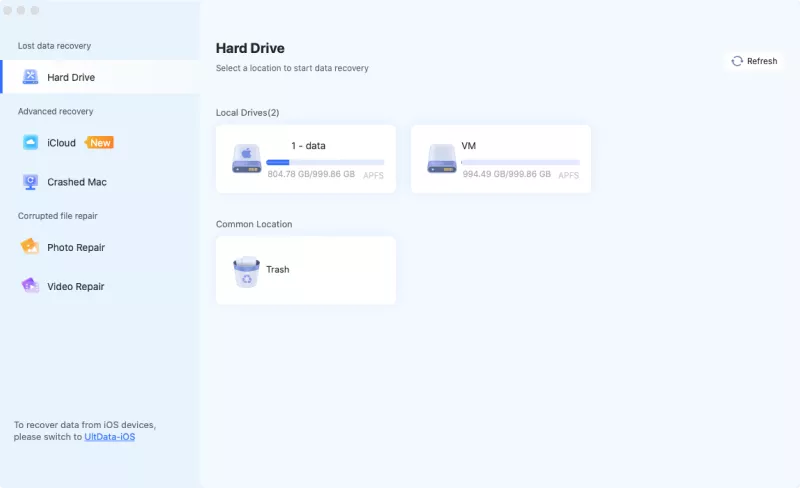
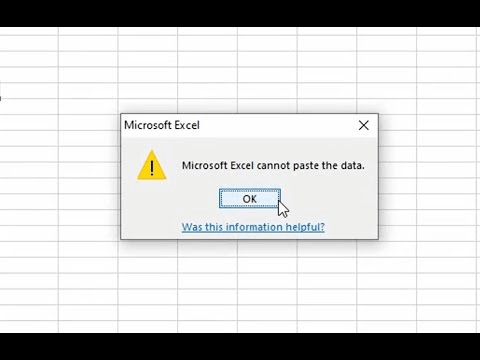
How to Turn on AutoSave in Excel

5 mins read

Updated on 2024-04-17 15:11:41 to Office Recovery

How to turn on autosave in excel? Microsoft Excel is a powerful tool used by millions for data analysis, calculations, and presentations. Whether you're a seasoned professional or a student working on a project, the importance of data integrity cannot be overstated. Accidents happen, and files can get deleted or corrupted, leading to the potential loss of crucial information. It is where AutoSave comes to the rescue. How to open autorecover excel? In this article, we'll explore the significance of turning on AutoSave in Excel and discuss the two best methods to enable this feature. Additionally, we'll delve into the process of recovering deleted Excel files, shedding light on an effective solution. Let's embark on a journey to safeguard your Excel data and ensure a seamless work experience.

Part 1: Why Do You Turn on AutoSave in Excel

AutoSave is a feature designed to automatically save your work at regular intervals, reducing the risk of losing data due to unexpected interruptions. It could be a system crash, power outage, or even accidental closure of the Excel application without saving changes. By enabling AutoSave, you create a safety net that ensures your progress is consistently saved, providing peace of mind and minimizing the chances of data loss. In a fast-paced work environment, where time is of the essence, AutoSave becomes a valuable ally, allowing you to focus on your tasks without the constant worry of losing your work.

Part 2: How to Recover Deleted Excel Files

How to turn on autosave in excel 365? Despite preventive measures like AutoSave, there might be instances where Excel files are accidentally deleted or become corrupted. In such cases, a reliable data recovery tool can be a lifesaver. One such tool is 4DDiG Windows Data Recovery. This powerful software specializes in recovering deleted Excel files, from various storage devices. With a user-friendly interface and advanced recovery algorithms, 4DDiG stands out as a preferred choice for many users.

  • Comprehensive Recovery: 4DDiG supports the recovery of various file types, ensuring a comprehensive solution for all your data recovery needs.
  • User-Friendly Interface: The intuitive interface makes it easy for both beginners and experienced users to navigate through the recovery process effortlessly.
  • Versatility: Whether your data loss is due to accidental deletion, formatting, system crash, or other reasons, 4DDiG is equipped to handle diverse scenarios.
  • Preview Before Recovery: The software allows you to preview recoverable files before initiating the recovery process, ensuring you only restore the data you need.
FREE DOWNLOAD

Secure Download

FREE DOWNLOAD

Secure Download

To utilize 4DDiG Windows Data Recovery, follow these steps:

  • Select Local Disk
    Upon installing and launching 4DDiG, navigate to the Data Recovery section. Choose your local disk and initiate the scan by clicking Start. Optionally, tailor the process by selecting specific file types from the options in the upper-right corner.

    select local disk
  • Scan the Local Disk
    4DDiG quickly scans the chosen drive, locating missing data. Pause or stop the scan anytime. The intuitive interface categorizes files for easy identification, and File View provides a detailed look at specific file types.

    tree-view
  • Preview and Recover
    For a quick and secure data recovery with 4DDiG, identify target files, preview for accuracy, and recover to a different partition for data safety.

    save-recovered-files

Part 3: How to Turn on AutoSave in Excel Windows 10

How to turn on autosave in excel? Enabling AutoSave in Excel on Windows 10 is a straightforward process that can significantly enhance your data protection. Microsoft has incorporated this feature seamlessly into the application, providing users with a convenient way to safeguard their work. Here's a step-by-step guide to turning on AutoSave in Excel on Windows 10:

  • Launch the Excel application on your Windows 10 computer. If you don't have Excel installed, you can download and install it from the official Microsoft website or use the Microsoft 365 subscription.
  • Click on the "File" tab located in the top-left corner of the Excel window. It will take you to the Backstage view, where you can access various file-related options.
  • In the Backstage view, you will find a list of options on the left side. Choose "Options" at the bottom of the list. This action will open the Excel Options window, allowing you to customize various settings.
  • Within the Excel Options window, navigate to the "Save" tab on the left-hand side. This tab contains settings related to saving and AutoSave.
  • Look for the option that says "AutoSave OneDrive and SharePoint Online files by default on Word." Check the box next to this option to enable AutoSave for your Excel files. This specific setting is designed to automatically save files to OneDrive or SharePoint, ensuring your work is backed up in the cloud.
  • You can optionally adjust the time interval for AutoSave. The default setting is every 10 minutes, meaning Excel will save your work automatically every 10 minutes. If you want a more frequent or less frequent interval, you can customize it according to your preferences.
  • Once you've made your selections and configured AutoSave to your liking, click the "OK" button at the bottom of the Excel Options window. This action saves your changes and exits the window.
  • By following these steps, you have successfully turned on AutoSave in Excel on Windows 10.

    turn on autosave

Part 4: How to Turn on AutoSave in Excel Mac

How to open autorecover excel? Enabling AutoSave in Microsoft Excel on a Mac is a straightforward process, mirroring the user-friendly approach adopted by Microsoft across different platforms. By turning on AutoSave, you ensure that your Excel files are regularly saved, reducing the risk of data loss in case of unexpected events. Here's a step-by-step guide to activating AutoSave in Excel on Mac:

  • Launch the Excel application on your Mac. If you don't have Excel installed, you can download it from the official Microsoft website or use a Microsoft 365 subscription.
  • Click on "Excel" in the top-left corner of the screen. From the dropdown menu, select "Preferences." This action will open the Preferences window, where you can customize various settings related to Excel.
  • Within the Preferences window, find and click on the "Save" tab. This tab contains settings related to saving files, including the option to enable AutoSave.
  • Look for the option that says "AutoSave OneDrive and SharePoint Online files by default on Word." Check the box next to this option to activate AutoSave for your Excel files.
  • Similar to the Windows version, this setting is designed to automatically save files to OneDrive or SharePoint, providing cloud backup.
  • You can optionally adjust the time interval for AutoSave. By default, Excel on Mac is set to save your work every 10 minutes. If you prefer a different interval, you can customize it based on your needs.
  • Once you've made your selections and configured AutoSave to your preferences, click the "OK" button. This action saves your changes and closes the Preferences window.

    turn on this feature mac

Part 5: FAQ

Q 1: Why is AutoSave turned off in Excel?

AutoSave might be turned off in Excel for various reasons. One common scenario is when working on files stored locally instead of OneDrive or SharePoint. AutoSave is designed to work seamlessly with cloud storage, and if the document is not saved in these locations, the feature may be disabled. Additionally, if you are using an older version of Excel, AutoSave might not be available. Updating to the latest version can resolve this issue.

Q 2: How do I see AutoSave in Excel?

To see the AutoSave status in Excel, look at the top-left corner of the document. If AutoSave is enabled, you will see "AutoSave" followed by the file name. Additionally, a small icon with a green checkmark indicates that the document is being automatically saved.

Q 3: How do I change my AutoSave settings in Office 365?

To change AutoSave settings in Office 365, follow these steps:

  • Open the document in Office 365.
  • Click on the "View" tab in the ribbon.
  • Toggle the AutoSave button to turn the feature on or off.
  • If you want to adjust the time interval, click on the "File" tab, select "Info," and choose "Save As" to access the AutoSave settings.

Conclusion

How to turn on autosave in excel 365? Turning on AutoSave in Excel is a crucial step in ensuring the safety and integrity of your data. Accidents happen, and having a safety net in place can prevent potential setbacks caused by data loss. In this article, we explored the significance of AutoSave and provided two effective methods for enabling it in Excel on both Windows and Mac platforms. Additionally, we discussed the importance of data recovery tools and introduced 4DDiG Windows Data Recovery as a reliable solution for retrieving deleted Excel files. By combining preventive measures like AutoSave with robust recovery tools, you can create a resilient data management strategy, safeguarding your work from unexpected challenges. Stay proactive, implement these measures, and enjoy a seamless and secure Excel experience.

William Bollson (senior editor)

William Bollson, the editor-in-chief of 4DDiG, devotes to providing the best solutions for Windows and Mac related issues, including data recovery, repair, error fixes.

(Click to rate this post)

You rated 4.5 ( participated)