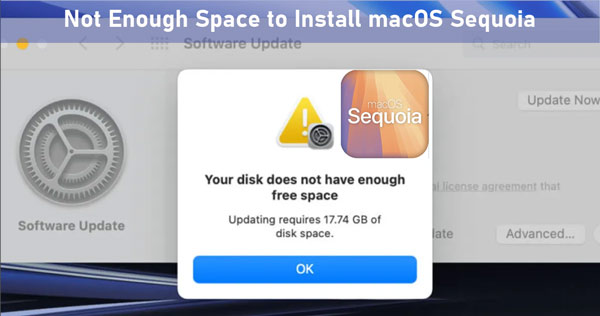
Fixing External Drives Not Mounting on Mac Sequoia
Apple recently released its 21st macOS operating system with a plethora of new features. Though it's quite impressive, like any other Apple release, it does cause issues, like Mac Sequoia external drives not mounting and more.
Have you installed macOS Sequoia and now can't mount external drive on Mac? Don't worry, as you are not the only one facing this issue. Multiple users have reported the hard drive being greyed out, the external drive not showing up in Disk Utility, and more such issues. Luckily, there are several quick and easy fixes for Mac Sequoia external drives not mounting. Let’s dive into this comprehensive guide to have a look at them!
Part 1: Why External Drives May Not Mount on Mac Sequoia?
Before jumping onto fixes, it’s necessary to understand the core cause behind external drives not mounting on Mac Sequoia. These include:
- Software Compatibility Issues: If the external drive uses a file system that isn’t natively supported by Mac (such as NTFS), the drive might not appear. Outdated drivers or software conflicts can also cause this issue.
- Corrupted Drive: A corrupted drive can also be the culprit. When the Mac detects that the drive’s data is corrupted or the partition is damaged, it might refuse to mount it to prevent further issues.
- Connection Problems: Loose or faulty connections can lead to a drive not being recognized. This could be due to damaged USB cables, faulty USB ports, or improperly inserted connectors.
- Insufficient Power: Some external drives, particularly larger ones, require more power to operate than what a single USB port can provide. If the drive doesn’t receive enough power, it might not turn on or mount properly.
Part 2: How to Fix macOS Sequoia External Drive Not Mounting? (3 Methods)
By now, you have explored the basic reasons why Mac Sequoia external drives not mounting. Let’s now hop onto the solutions!
Method 1. Use Disk Utility to Mount the Drive
You can use Disk Utility to mount your external hard drive if and only if it’s formatted with a file system, like exFAT, APFS, FAT32, or Mac OS Extended (Journaled). Here's how you can do that:
Navigate to Disk Utility and select your disk from the list appearing in the left bar.
Hit the Mount button to mount it.

Method 2. Repair the Drive Using Disk Utility
If you are still facing Mac Sequoia external drives not mounting issues, we recommend using First Aid to repair them. First Aid will scan your disk, spot the issues, and auto-fix them. Here is how you can make it happen:
Navigate to Disk Utility on your Mac and select View > All Devices.

Choose the external hard drive that you want to mount and hit First Aid.
Note: Wait patiently until the scan terminates and repeat the repair process with the next partition until the physical disk is fixed.
Method 3. Reformat the Drive (Last Resort)
If none of the above solutions have resolved Mac external drive won't mount issue, you will have to reformat the drive as a last resort. However, reformatting will erase all the data on the disk. So, things might get difficult for you if you haven't created a backup already. You will then need to use data recovery tools to retrieve your lost data. Sticking to the reformatting of drive, here is how you can do that:
Launch the Disk Utility app on your Mac and choose View > Show All Devices.
Navigate to the sidebar, select the drive that you want to reformat, and click the Erase button.

Hit the Scheme pop-up menu and select GUID Partition Map.
Now, hit the Format pop-up menu and select a file system format.
Type in the name.
Choose Erase > Done.
Part 3: How to Get Data Back When Fixing External Drives Not Mounting on Mac Sequoia?
As mentioned earlier, reformatting the external drive will erase all its data, and you will need to rely on third-party platforms to retrieve it. If you are in search of the most reliable 3rd party data recovery software, we recommend getting your hands on the 4DDiG for data recovery.
4DDiG for data recovery is specifically designed to recover lost data from multiple devices, including Mac, SD cards, external devices, etc. With it, you can recover 2000+ file types, including photos, documents, audio, and videos. Here is how you can use this platform for retrieving lost data from a reformatted hard drive:
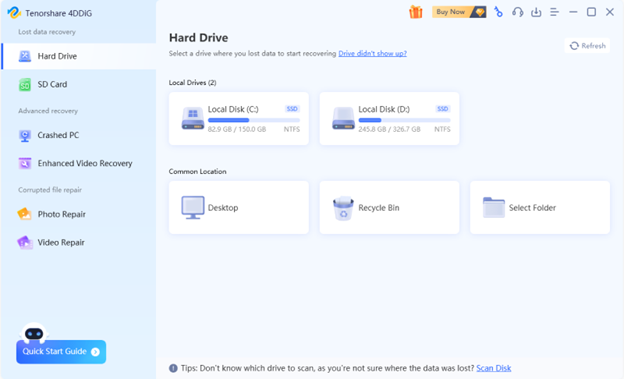
Download and install 4DDiG for data recovery from the official site. Once done, launch it and select the target drive from the main interface. Now, hit Scan to begin the scanning process.

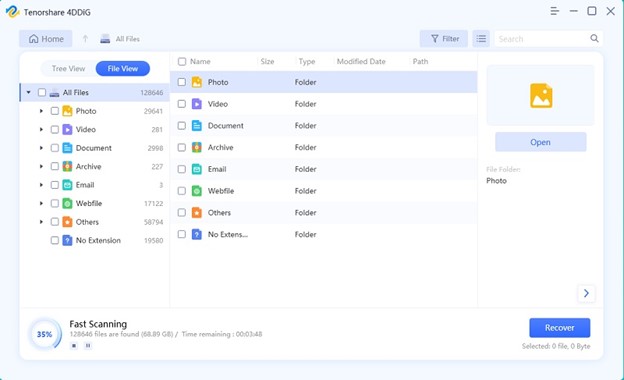
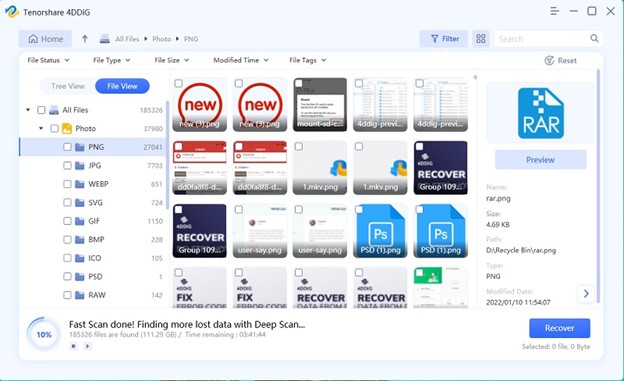
4DDiG will offer a categorized view of the recovered files. This includes RAW files, deleted files, tag files, existing files, etc. To search specifically for images, you can use the File View option. You can also pause or stop the scan if you have already found the desired file.

Once scanning terminates, you can preview the desired files and select the one that you wish to retrieve. Ensure that recovered files are saved in a different location to avoid any overwriting of original data.

Final Words
Mac Sequoia external drives not mounting issue is a common issue faced by the majority of users who installed the new macOS version. However, by relying on the solutions discussed in this guide, you can surely resolve this issue. Ones tending to reformat the drive will most probably lose their data. They can rely on 4DDiG for data recovery to recover their desired files. Hope you found this info helpful. Stay tuned for more of such informative guides.
💡 Summarize with AI:
You May Also Like
- Home >>
- Mac Recovery Solutions >>
- Fixing External Drives Not Mounting on Mac Sequoia


 ChatGPT
 Perplexity
 Google AI Mode
 Grok
Grok

