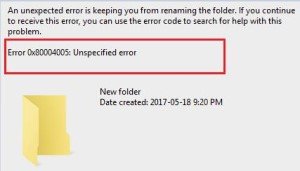
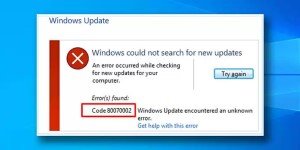
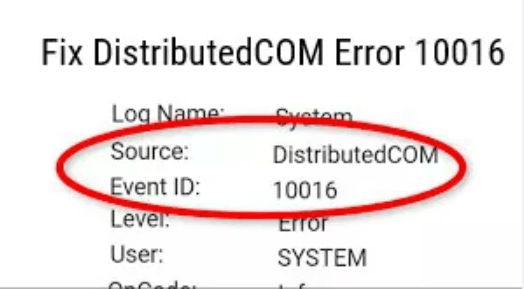
The DCOM Error 10016 on windows 10/11 is a very common problem among users, problematic in the sense that it does not go away even after upgrading. This error has proven to be troublesome and annoying to deal with, even though it is not known to cause any severe damage to the operating system. The DCOM error is very much fixable and showing you how to do so is the primary objective of this article. But first, let’s take a look at what distributedCOM error 10016 is and what is responsible for it.
Part 1: Distributedcom Overview
What is Distributedcom?
The DistributedCOM also known as DCOM (Distributed Component Object Model) is a vital aspect for facilitating a set of protocols that allows internetworking between programs on computers with the Windows operating system. Widely accepted as a patent technology developed by Microsoft, it kick-starts when an application is hooked up to the World Wide Web. The Distributed Object Model is capable of accessing the information on RAS (remote access servers) unlike the traditional COM, only capable of accessing information stored in the same machine.
What Cause Distributedcom Error 10016?
The distributedCOM error 10016 server 2016 is by design and occurs when Microsoft components attempt to issue a request through the Distributed Object Model without the required permission to do so. However, it is safe to ignore a distributedCOM error as they don’t in any way disrupt the functionality of your system. Although these errors could be suppressed by a user, ignoring these events is the recommended action.
Part 2: How to Recover Data Due to Windows Distributedcom Error 10016?
While windows distributedcom event 10016 may not disrupt the functionality of your computer, applying certain fix methods without properly backing up your files may result in loss of valuable data or even crash your PC. If you find yourself battling with recovering lost files as a result of distributedCOM error 10016 windows 10 crash, there is a simple remedy that involves the use of third-party software. The recommended software for such scenarios is the Tenorshare 4DDiG data recovery software. The Tenorshare 4DDiG data recovery software works for all scenarios and below are its amazing features:
- It is capable of recovering over 2000 file types which include but are not limited to videos, audio, photos, and documents
- It is capable of recovering lost data as a result of corruption, virus attack, formatting, deletion, lost partition, virus attack, and other types of scenarios
- It can recover lost data from personal computers/laptops, SD cards, USB flash drives, external and internal drives, and others
With the help of the Tenorshare 4DDiG data recovery software, data recovery has never been this easy. Below are steps to guide you in your data recovery journey:
Secure Download
Secure Download
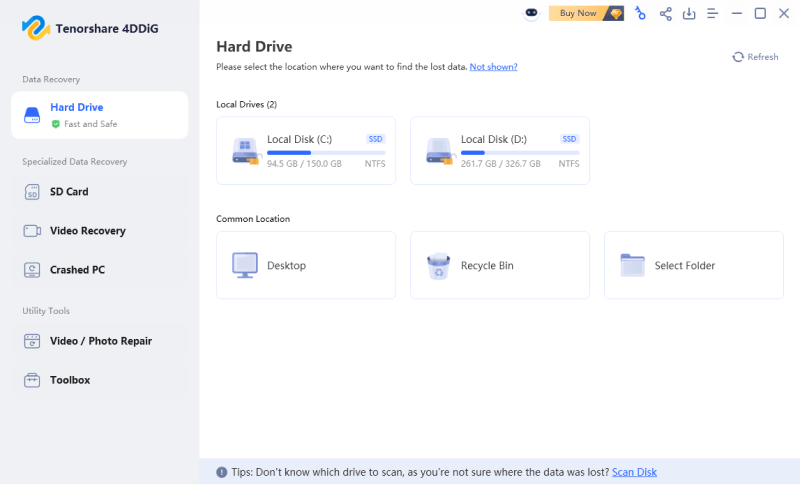
- Launch the Tenorshare 4DDiG data recovery software after installation. A home interface of the software will be displayed featuring Data Recovery and Advanced Options. You will be presented with a list of hard drives to choose from, select the local disk with lost data and then click on it to proceed. Alternatively, you can select the file type you wish to scan for in the upper-right corner before proceeding.
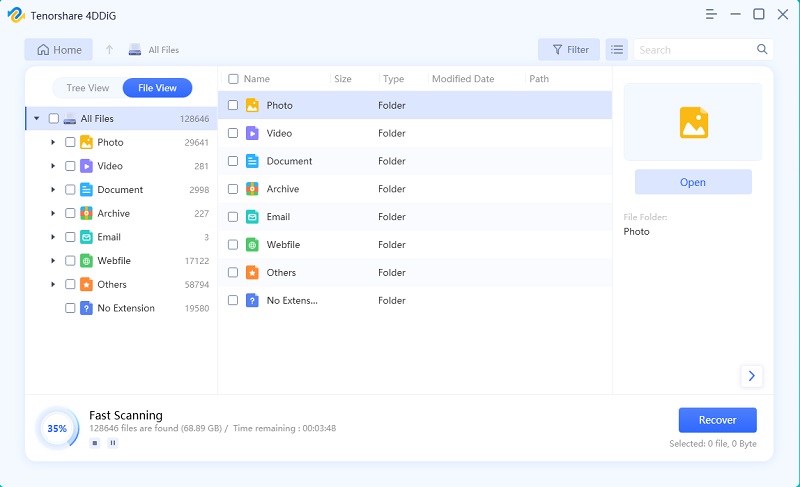
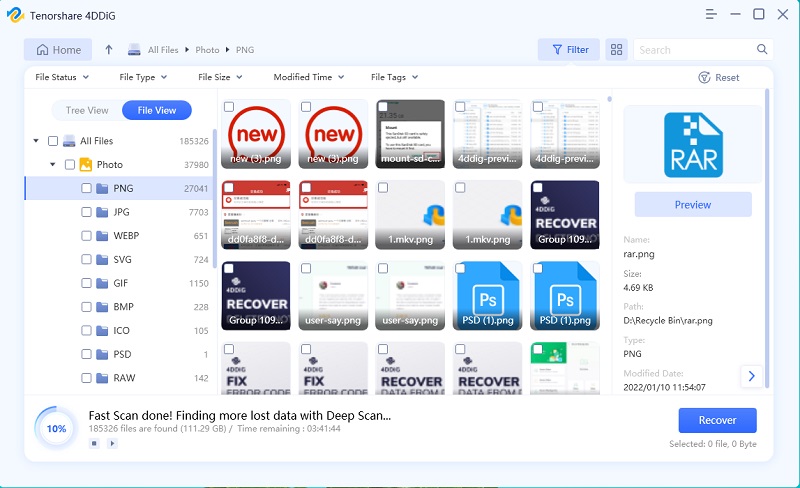
- While 4DDiG scans the selected directory for lost files, you could either stop or pause the process at any time if you’ve seen the file(s) you wish to recover. Using a filter will help narrow down your search result.
- Go through the scanned result and recover the lost files to a more secure location. Endeavor to not save the recovered lost files to the same location where you lost them.
Part 3: How to Fix the Distributedcom Error 10016 on Windows 10/11?
Because a computer free of errors is by far better and preferred than the latter, below are the best ways to fix the 10016 error in Microsoft-Windows-distributedCOM system server 2016.
Fix 1: Remove the Windows Registry Keys
Editing the Windows registry should be the first option when it comes to fixing the distributedcom event 10016. By simply removing some windows registry keys these error events could be avoided. However, before tampering with the registry backing up your windows is highly recommended. To do so:
Step 1: Key in ‘registry’ in the search bar located at the ‘Start menu’, then click on the best possible match.
Step 2: Navigate to File, then Export, in Export Range change to ‘All’, and then save to a secured location.
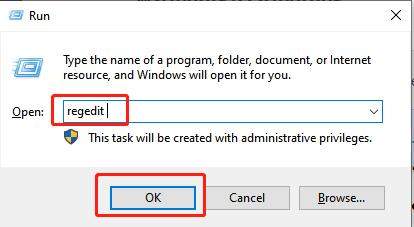
Step 3: Key in ‘regedit’ into the ‘Run’ popup after pressing ‘Windows + R’ keys.
Step 4: In the Registry Editor Address bar, copy and paste the following address – HKEY_LOCAL_MACHINE\SOFTWARE\Microsoft\Ole.
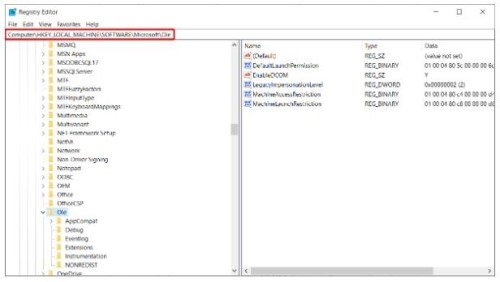
Step 5: Take out the below-listed keys in the registry: MachineLaunchRestriction, DefaultAccessPermission, MachineAccessRestriction, DefaultLaunchPermission.
Step 6: Terminate ‘Windows Registry Editor’ and then reboot your system.
Doing this should quickly fix the problem. But if it doesn’t you could try the next fix.
Fix 2: Turn On DistributedCOM Permissions for Particular Error
This fix is time-consuming and as such should be an alternative when deleting the above-mentioned registry keys does not suffice. In situations where there are distributedCOM errors from several individual applications, it will require repeating this process for each error, and of course, this will be time-consuming. Below are the steps to take in executing this fix.
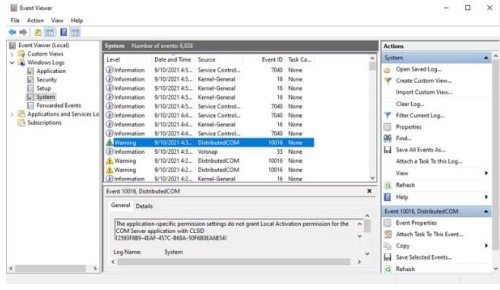
Step 1: Key in ‘Event Viewer’ in the search bar located at the ‘Start menu, then click on the best possible match. You can find information concerning a certain process or application responsible for event 10016 distributedcom in the Event Viewer.
Step 2: Identify the latest DCOM error by navigating to ‘Windows Logs - System’. Expand the error message by double-clicking on it. Under ‘General’ is where you will find detailed info on why you are having a event 10016 distributedcom, it features the Class ID (CLSID) and Application ID (APPID). Although these IDs look random, they can be used to spot which service or application is responsible for the distributedCOM error.
Step 3: Locate the Class and Application IDs. To do so you have to highlight and copy the Class ID, launch the regedit, and then search for this directory using the regedit address bar - HKEY_CLASSES_ROOT\CLSID\{your Class ID goes here}. Once the search is completed, cross-check the Application ID displayed to see if it matches that of the error message.
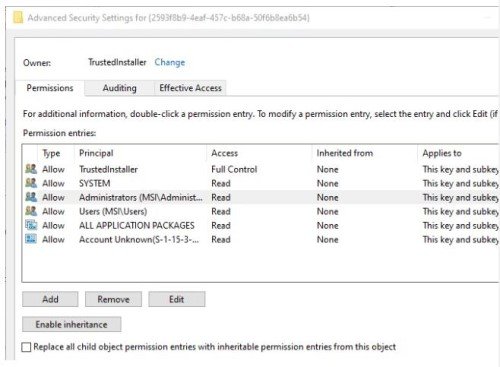
Step 4: Edit the Class ID permissions. On the list of entries on the left side of the screen is where you will find the Class ID responsible for the error, right-click on it and then set the ‘Permission’ to ‘Advanced’. Then click on ‘Edit’ after highlighting ‘Administrators…’ Edit the ‘Basic Permissions’ to allow ‘Full Control’, click on ‘Ok’ when you are done, then ‘Apply’, and ‘OK’. Reboot your computer after completing this step.
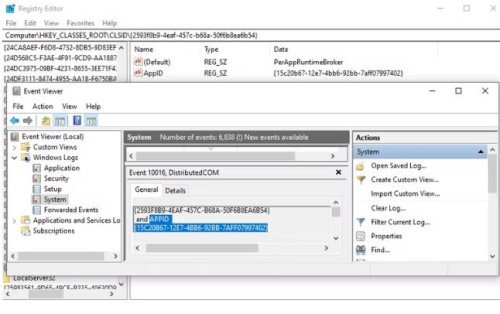
Step 5: After restarting your computer, key in ‘Component Services’ in the search bar located at the ‘Start menu’, then click on the best possible match. Navigate to ‘DCOM Config’ through ‘Computers – My Computer. Here you will find an extended list of services and applications that make use of the Distributed Object Model. Use the name and Application ID you identified in step 3 to locate the service. Right-click on it, and navigate to ‘Properties – Security’.
Step 6: Click on ‘Edit’, ‘Add’, Add a local Service’, and then ‘Apply’ under the ‘Launch and Activation Permissions’ tab. The ‘Local Activation’ box should be ticked when you hit ‘Ok’. Reboot your computer the second time when you are done.
Fix 3: Use Third-Party Repair Software
If the above-listed fixes are way beyond your capacity you can always opt-in for third-party software. There is software out there specifically designed for such problems the likes as error distributedCOM 10016. However, ensure you use the software you trust. Check for reviews and ratings before installing as it will increase your chances of getting a good one.
Part 4: What People Also Ask about DCOM Error
How to Fix the DCOM Error 10016 on Windows 11?
The DCOM error can be fixed using one of the following fixes; deleting the registry keys, turning on DCOM permissions for certain errors, and utilizing software specifically designed for fixing DCOM errors.
How to Fix Distributedcom Error 10005?
The distributedCOM error 10005 can be resolved through three easy methods which are; setting the server integrations services (SQL) to normal on both nodes, uninstall Microsoft SQL servers with the aid of third-party software, or ignoring the error as it is benign and has no effect on the operating system.
Conclusion
The distributedcom error 10016 fix on windows 11 is quite easy and does not require a user to be tech-savvy to do so. However, some fixes take longer than expected and as such, some users turn to third-party software which is also effective. Unforeseen circumstances such as data loss from implementing some fixes cannot be ruled out. In such scenarios, we recommend the use of the Tenorshare 4DDiG data recovery software to recover lost files.
 ChatGPT
 Perplexity
 Google AI Mode
 Grok
Grok

