Storage Sense in Windows 11: What It Deletes and How to Set It Up

5 mins read

Updated on 2026-11-03 17:45:07 to Windows Fix

Windows Storage Sense can free space automatically, but its cleanup rules deserve a look before you turn it on. It removes selected temporary files and older Recycle Bin items, can delete Downloads when configured, and can make OneDrive files online-only. This guide explains those differences and shows how to choose settings that fit the files you want to keep.

Storage Sense in Windows 11: What It Deletes and How to Set It Up
What Does Windows Storage Sense Delete?

Storage Sense is Windows' built-in automatic cleanup feature. It works on the system drive, usually C:, rather than cleaning every connected disk. These are the main categories to review:

Category What happens Setting to check
Temporary files Eligible system and app files are removed. Cleanup of temporary files
Recycle Bin Items beyond the chosen retention period are permanently removed. Days spent in the Recycle Bin
Downloads Files not opened for the selected period can be deleted. Choose Never to leave Downloads alone.
OneDrive content Eligible local copies become online-only; cloud files remain. Cloud retention and offline availability

A file you rarely open can still be important. Move downloads you want to keep into a suitable folder and include them in your backup before enabling Downloads cleanup.

How to Set Up Storage Sense in Windows 11

First, restore anything you still need from the Recycle Bin. These settings apply to your Windows account; other users on the PC manage their own settings. The screenshots show a Windows 11 example; labels and available cloud accounts can differ by version and device.

  • Open the Storage Sense Settings

    Press Windows + I, choose System > Storage, and select the Storage Sense row under Storage management. Open its settings before choosing cleanup rules.

    Windows 11 Storage settings with the Storage Sense row highlighted
  • Choose the Schedule and Retention Rules

    Enable Cleanup of temporary files and turn Automatic User content cleanup on. Under Run Storage Sense, choose low disk space, daily, weekly, or monthly cleanup.

    Set the Recycle Bin retention period to match how long you need to reconsider deletions. For Downloads, start with Never if you store important files there. The Downloads rule concerns how long files have gone unopened, rather than simply when they were downloaded.

    Windows 11 Storage Sense schedule and Recycle Bin and Downloads retention settings
  • Keep the OneDrive Files You Need Offline

    Under Locally available cloud content, review the period before inactive files become online-only. This releases the local copy while keeping the cloud file. To keep a particular file available offline, right-click it in File Explorer and choose Always keep on this device. Let it finish downloading before disconnecting.

    Cloud settings appear when you are signed into the relevant account. Check the displayed rule rather than assuming it matches someone else's PC. For help identifying file status, see what green check marks on desktop icons mean.

    Windows 11 Storage Sense cloud-content rule and Run Storage Sense now button
  • Run Cleanup and Check the Result

    Review the rules again, then select Run Storage Sense now. After it finishes, return to System > Storage and check available space. There is no fixed amount it will recover: the result depends on eligible content.

How to Turn Off Storage Sense or Stop Downloads Cleanup

Open Settings > System > Storage and switch Storage Sense off to stop automatic user-content cleanup. On its settings page, review the separate temporary-files checkbox if you also want to stop that cleanup.

To keep automatic maintenance while protecting Downloads, leave Storage Sense on and set the Downloads deletion menu to Never. Changes affect future cleanup; turning the feature off does not restore files already removed.

Why Is Storage Sense Not Freeing Much Space?

Check these conditions before repeatedly running it:

  • The files are on another drive. Open Advanced storage settings > Storage used on other drives to inspect that drive separately.

  • Files have not reached the retention threshold. A monthly schedule and a retention period control different things: when cleanup runs and which files qualify.

  • Most space belongs to apps or personal files. Review Cleanup recommendations or other ways to free disk space.

  • Automatic cleanup has not run yet. Check the schedule and try the manual button while signed in. On a managed PC, ask IT about enforced settings if controls are unavailable.

What to Do if Files Are Missing After Cleanup

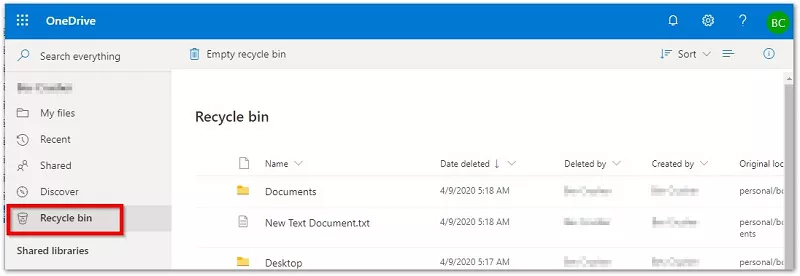
First identify whether the file was deleted or made online-only. For OneDrive files, sign into the correct account online and look for the original. If it is there, download it or use Always keep on this device. If it was deleted from OneDrive, check its web Recycle Bin.

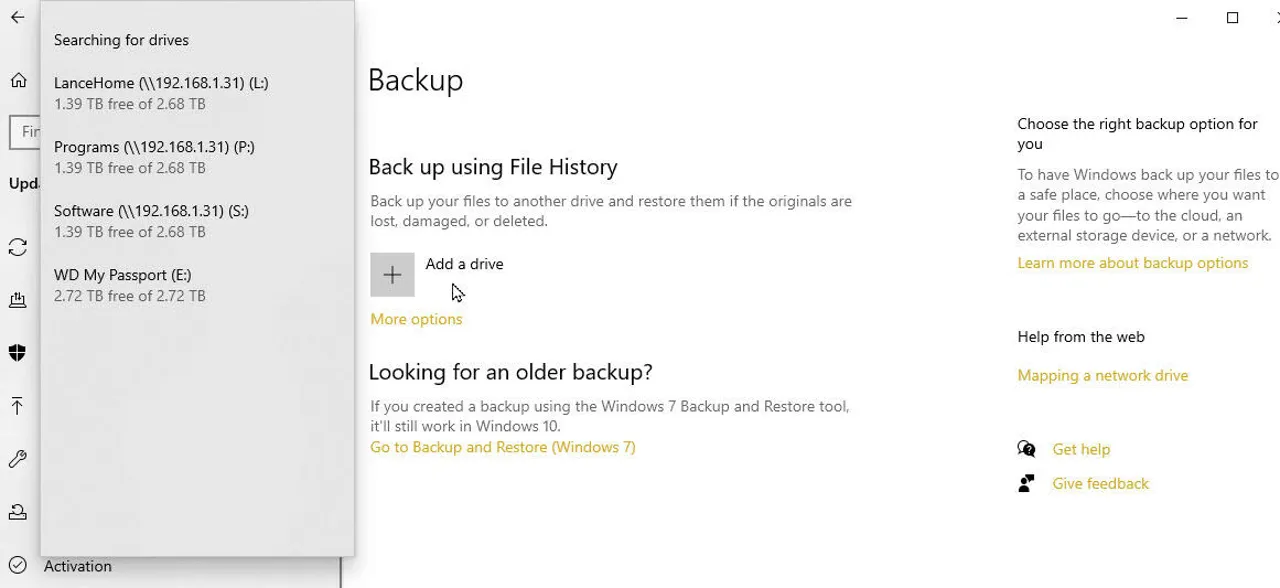
For local files, check the Windows Recycle Bin and any backup made before the loss. If you had File History configured, follow the steps to restore files with File History. Keep new writes to the affected drive to a minimum while deciding how to recover missing data.

Try 4DDiG for Deleted Local Files

If important local files are gone and no usable backup exists, 4DDiG Data Recovery offers a way to scan for recoverable data, filter results, and preview supported files before recovery.

Download and install the Windows version on a different drive to avoid overwriting recoverable data on the source drive. Have another storage device ready for recovered files. Overwriting and SSD TRIM can prevent recovery. Scanning and preview are available before purchase; check the current license terms before saving recovered data.

FREE DOWNLOAD

Secure Download

FREE DOWNLOAD

Secure Download

  • Select the Original Drive

    Launch 4DDiG, open Hard Drive, and select the local drive that contained the missing files. Start its scan.

    4DDiG Windows drive-selection screen for scanning deleted local files
  • Find the Files in the Scan Results

    Use the path or type view, search, and filters to narrow the results. Preview supported files to check that they contain what you need before selecting them for recovery.

    4DDiG Windows scan results with file-type categories and filters
  • Save Recovered Files to Another Drive

    Select Recover and choose a destination on another storage device so the recovered output does not overwrite data still on the source drive. Confirm the save, then open the recovered files to check them. The destination dialog's appearance can vary by version.

    4DDiG Windows dialog for choosing another drive for recovered files

Frequently Asked Questions

Should Storage Sense Be On or Off?

Turn it on if you want routine cleanup, after reviewing its rules. Keep Downloads set to Never if you use that folder for ongoing work, and pin OneDrive files you need offline. Choose manual cleanup instead if you prefer to approve removals individually.

Is Storage Sense Already Enabled?

Check the switch in Storage settings. Setup choices, Windows version, and organization policies can affect its state. Windows can also enable selected cleanup when disk space is low, so checking the current settings is more useful than assuming a universal default.

Is Storage Sense the Same as Disk Cleanup?

They overlap, but Storage Sense adds scheduled cleanup and cloud-content rules. Disk Cleanup provides a manual choice of file categories. For a one-time review in Windows 11, Storage > Cleanup recommendations is another option.

Conclusion

Use Windows Storage Sense for routine maintenance after checking Downloads, Recycle Bin, and cloud-content rules. Keep a backup of files you need. If cleanup has already removed important local files, try 4DDiG Windows Data Recovery to scan and preview what remains recoverable, then save recovered files to another drive.

FREE DOWNLOAD

Secure Download

FREE DOWNLOAD

Secure Download

William Bollson (senior editor)

William Bollson, the editor-in-chief of 4DDiG, devotes to providing the best solutions for Windows and Mac related issues, including data recovery, repair, error fixes.

(Click to rate this post)

You rated 4.5 ( participated)