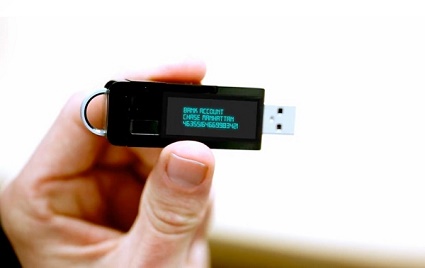
How to Format a Bootable USB Drive in 4 Quick Ways
Looking to learn how to format a bootable USB drive? You've come to the right place. This guide will show you how to format a bootable USB drive to normal using four quick and easy methods. It doesn’t matter which operating system you’re using, this guide covers every method that can help you in formatting a bootable USB drive.
If you're wondering how to format bootable pendrive in Windows or curious about how long it takes to format a bootable USB, we've got you covered. These straightforward steps will help you get your USB drive back to its original state in no time.
Let's dive into the process and make your USB drive as good as new.
Part 1: How Long Does It Take to Format a Bootable USB?
The time it takes to format a bootable USB drive varies based on its size and the method used. Typically, a quick format takes only a few minutes, often under five. However, a full format, which checks for bad sectors and erases data more thoroughly, can take significantly longer, ranging from 10 minutes to over an hour for larger drives. The speed of your computer also plays a role. For most users, the quick format option is usually sufficient and much faster.
Part 2: How to Format a Bootable USB Drive? 4 Quick Ways
Way 1. Format a Bootable USB to Normal via the Free USB Format Tool
One reliable and easy method to format a bootable USB drive is using the 4DDiG Partition Manager. This tool is designed for simplicity and efficiency, making it perfect for users of all levels. The 4DDiG Partition Manager stands out for its user-friendly interface and powerful capabilities.
The 4DDiG Partition Manager offers a range of features to make sure your USB formatting needs are met.
Key Features
- Easily format a 128 GB USB to FAT32, making sure the compatibility with a wide range of devices.
- Format your USB to resolve the "File is too large for destination file system" error effortlessly.
- Format USB to FAT32, NTFS, exFAT, FAT16/32, and EXT2/3/4 to suit your needs.
- Convert USB from FAT32 to NTFS or NTFS to FAT32 without formatting, preserving your data.
- Recover lost or deleted USB volumes with ease.
- Check the health and speed of your USB drive in a single click.
How to use 4DDiG Partition Manager to format a Bootable USB?
-
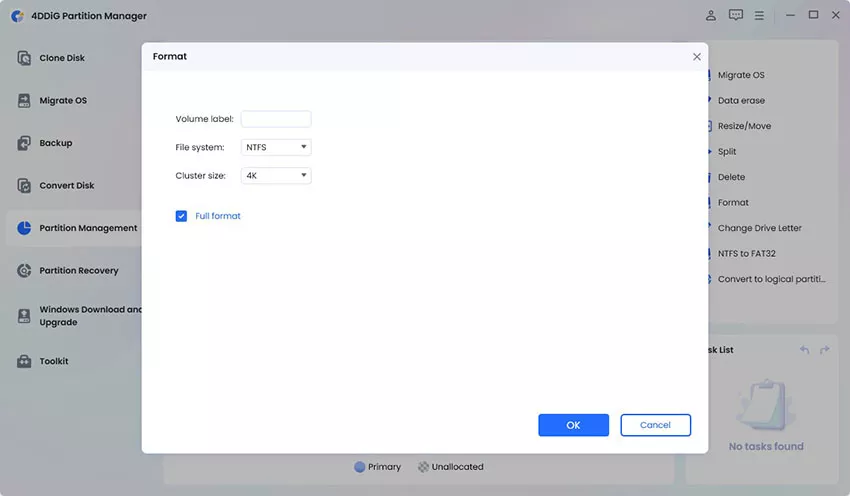
Download and open 4DDiG Partition Manager. Connect your USB drive to your computer. Navigate to "Partition Management" from the left menu. Right-click on the USB partition you wish to format and select "Format."
FREE DOWNLOADSecure Download

-
Select your desired file system (e.g., FAT32 or exFAT) and enter a volume label for your USB drive.

-
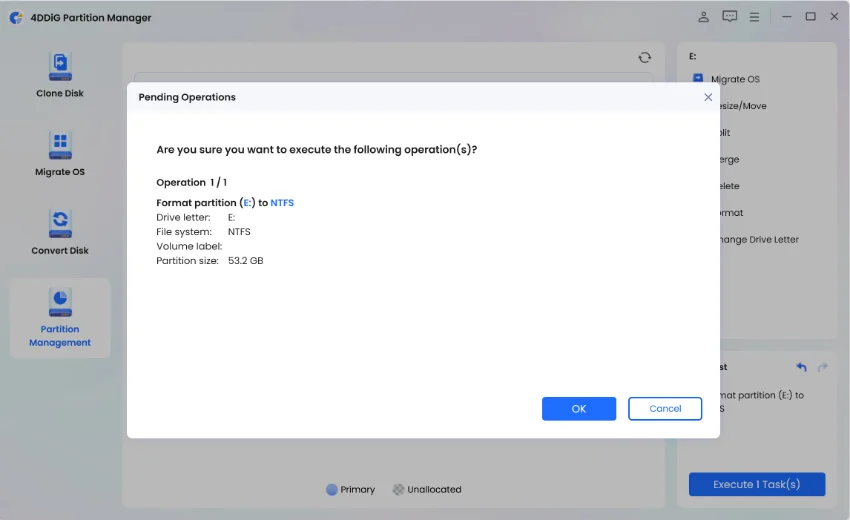
Review the formatting settings to make sure everything is correct, then click 'OK' to start the formatting process.

-
Wait for the formatting to complete. Once finished, your USB drive will be successfully formatted and ready for use.

Way 2. Format a Bootable USB Drive via Disk Management
Disk Management is a built-in Windows tool that allows you to format your USB drive.
Follow these steps to complete the process:
- Press Win + R, type diskmgmt.msc, and hit "Enter" to open the Disk Management tool.
- Locate your bootable USB drive, right-click on it, and select "Format".
- Enter a volume label to identify your USB drive quickly in the "Volume label" field.
-
Choose the appropriate file system (such as NTFS or FAT32) and click "OK" to start the formatting process.

Way 3. Format a Bootable USB Drive via File Explorer
File Explorer is another simple method for formatting a bootable USB drive, especially if Disk Management encounters issues. Here’s how to do it:
- Open File Explorer by pressing Win + E. Navigate to "This PC" and locate your bootable USB drive.
- Right-click on the USB drive and select "Format".
-
Choose your preferred file system (NTFS or FAT32), and you can also restore the device's default settings by clicking "Restore Device Defaults".

- Click "Start" to begin the formatting process and wait for it to complete.
Way 4. Format a Bootable USB Drive via Diskpart
For those comfortable with command prompts, Diskpart offers a powerful way to format a bootable USB drive. Follow these steps:
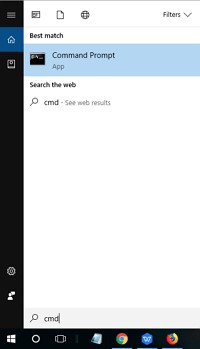
- Press Win + R, type diskpart, and press "Enter" to launch the Diskpart command prompt.
-
Enter the following commands one by one, pressing "Enter" after each:
- list disk
- select disk X (replace X with the number of your USB drive)
- clean
- create partition primary
- Assign a drive letter with assign letter=G (replace G with your desired letter).
-
Format the drive using format fs=fat32 quick or format fs=ntfs quick depending on your needs. Type exit to finish.

After following these steps, your USB drive will be successfully formatted using the selected method.
Conclusion
Formatting a bootable USB drive is essential for restoring it to normal use. This guide has provided four quick methods to help you learn how to format a bootable USB drive: using the 4DDiG Partition Manager, Disk Management, File Explorer, and Diskpart. Each method is effective and straightforward, making sure that your USB drive is ready for new tasks. The 4DDiG Partition Manager stands out for its ease of use and comprehensive features, making it a top recommendation.
Secure Download



 ChatGPT
 Perplexity
 Google AI Mode
 Grok
Grok

