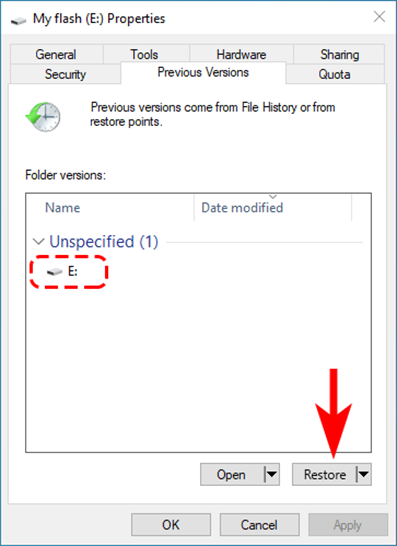
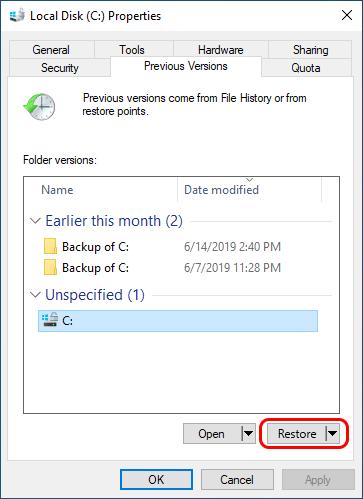
[2026] How to Remove Write Protection on USB Drive on Windows 11/10
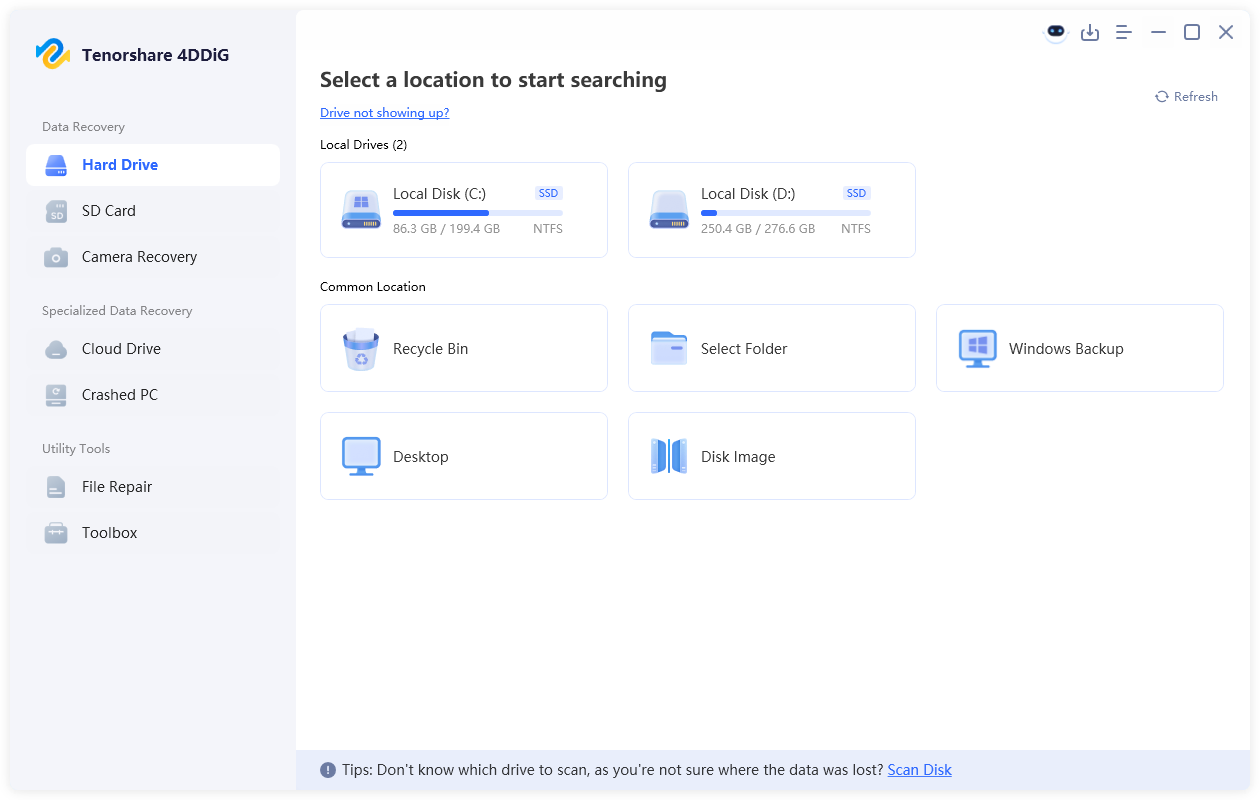
Follow this guide to learn 4 ways to remove write protection from USB in Windows 11/10. For a quick and simple solution, download 4DDiG Partition Manager.
You May Also Like

- Home >>
- USB Recovery >>
- [2026] How to Remove Write Protection on USB Drive on Windows 11/10