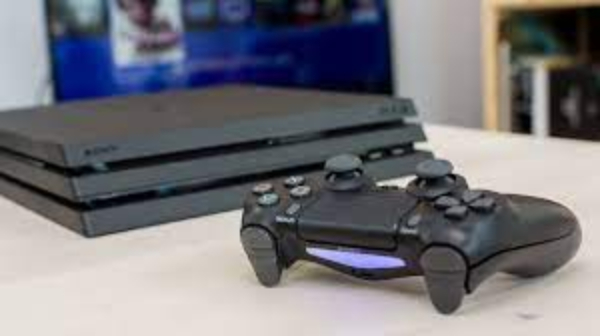
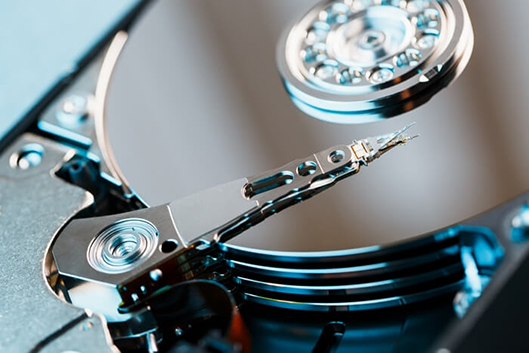
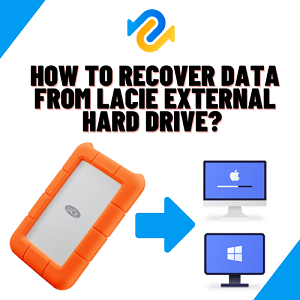
Fix External Hard Drive Read Only on Mac without Losing Data: Seagate/WD/Lacia/Exfat/Toshiba

5 mins read

Updated on 2024-03-19 16:27:32 to Mac Problems

An external hard drive is an easy way of copying or moving data from one device to another. It contains most of your important information that might be needed at the most important times; therefore, it would be great distress for you to discover your device in the Read-Only Mode. The Read only mode limits your controls over the drive; it allows you only to view the content available in the hard drive, you can neither copy it to another device nor free up any space for anything else.

Does your external hard drive have the Read Only Mode enabled? Are you unable to access any data on your external hard drive mac due to the Read-Only mode? Well, then you don't need to worry anymore, as in this article, we discuss various verified methods to fix your "External Hard Drive Read Only Mode on Mac" without losing any data.

external drive read only mac

Part 1. Error Analysis: Why Does the External Hard Drive Show Up as Read Only on Mac

To figure out whether your external hard drive is in Read Only mode or not, check for the three symptoms:

  • Unable to copy anything from the drive to Mac
  • Unable to delete anything from the drive
  • The device permissions show, "You can only read."

There can be several reasons behind the problem, we will discuss some of them below.

The file system is "NTFS": "NTFS" is a Windows-oriented file system; thus, it is incompatible with your Mac

Inappropriate permission settings: Switching the hard drives from one OS to another may result in an unsuitable permission setup, which makes the device suspicious for the Mac; thus, it puts it in "Read-Only mode."

Inappropriate device formatting: Some external hard drives come with wrong formatting, which results in the "Read Only mode" getting enabled as soon as you mount them.

Part 2. 3 Fixes to External Hard Drive Read Only Mac

Fix 1: Reformat the External Hard Drive

In case the cause of "Read-Only mode" was an incompatible drive system, you can easily fix it by reformatting the drive to a mac-compatible format. However, as you know that formatiing will erase all data on your drive, if you get data loss after formatting, please go to Part 3.

  • Go to the application, then head to Utilities.
  • Locate the problematic drive from the list on the left.
  • On the main window, click on the "Erase" option.
  • Select a reasonable file system and add a name to the device.
  • Click "Erase" again to begin the reformatting.

    erase disk

Once the process completes, your device would be compatible with your Mac, thus fixing the issue. The drive permission would change to "you can read and write."

Fix 2: Ignore Permissions or Change the Permission of the External Hard Drive

If you have found that the problem occurred after you switched your drive between two different OS, then you might need to change the permission setting of the external hard drive to fix it.

  • In Finder, Right-click on your drive.
  • From the menu, select "Get info."
  • Expand the sharing and location tab.
  • Head to the bottom of the tab, and click on the check-box.

Clicking on the tab would ignore the drive's permissions; thus, your external drive would function properly again.

change permissions hard drive

Fix 3: Check and Repair Hard Drive Errors

In case none of the above methods worked out for you, then there is a high probability that your drive might have some formatting errors that cause the "Read Only" problem. The process below shall guide you regarding fixing those errors.

  • In the Spotlight search bar, type "disk utility" to open it.
  • Select the problematic drive from the left.
  • Click on "first aid" for the top bar and initiate the process.

    first aid read only

Once the process completes, the problem shall be fixed.

Part 3. FAQs About External Hard Drive Read Only on Mac Fix

Q1: How to Recover Data After Formatting the Read-Only Hard Drive

If you failed to fix read-only hard drive on Mac issue, you can try to get the data out and then format the drive again. But as mentioned above, formatting will erase data. Tenorshare 4DDiG is probably the first tool in mind when we talk about retrieving the data from a formatted hard drive. The software is powerful enough to recover various data types, including Pictures, Videos, Documents, and Audio. The best part of the Tenorshare 4DDiG is that it fully supports the series of popular computers like Lenovo, Dell, Asus, HP, and more. Furthermore, Tenorshare 4DDiG has the highest success rate among other data recovery tools. Some of its incredible features that would convince you to try it at least once:

  • Recover data from damaged, deleted, formatted, and lost partitions.
  • Capable of repairing corrupted videos & images.
  • Preview the files before recovery.
  • Recover data from BitLocker encrypted.
FREE DOWNLOAD

Secure Download

FREE DOWNLOAD

Secure Download

Just download Tenorshare 4DDiG, and once installed on your computer, follow the below guide:

  • Download and install Tenorshare 4DDiG Mac Data Recovery. Launch the program, get your external hard drive connected to your PC and then choose it to Scan.

    select location
  • 4DDiG immediately scans your selected external hard drive all around to dig out the lost data.

    preview
  • After the search is completed, select the files you want to recover and click on the Recover button.

    save recovered files
  • That's it. All of the lost files shall be recovered now.

Q2: How to Check If the External Hard Drive is NTFS File System on Mac?

The quickest way to check it is by seeing the Disk Information. There are a couple of ways to view Disk Information. It can be viewed in Disk Utility or Finder. The steps are relatively easy to follow, and here is the procedure to do it.

Method 1: Check if an external hard drive is an NTFS file system in Disk Utility

  • Click on the "Launchpad" icon in the dock, and select Others to form Menu.
  • Look for Disk Utility and launch it.
  • After Disk Utility is launched, select the external hard drive from the left sidebar. You will see an obvious "Windows NT File System" in the right column.

Method 2: Check if an external hard drive is an NTFS file system in the Finder

  • To view the file system from Finder, here are the steps you need to follow.
  • Launch Finder on your Mac.
  • Right-click on the external hard drive and select "Get Info."

In the disk info section, you can view File System is "Window NT File System (NTFS)."

Part 4. How to Prevent External Hard Drive Read Only on Mac

There are plenty of techniques to prevent the hard drive read-only error from occurring. You can follow them to avoid it.

  • Make sure you purchase a hard drive that your support fully.
  • When you format the hard drive, ensure that it is formatted correctly without any error.
  • Hard drive read-only error occurs when the hard drive's permissions are changed frequently. So, make sure you don't change the Read & write only permissions frequently.

Conclusion

Simply go through this comprehensive tutorial and learn how to fix external hard drive read-only error on Mac. Additionally, if your files are gone missing while repairing the external hard drive, feel free to try Tenorshare 4DDiG. It is the World's 1st data recovery software that is supported by Mac as well as Windows. Also, feel free to let us know if you face any trouble while performing the recovery operation. We will be happy to respond to your questions.

William Bollson (senior editor)

William Bollson, the editor-in-chief of 4DDiG, devotes to providing the best solutions for Windows and Mac related issues, including data recovery, repair, error fixes.

(Click to rate this post)

You rated 4.5 ( participated)