Internal Hard Drive Not Showing Up Windows 11/10 [Updated!]
The internal hard drive is a key PC component and a basic medium for storing all the essential data. However, many users have reported that internal hard drive not showing up Windows 11/10 suddenly. There are multiple reasons that can cause this malfunction, such as: loose connections, wrong drive letter, corrupt system files, buggy Windows update, outdated driver, physical damage, and so on.
These reasons can make the computer does not recognize internal hard drive. Nevertheless, it is a fixable issue, and this is what we will learn in this article. So, keep reading to learn 8 ways to fix the internal hard drive not showing up Windows 10/11 issue.
Part 1: How to Fix Internal Hard Drive Not Showing Up Windows 11/10
Since multiple reasons can cause internal hard drive not showing up in disk utility, there isn't a one-size-fits-all solution. You have to implement multiple ways until the problem gets solved. So, follow the below eight solutions one by one:
Solution 1: Check Or Change the Connection Cables
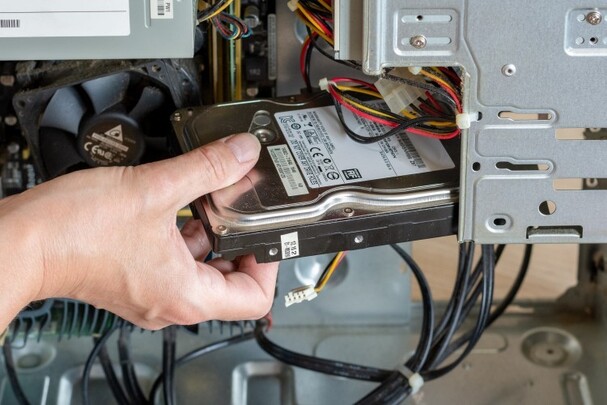
Start with double-checking the connection between the PC and your hard drive. Make sure the hard drive is properly connected to the memory slot. Secondly, verify that the connection cables between the hard drive and motherboard or power supply are in place. If some data cables are misplaced or switched, the system will not be able to detect the hard drive.

Solution 2: Internal Hard Drive Detection Software
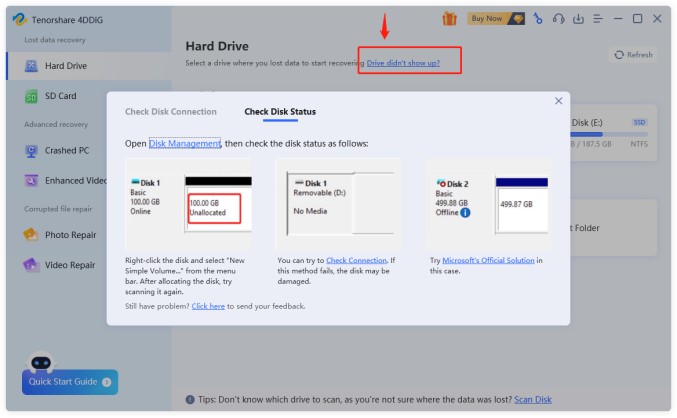
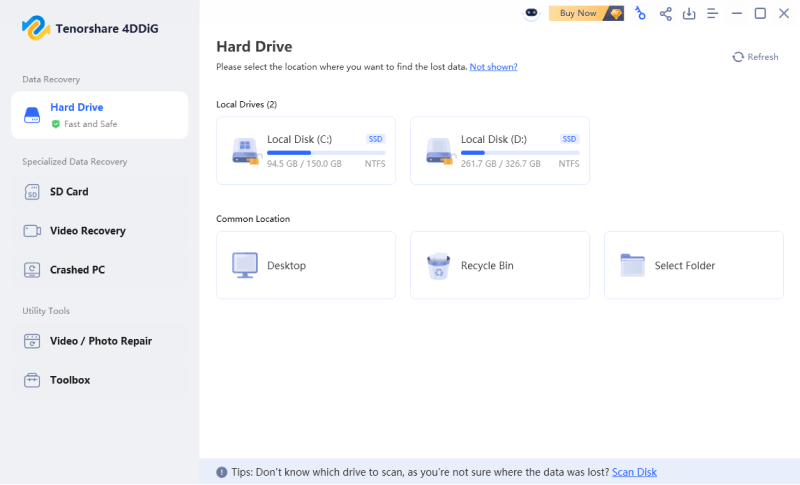
If the connections are all intact, you must use an internal hard drive detection software to check if it detects the hard drive. For that, you can use the 4DDiG Data Recovery, as it can list all the internal/external hard drives on your PC and teach you how to show up the missing hard drive.
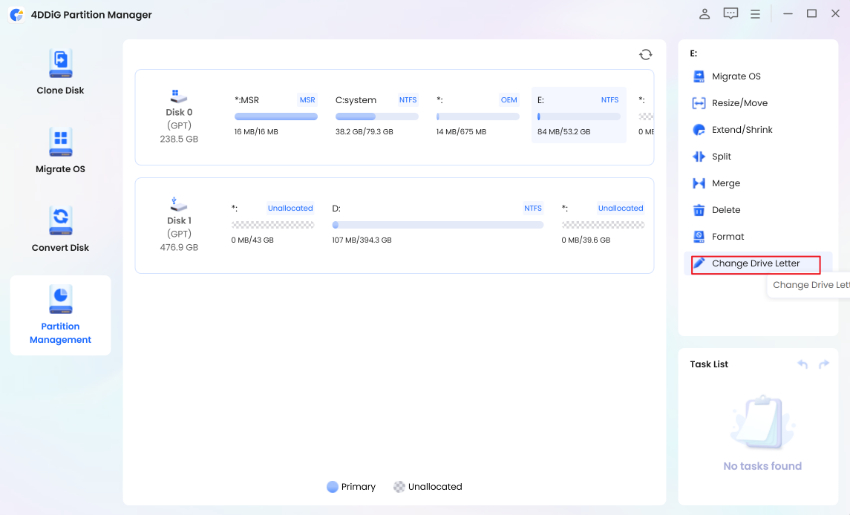
Solution 3: Change the Drive Letter
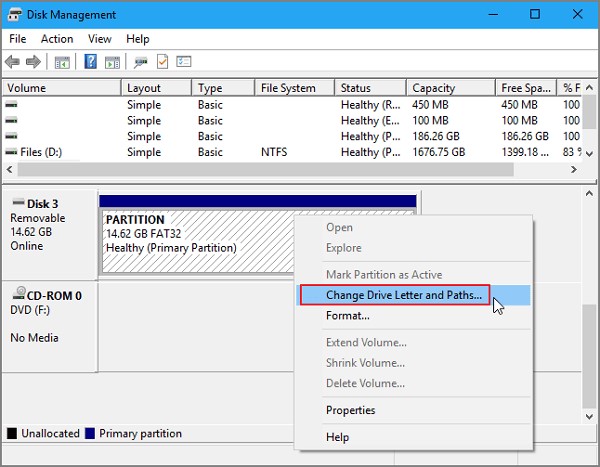
Sometimes, internal hard drive not showing up Windows 11/10 occurs simply because the driver letter of the hard drive is missing or conflicting with the driver letter of another disk. You can fix it easily by assigning a new driver letter to the hard drive from the Windows Disk Management, as follows:
- Go to the Windows Start menu, search for disk management, and open it.
-
Right-click the internal hard drive whose letter you want to change and select "Change Drive Letter and Paths".

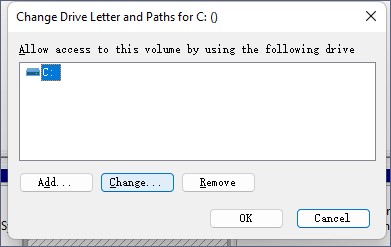
- Click the "Change" button.
-
Select the drive letter of your choice and click "OK".

Once the drive letter is changed, see if the internal hard drive shows up now.
Solution 4: Check BIOS Settings
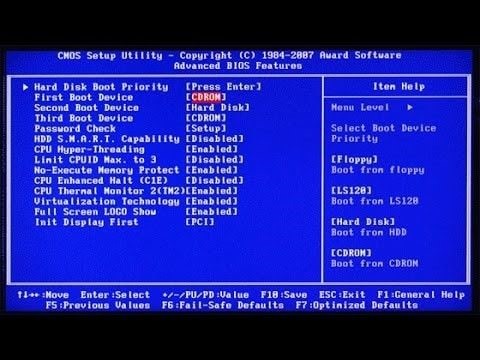
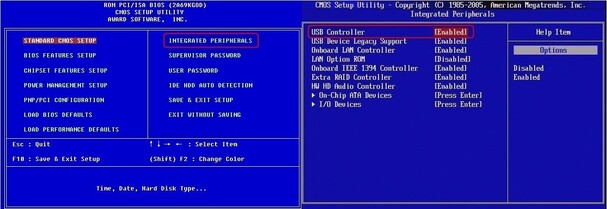
Sometimes BIOS settings issues can also make the internal hard drive missing. So, the next solution is to check and readjust the BIOS settings, as follows:
- Restart your computer and click the F1, F2, F12, or "DEL" button a few times when you see the Windows logo.
-
Once you are in the BIOS settings, see if you can see the hard drive in the list. If the hard drive not showing up in BIOS, then it means it is not connected properly.

-
Alternatively, there is a possibility that you have disabled the hard drive in BIOS earlier. So, check if the hard drive is enabled or not. If it is disabled, enable it and exit the BIOS.

Afterward, restart your computer and see if the internal hard drive shows up.
Solution 5: Update Driver
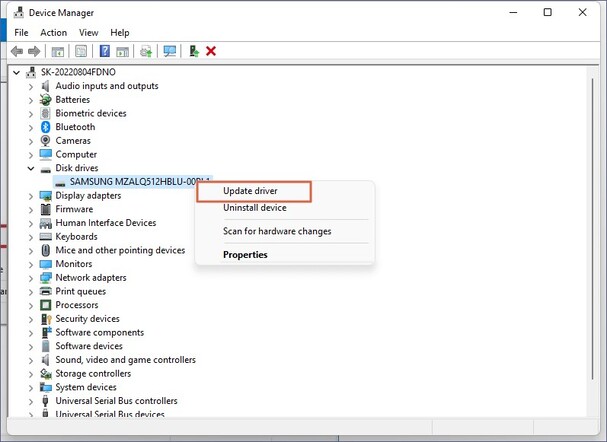
Internal hard drive not recognized can also occur if the disk driver is outdated or corrupted. To fix it, you have to update the disk driver as follows:
- Click "Windows key + X" and select "Device Manager".
- Select "Disk drives" from the list.
-
Right-click the internal hard drive and tap "Update driver".

Once the driver is updated, go back to This PC and see if the internal hard drive is showing.
Solution 6: Use the CHKDSK Command
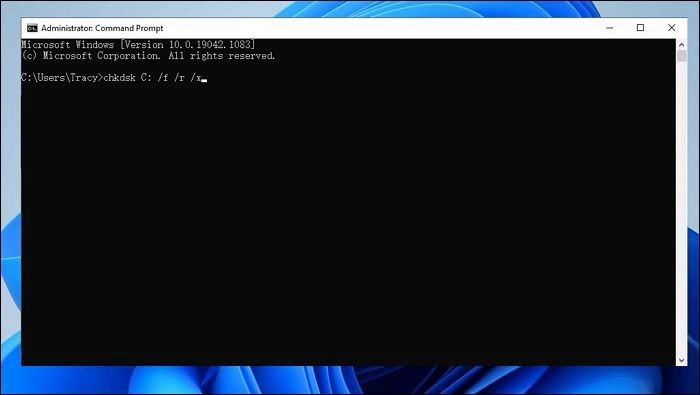
The "CHKDSK" command helps to repair the inaccessible hard drive. So, if computer does not recognize internal hard drive due to hard drive corruption, then use the CHKDSK command, as follows:
- Go to the Windows Start menu, search for "command prompt", and run it as administrator.
-
Type the "chkdsk c: /r" command and hit Enter. Here, "c" represents the drive letter of the missing internal hard drive. You can replace it with a different one.

- Restart your computer.
After reboot, check the status of the internal hard drive.
Solution 7: Test the Hard Disk on Another Computer
If you have another computer, test the hard disk on that computer. This will help you identify if the issue is in the hard disk or the computer. Follow the below steps to test the hard disk on another computer:
- Turn off both computers.
-
Unplug the hard drive from the main computer and plug it into the second computer in the right port.

- Turn on the second (test) computer and see if the hard drive is visible in it.
If the hard drive is visible, then it means there are some system issues on your main computer. Alternatively, if the internal hard not recognized again, then it means the hard drive is faulty.
Solution 8: Go Offline Manual Recovery
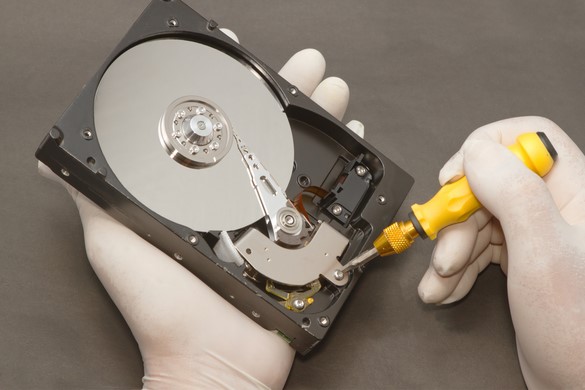
If you are unable to resolve the internal hard drive not showing up Windows 10/11 issue after following the above seven solutions, then it means your hard drive is physically damaged. In that case, you should opt for offline manual recovery as follows:
- Turn off the computer and open its casing.
- Unplug the hard drive.
-
Take the hard drive to a repair professional to fix the physical damage.

Once fixed, plug the hard drive back into your computer and start accessing it like before.
Bonus Tips: Recover Data Lost Due to Internal Hard Drive Not Showing Up
Once you have fixed internal hard drive not showing up Windows 11/10, you may notice that you have lost some files. If that's the case, then you can easily recover data with 4DDiG Data Recovery.
4DDiG Data Recovery is an advanced and powerful data recovery tool that can scan through your hard drive to recover data. It can recover images, videos, documents, audio, and much more. On top of that, it offers a click-based and ultra-fast interface to recover data effortlessly.
Key features of 4DDiG Data Recovery are as follows:
- Recover data from the internal hard drive due to accidental deletion, formatting, corruption, virus attack, crashed system, etc.
- Recover 2000+ file types, including images, videos, documents, audio, and so on from internal hard drive.
- High data recovery success rate.
- Present a preview of recoverable data before saving them back to the computer.
Secure
Download
Secure
Download
-
Install 4DDiG Data Recovery on your Windows 11/10 computer. Launch it, select the hard drive, and tap "Start" to begin scanning.

-
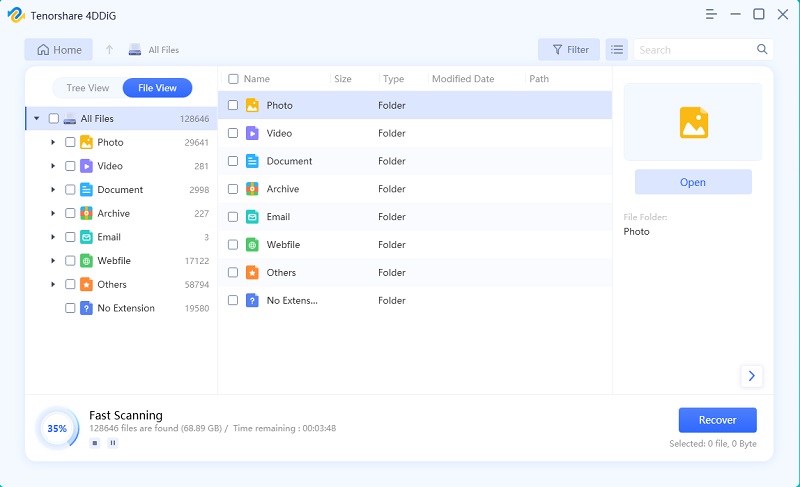
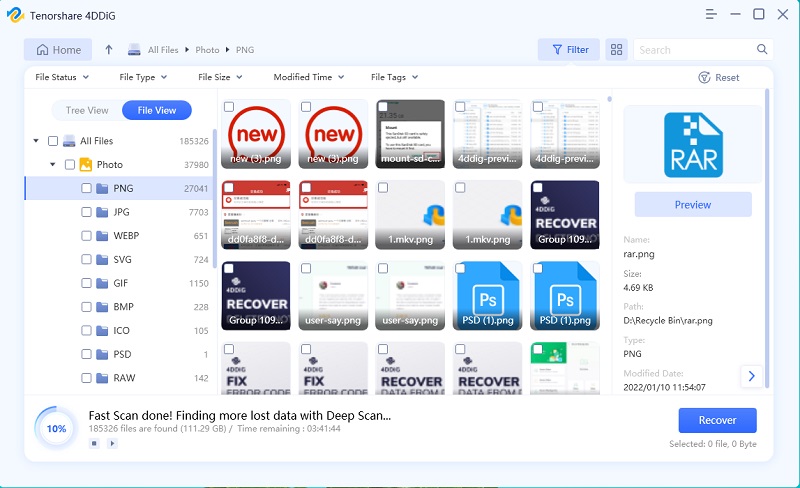
During the scanning process, you will start seeing the recoverable files. So, wait till the scan is completed or pause or stop the scan if you have found the desired files you want to recover.

-
After the scan is successfully completed, preview and select the files to recover. Lastly, tap the "Recover" button.

This way, 4DDiG Data Recovery provides the most intuitive yet powerful way to recover lost data from an internal hard drive effectively. Therefore, don't be frustrated more with your lost data. Download 4DDiG Data Recovery and follow the above steps to recover data right away.
Secure
Download
Secure
Download
Final Word
In this guide, we have discussed in detail the eight proven solutions to tackle internal hard drive not showing up Windows 11/10. So, follow the above solutions and steps one by one until your hard drive becomes visible. Besides that, if you have also encountered data loss due to this issue, then 4DDiG Data Recovery is the ideal tool to easily scan, preview, and recover lost data from your internal hard drive. Therefore, it's time to take action and get your internal hard drive back to its normal state.
FAQs about Internal Hard Drive Not Recognized
Q1: Why is my internal storage drive not showing up?
Your internal storage drive may not show up due to: loose connections, wrong drive letter, corrupt system files, buggy Windows update, BIOS/UEFI setting issuesm outdated driver or physical damage.
Q2: Can software updates cause internal hard drive not showing up?
Yes, there is a possibility that software updates can cause internal hard drive not showing up. Sometimes, such updates can introduce bugs or incompatibilities that can impact the operations of the internal hard drive.
Q3: Can data be recovered from undetected hard disk?
Yes, you can recover data from undetected hard disk by running the CHKDSK command in the command prompt to repair the hard disk and then recover data.
 ChatGPT
 Perplexity
 Google AI Mode
 Grok
Grok

